Web UI Guide
Use the imgcompress web interface for drag-and-drop image compression, WebP and AVIF conversion, target file-size control, and local AI background removal. All processing stays on your self-hosted server — no cloud uploads.
Quick Start#
Make sure you've installed it first.
Step 1: Drop your images#
Drag your photos into the upload area. Adjust quality, format, and other settings before converting.
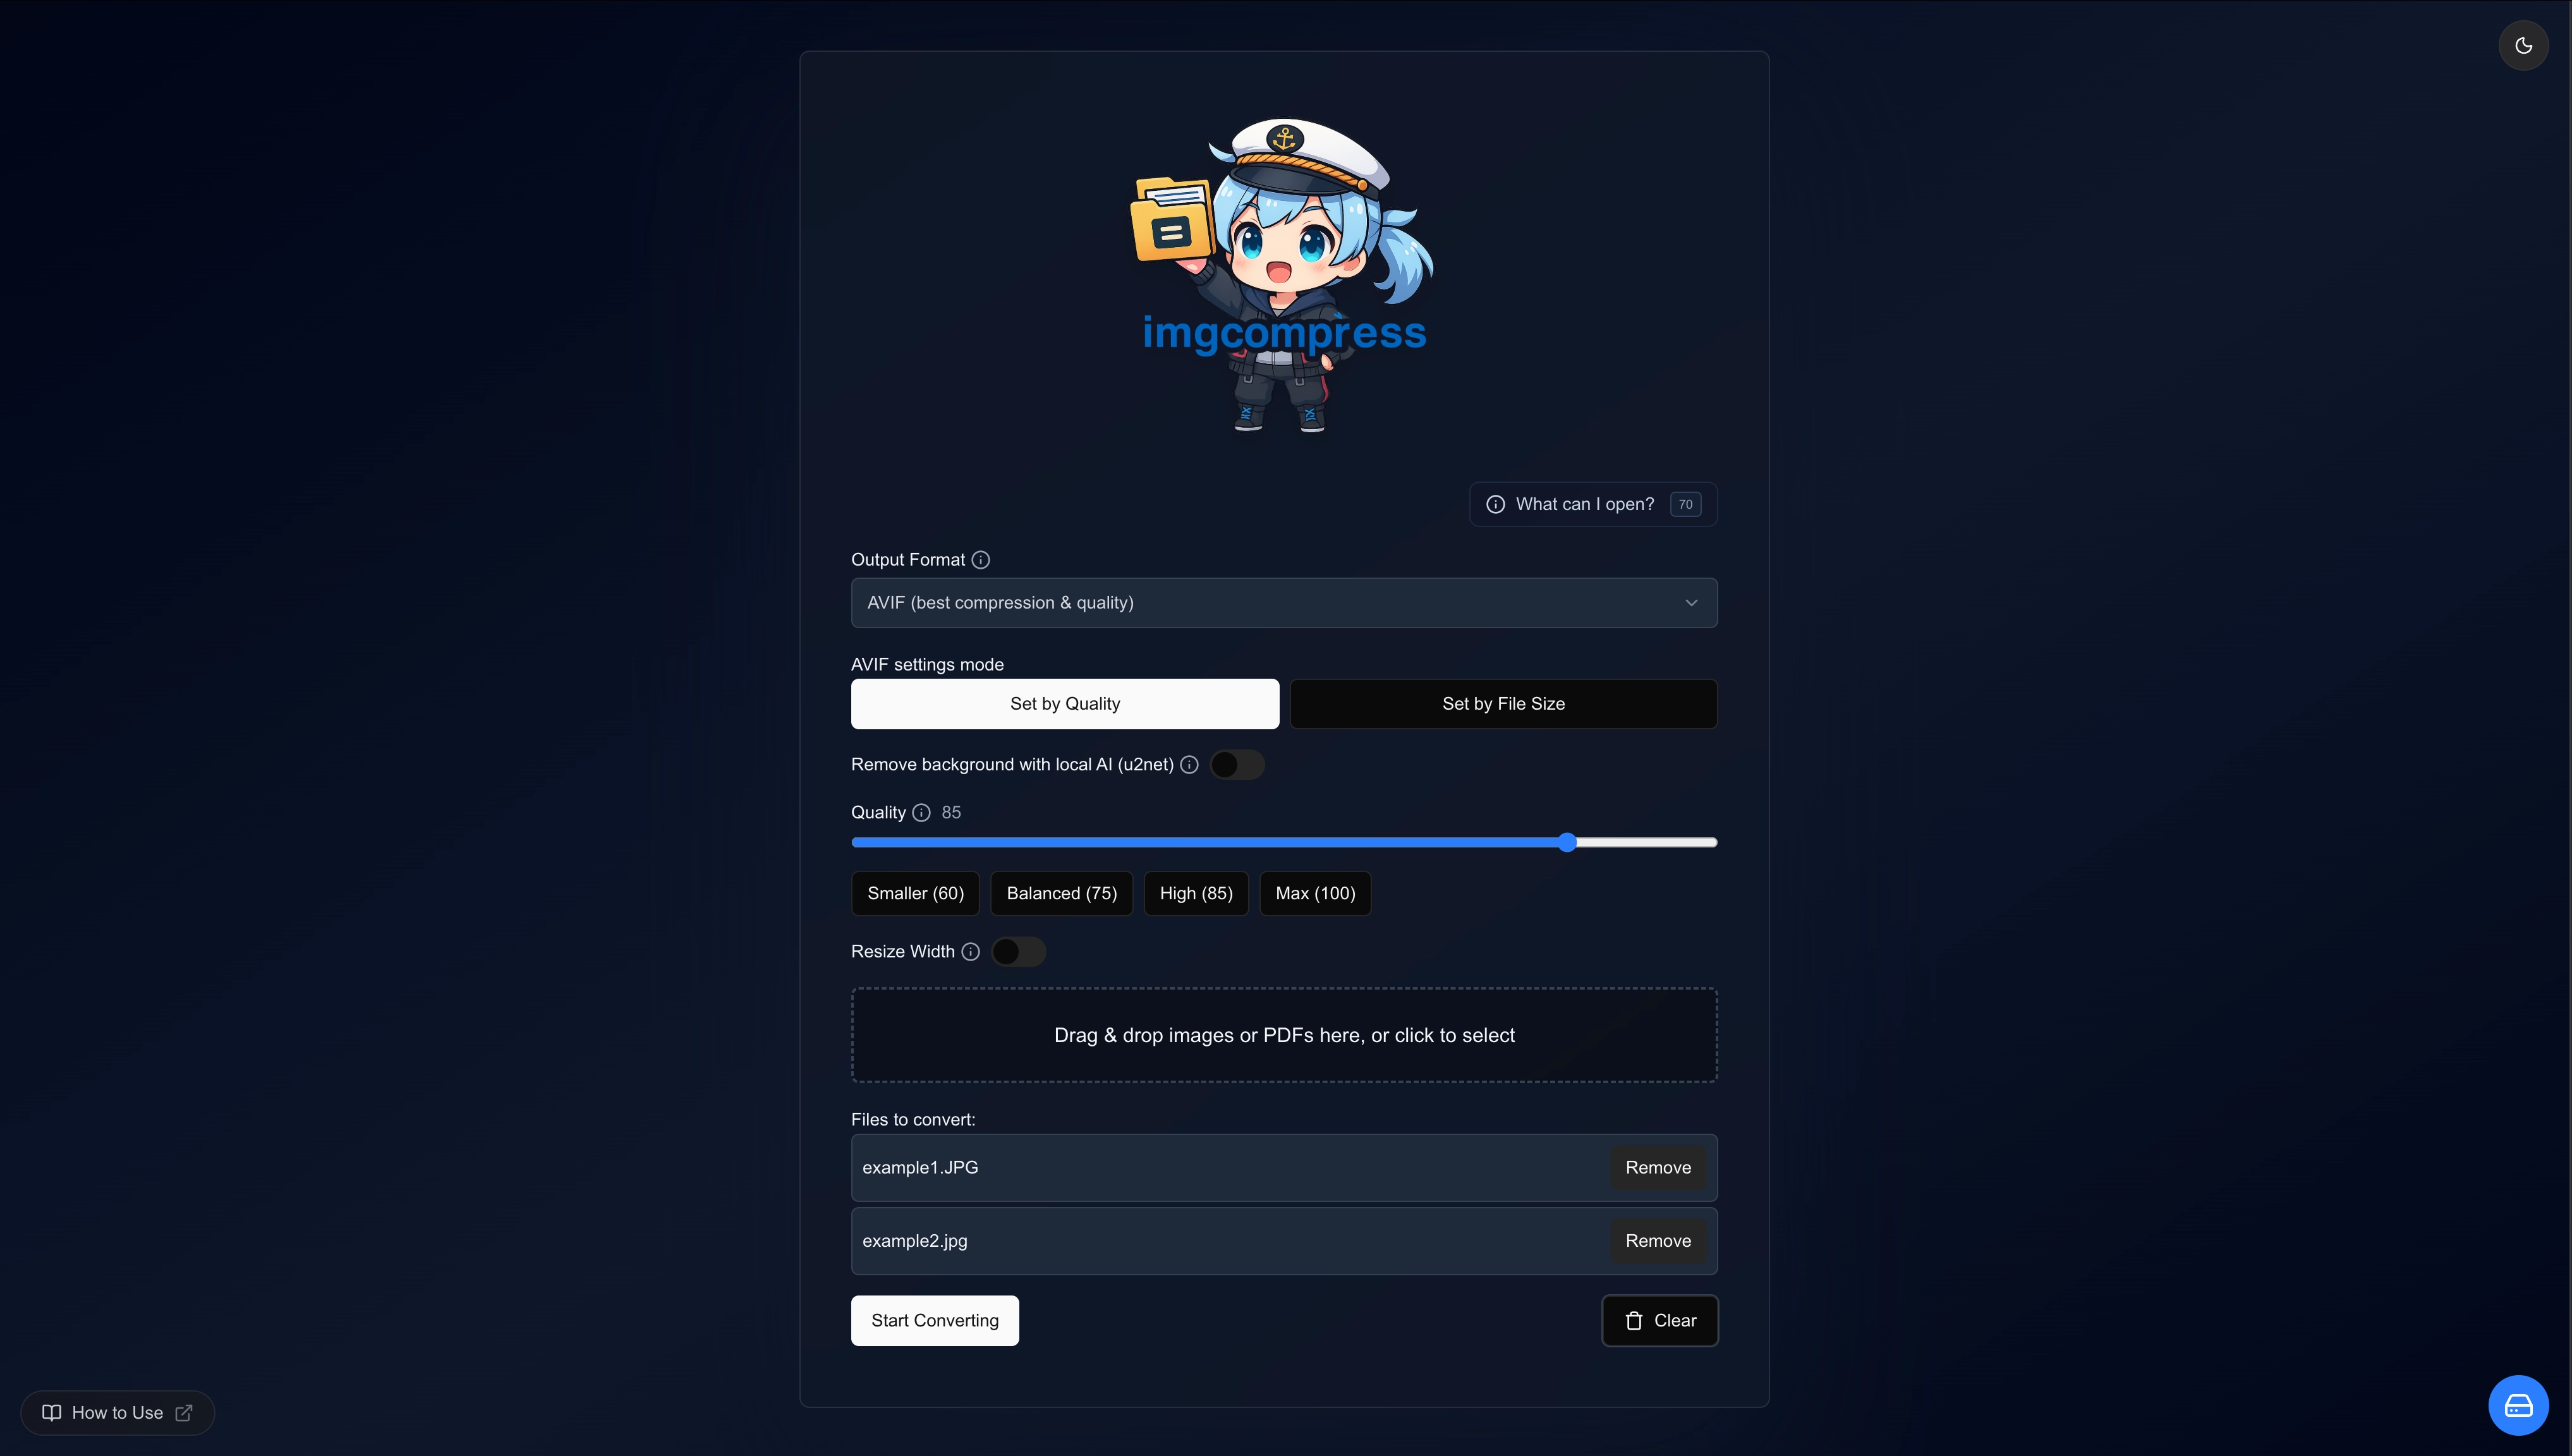 Upload and configure your images
Step 2: Process#
Hit convert and watch the progress. Everything runs on your own server. Nothing leaves your infrastructure.
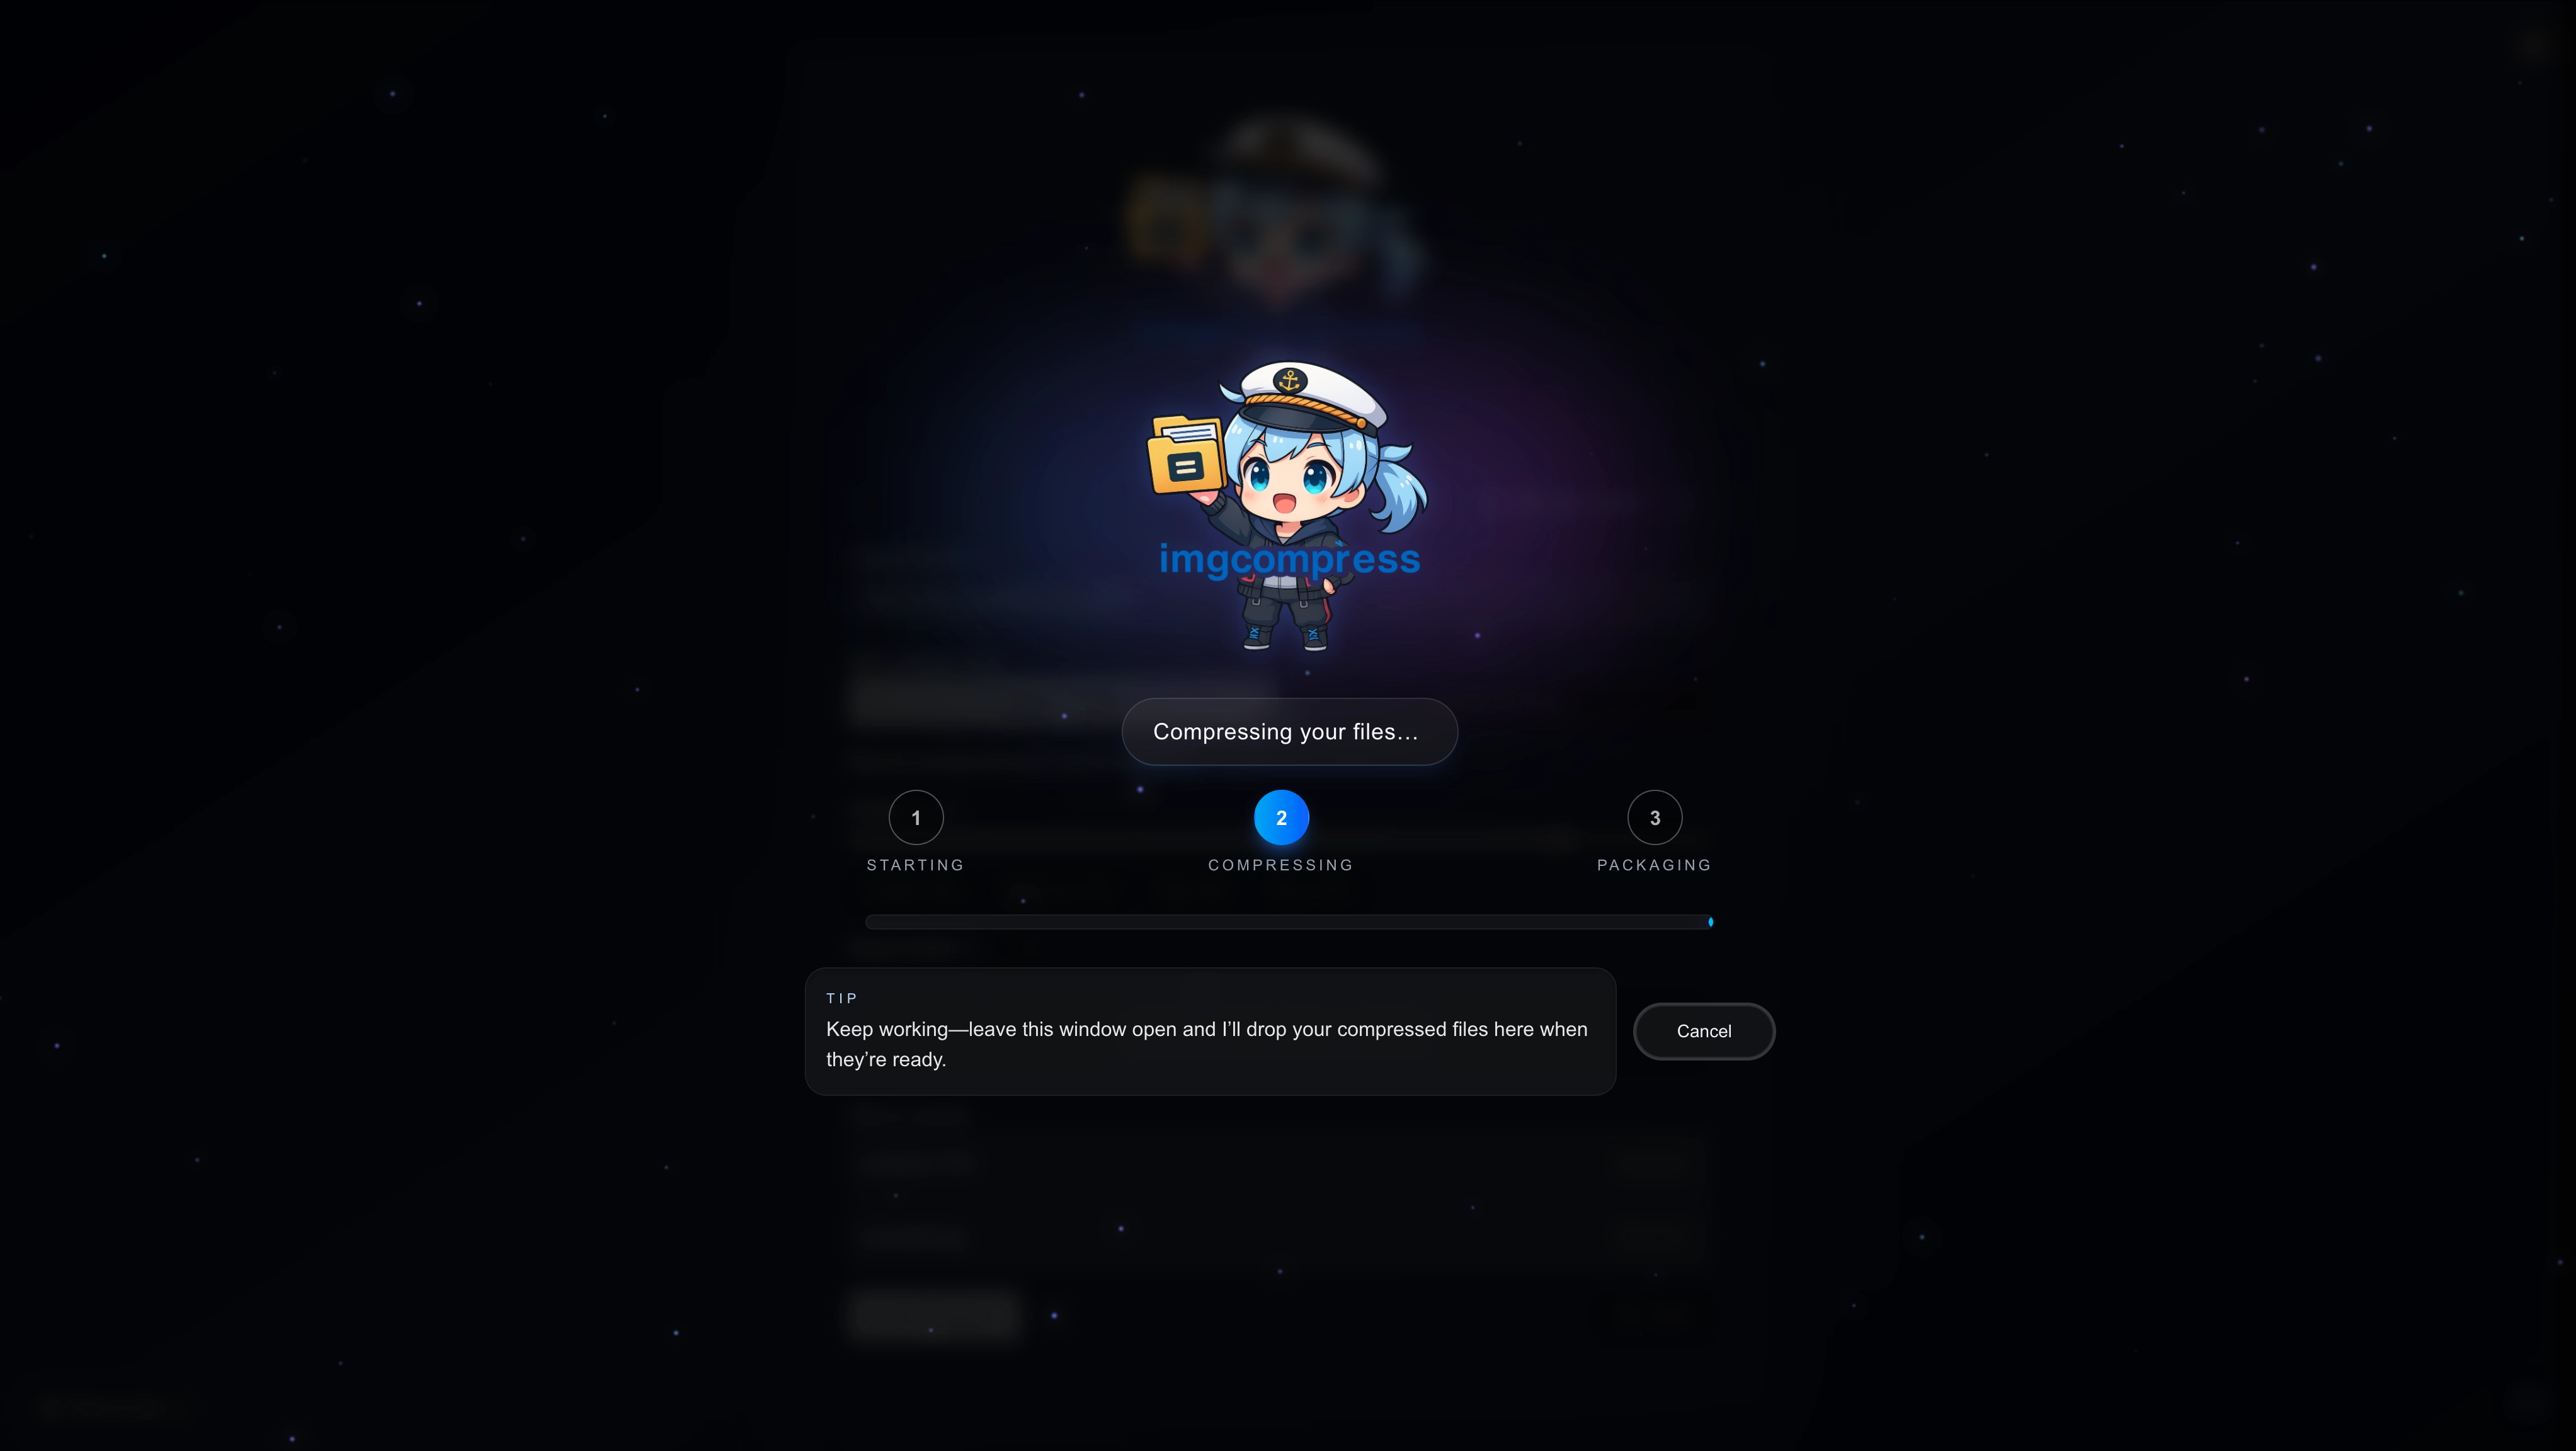 Images being processed
Step 3: Download#
Save images individually or grab them all as a ZIP.
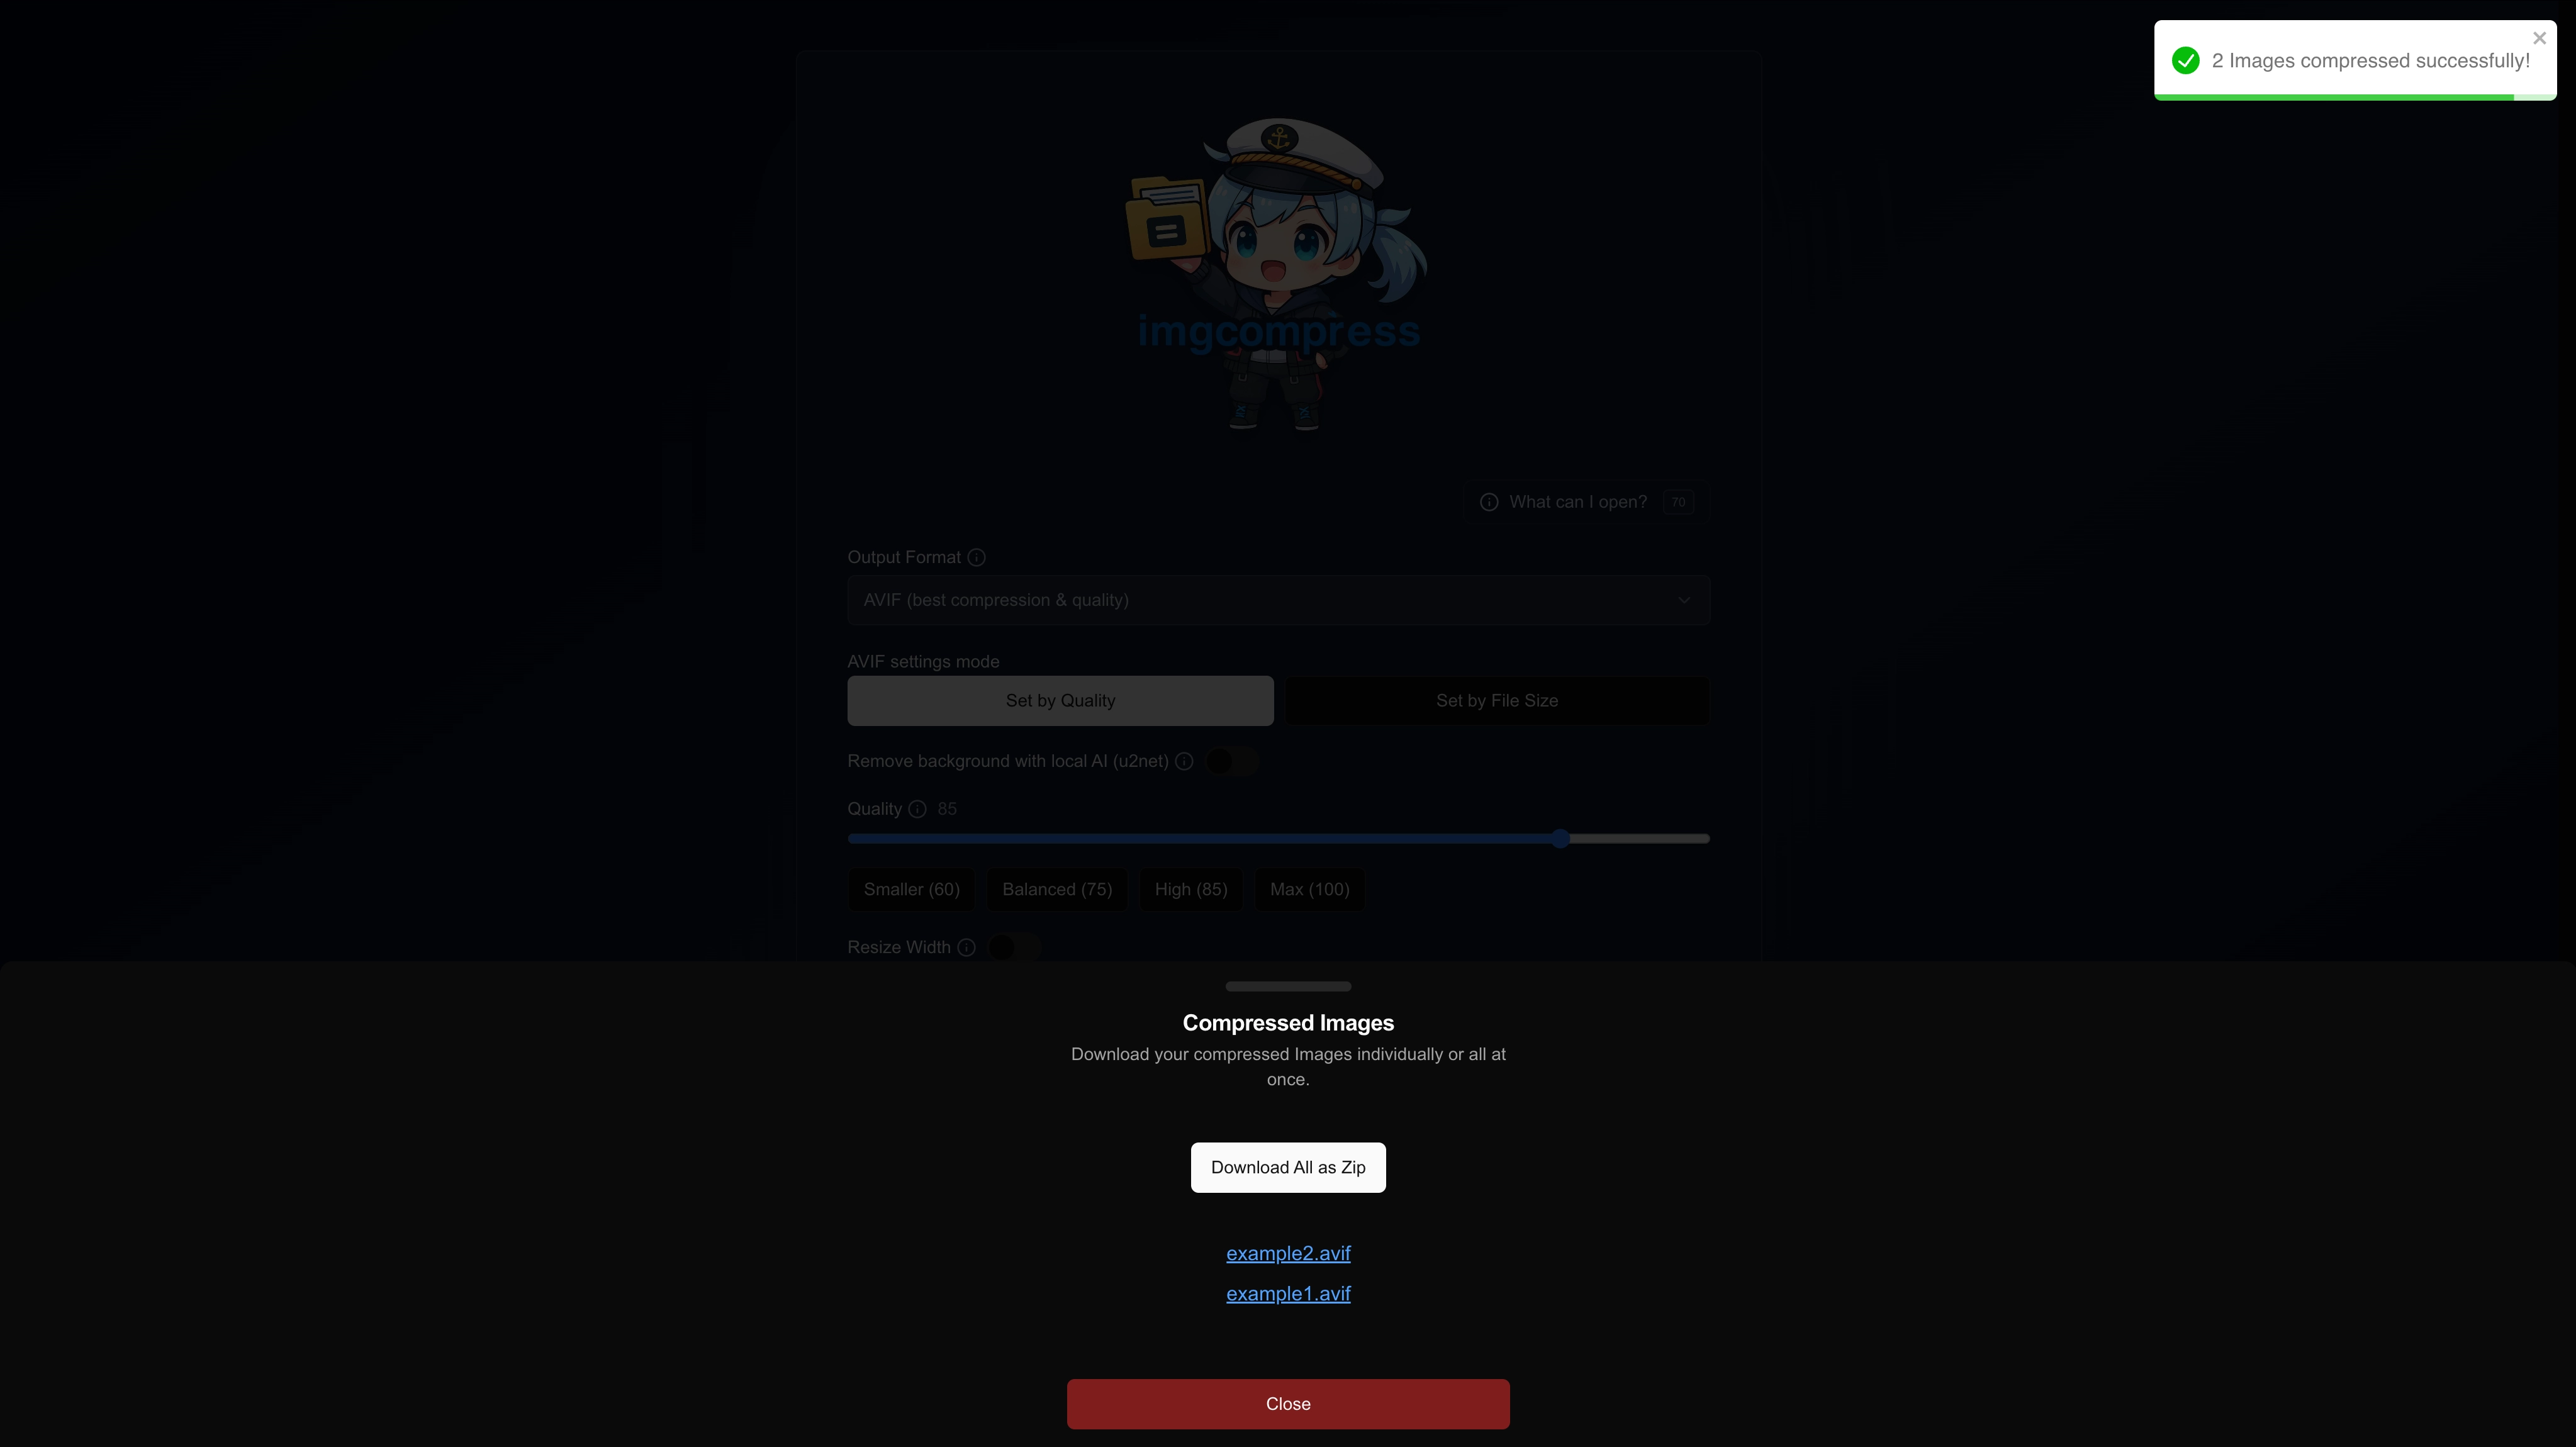 Download your results
Image Crop Editor#
Crop any image before it goes through the conversion pipeline. Aspect ratio presets, manual width and height, zoom, save, and discard are all included. Saved crops are applied before resize, format conversion, target-size compression, and AI background removal so what you crop is what gets compressed.
Watch the short demo (click play to start):
How to use it#
- Drop your images into the upload area as usual.
- On any file row, click the crop icon to open the editor.
- Pick an aspect ratio preset (1:1, 4:3, 16:9, …) or set width and height manually.
- Zoom and Crop to frame the shot exactly the way you want it.
- Click Save to keep the crop, Discard to back out, or Remove to clear a previously saved crop.
- Convert as normal. The crop is applied first, then your chosen format, quality, resize, and background-removal settings.
Some formats (e.g. PSD, EPS) are rendered server-side into a crop-friendly bitmap so you can still crop them in the browser.
Background Removal#
imgcompress includes a local AI model that removes image backgrounds entirely on your server's hardware. No cloud, no external API.
To preserve transparency, choose AVIF or PNG as your output format. JPEG does not support transparency.
How to use it#
- Select AVIF or PNG as the output format.
- Toggle the Remove Background switch on.
- Convert as normal.
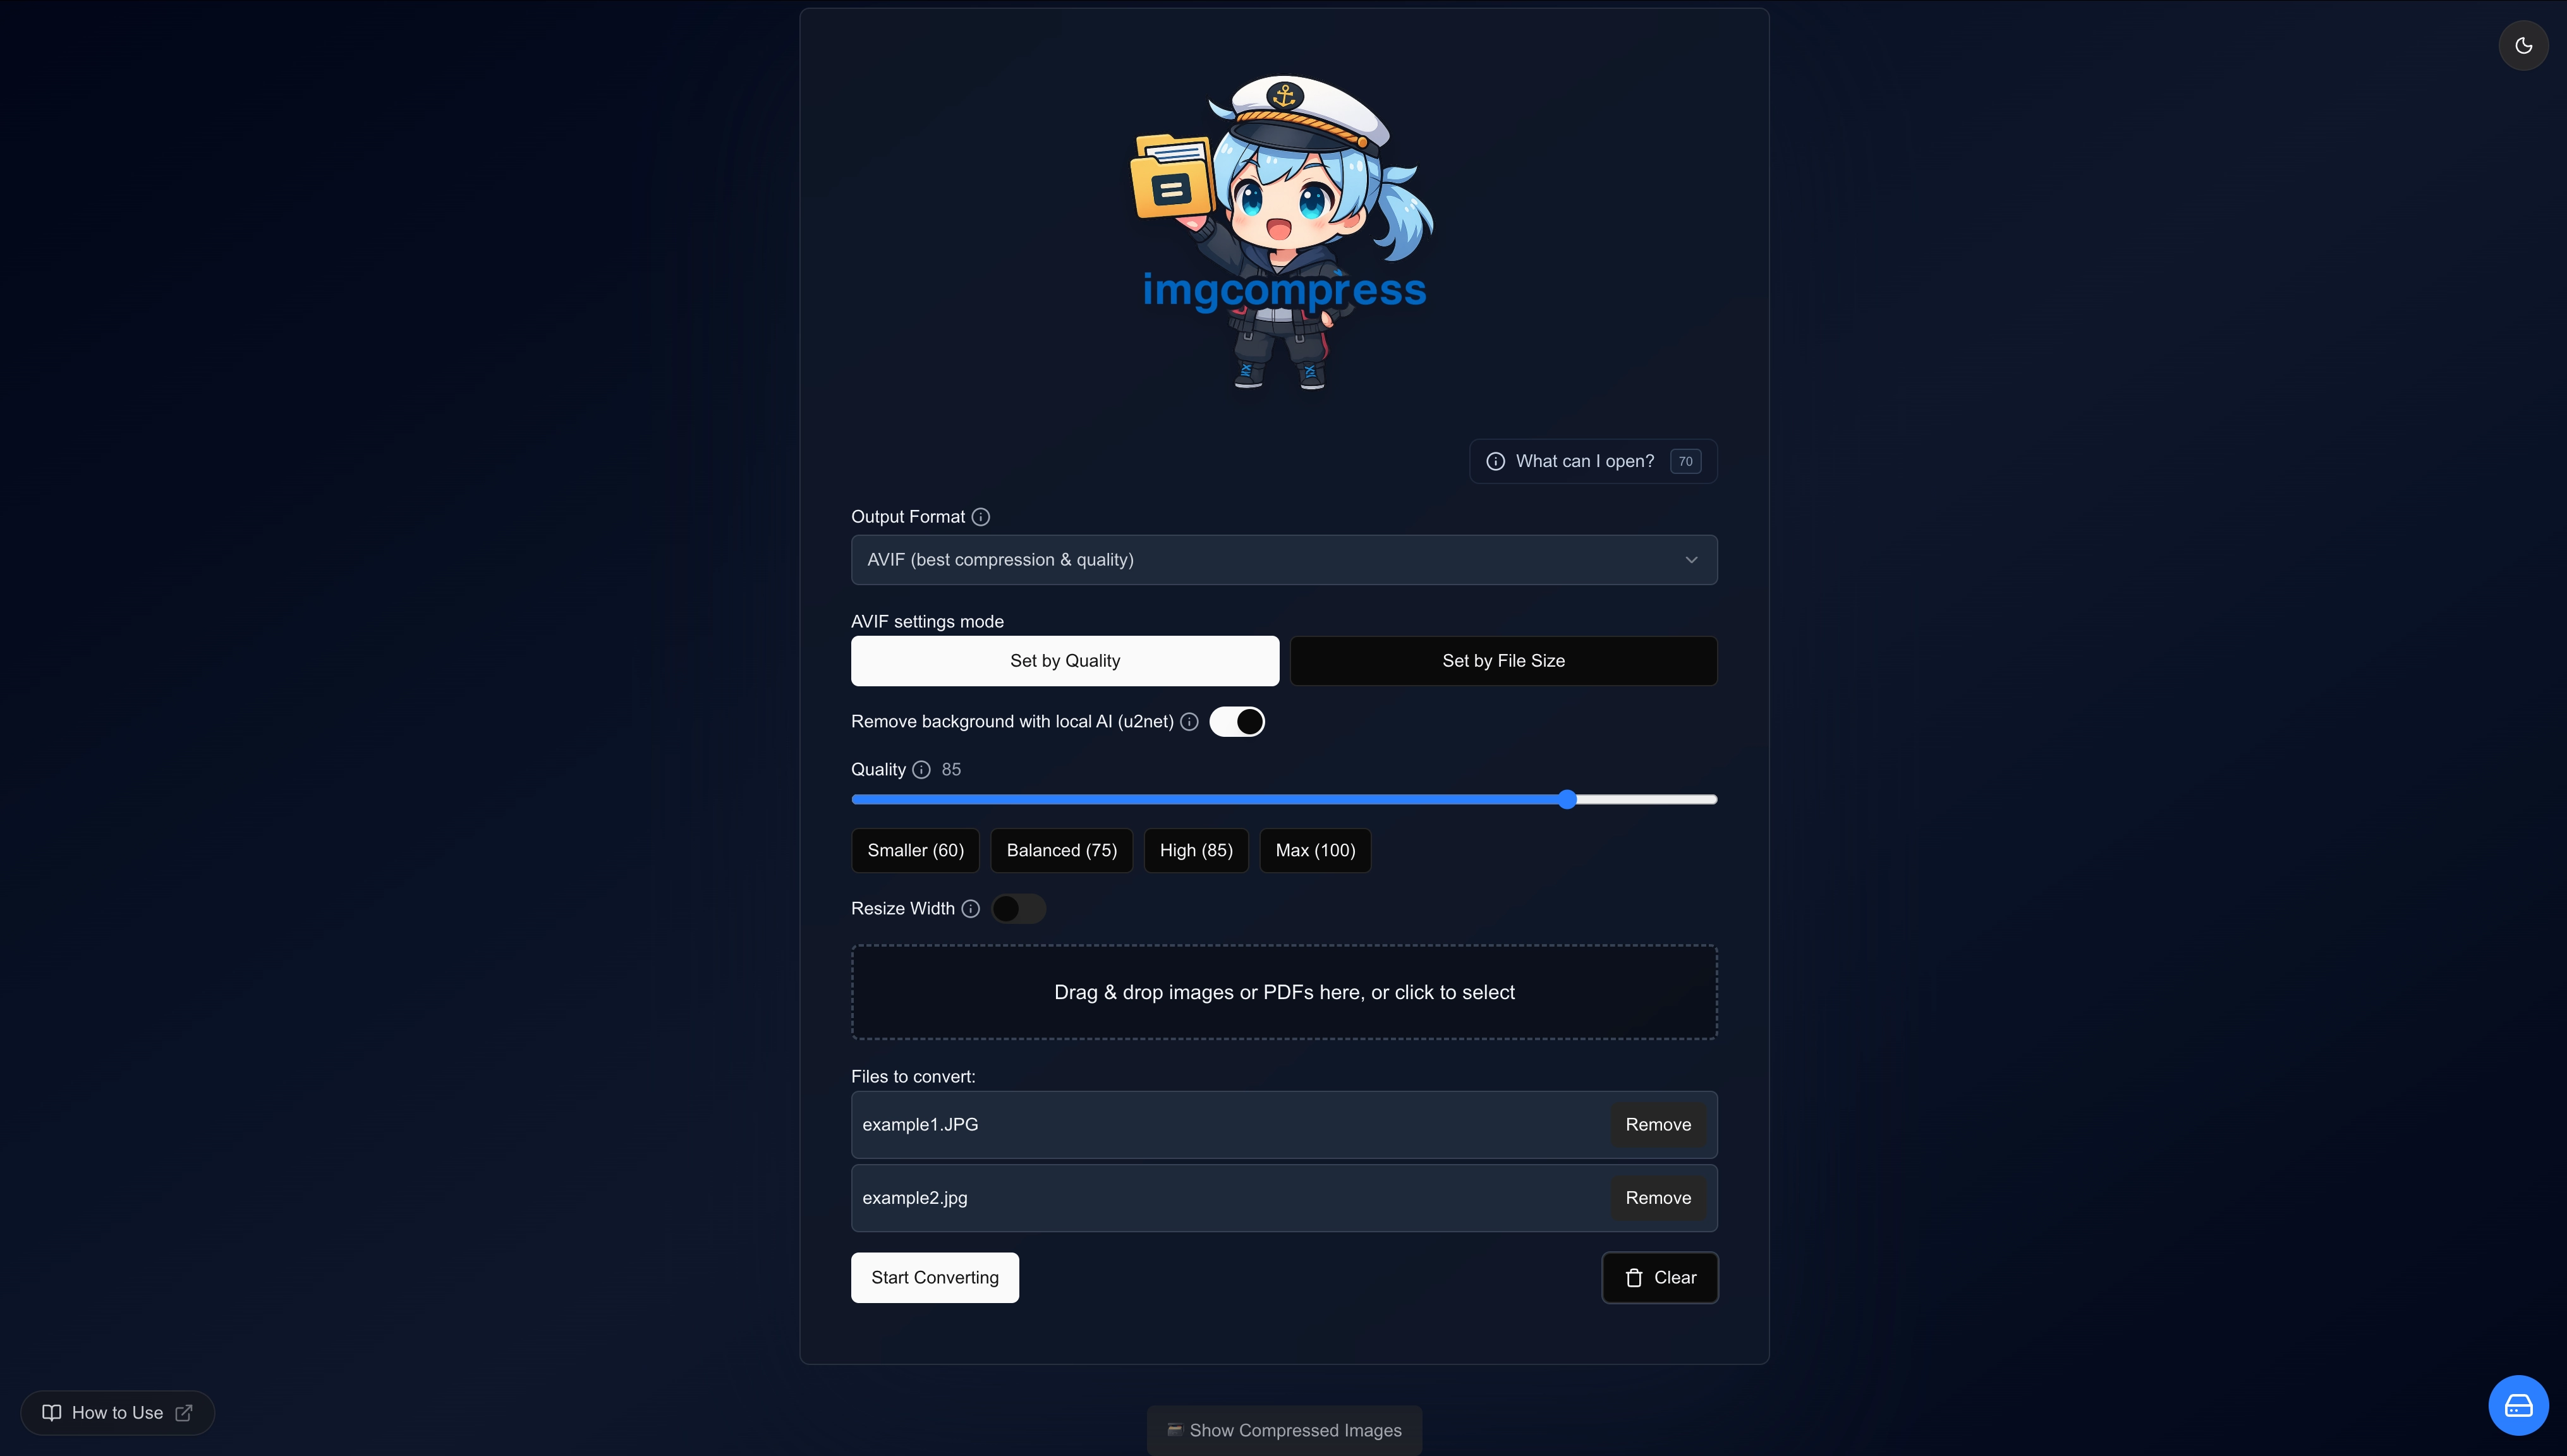 Toggle background removal
Example#
Here is what the AI background removal looks like on a landscape photo:
| Original | Background removed |
|---|---|
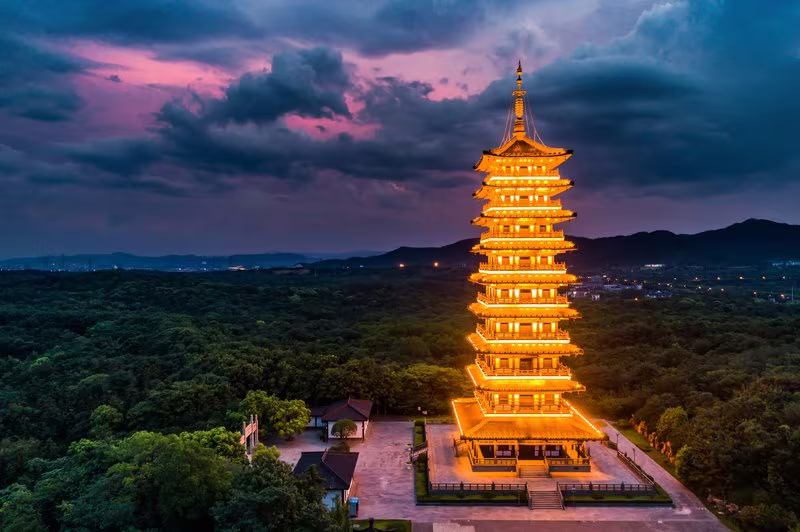 Original landscape with sunset Original landscape with sunset | 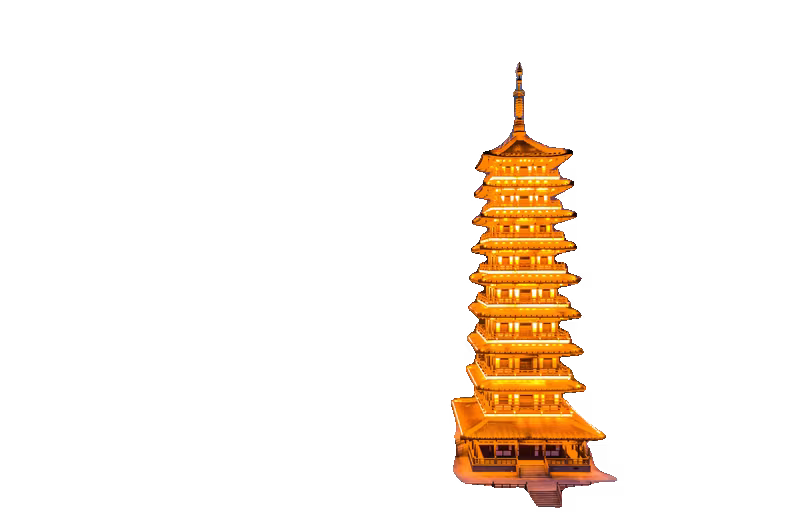 Landscape with background removed Landscape with background removed |
Target a Specific File Size#
Need your image under 1 MB for a website upload? imgcompress can hit a target size.
-
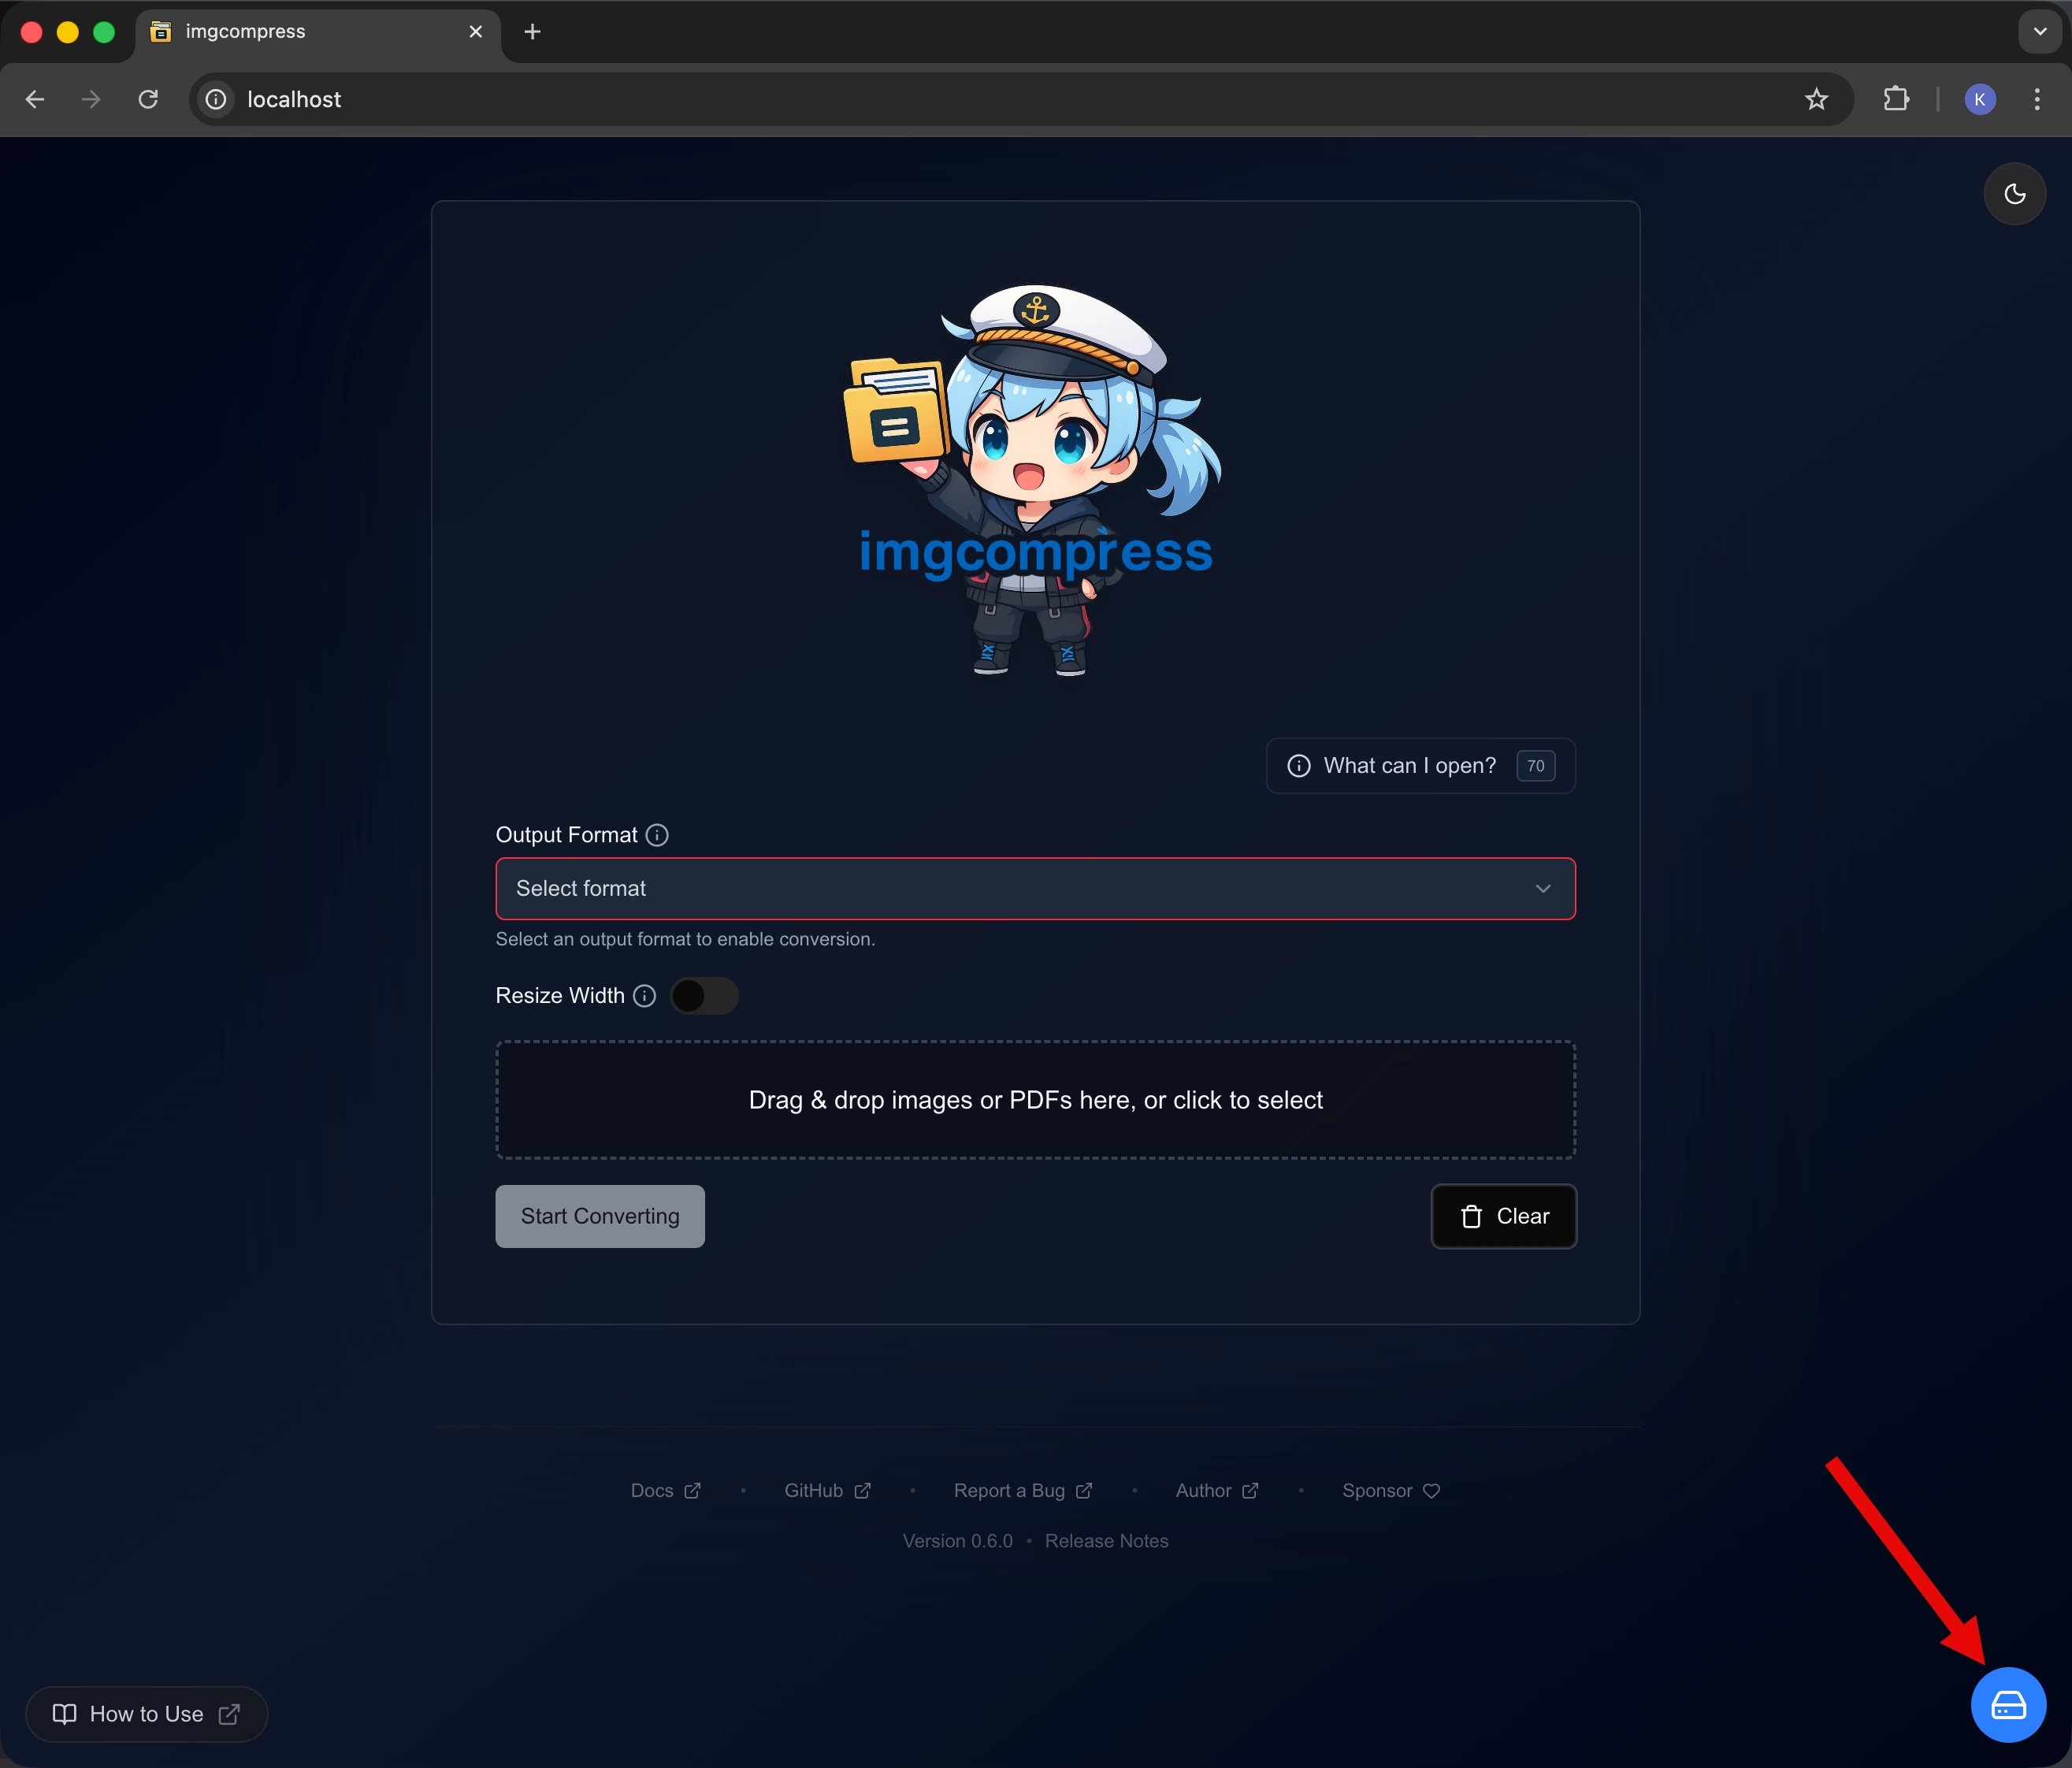
Choose a format. JPG or AVIF gives the best compression-to-quality ratio.
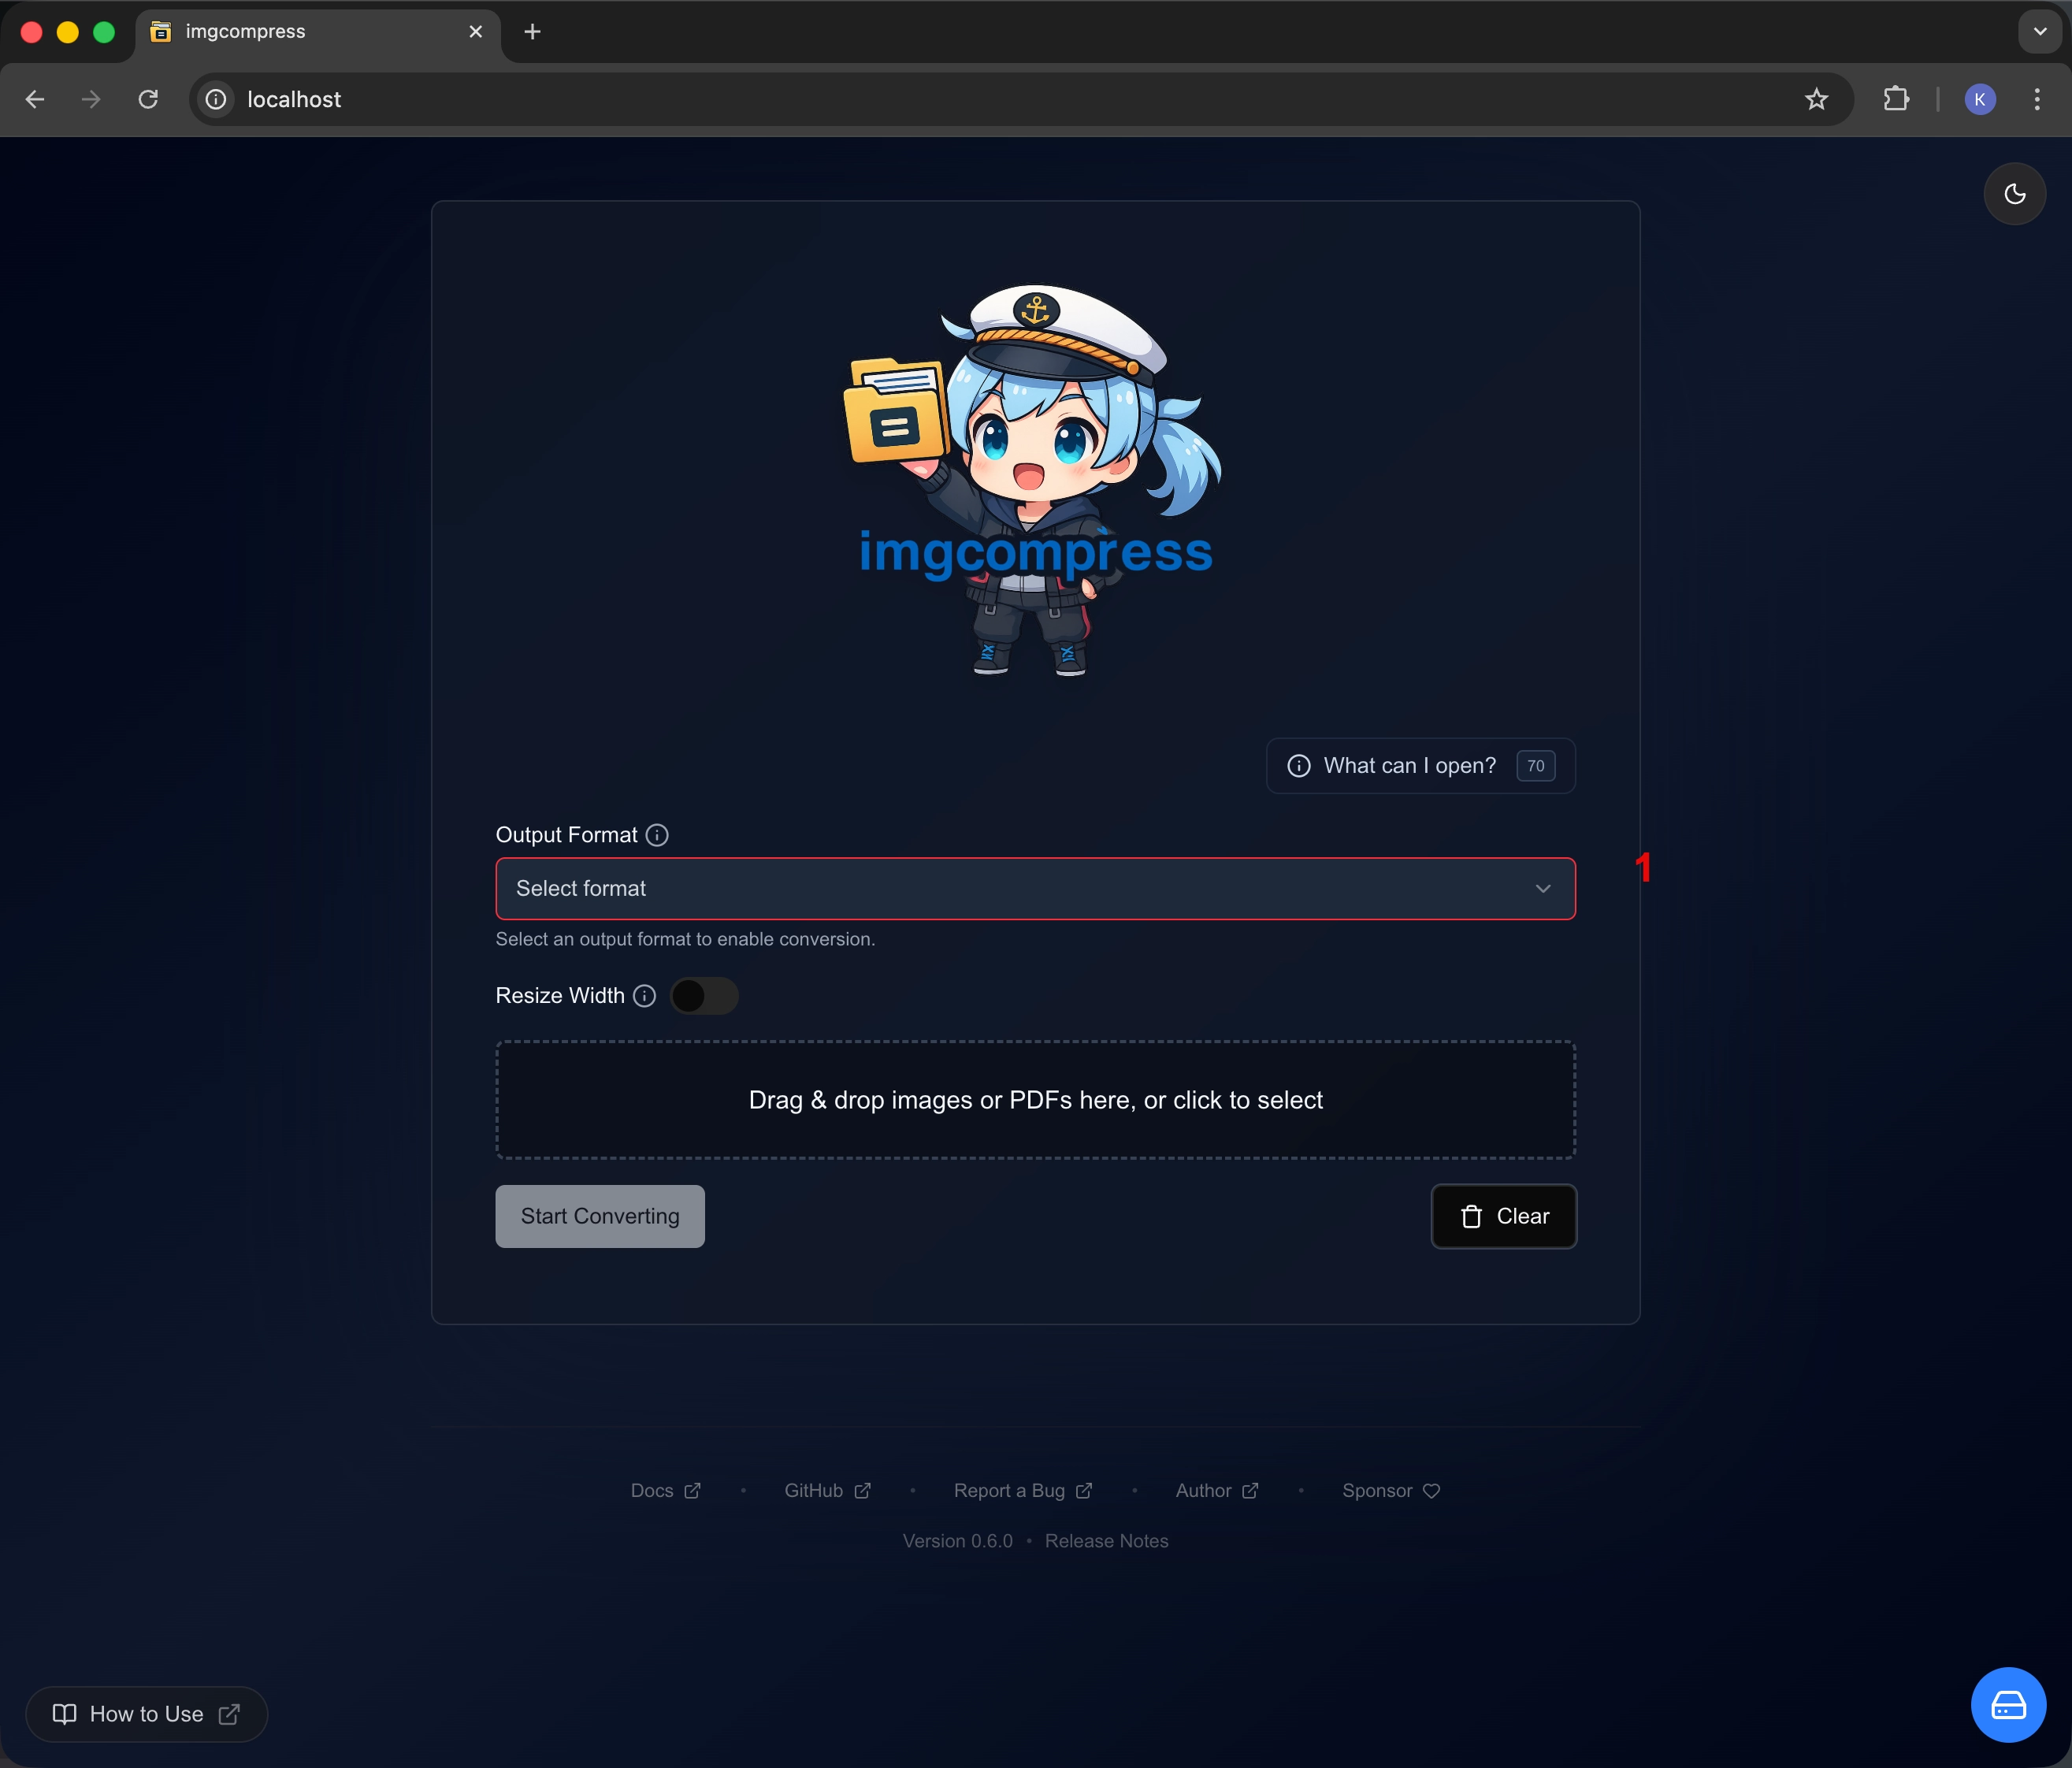 Select format
 -
Add your images to the queue.
 Add files
 -
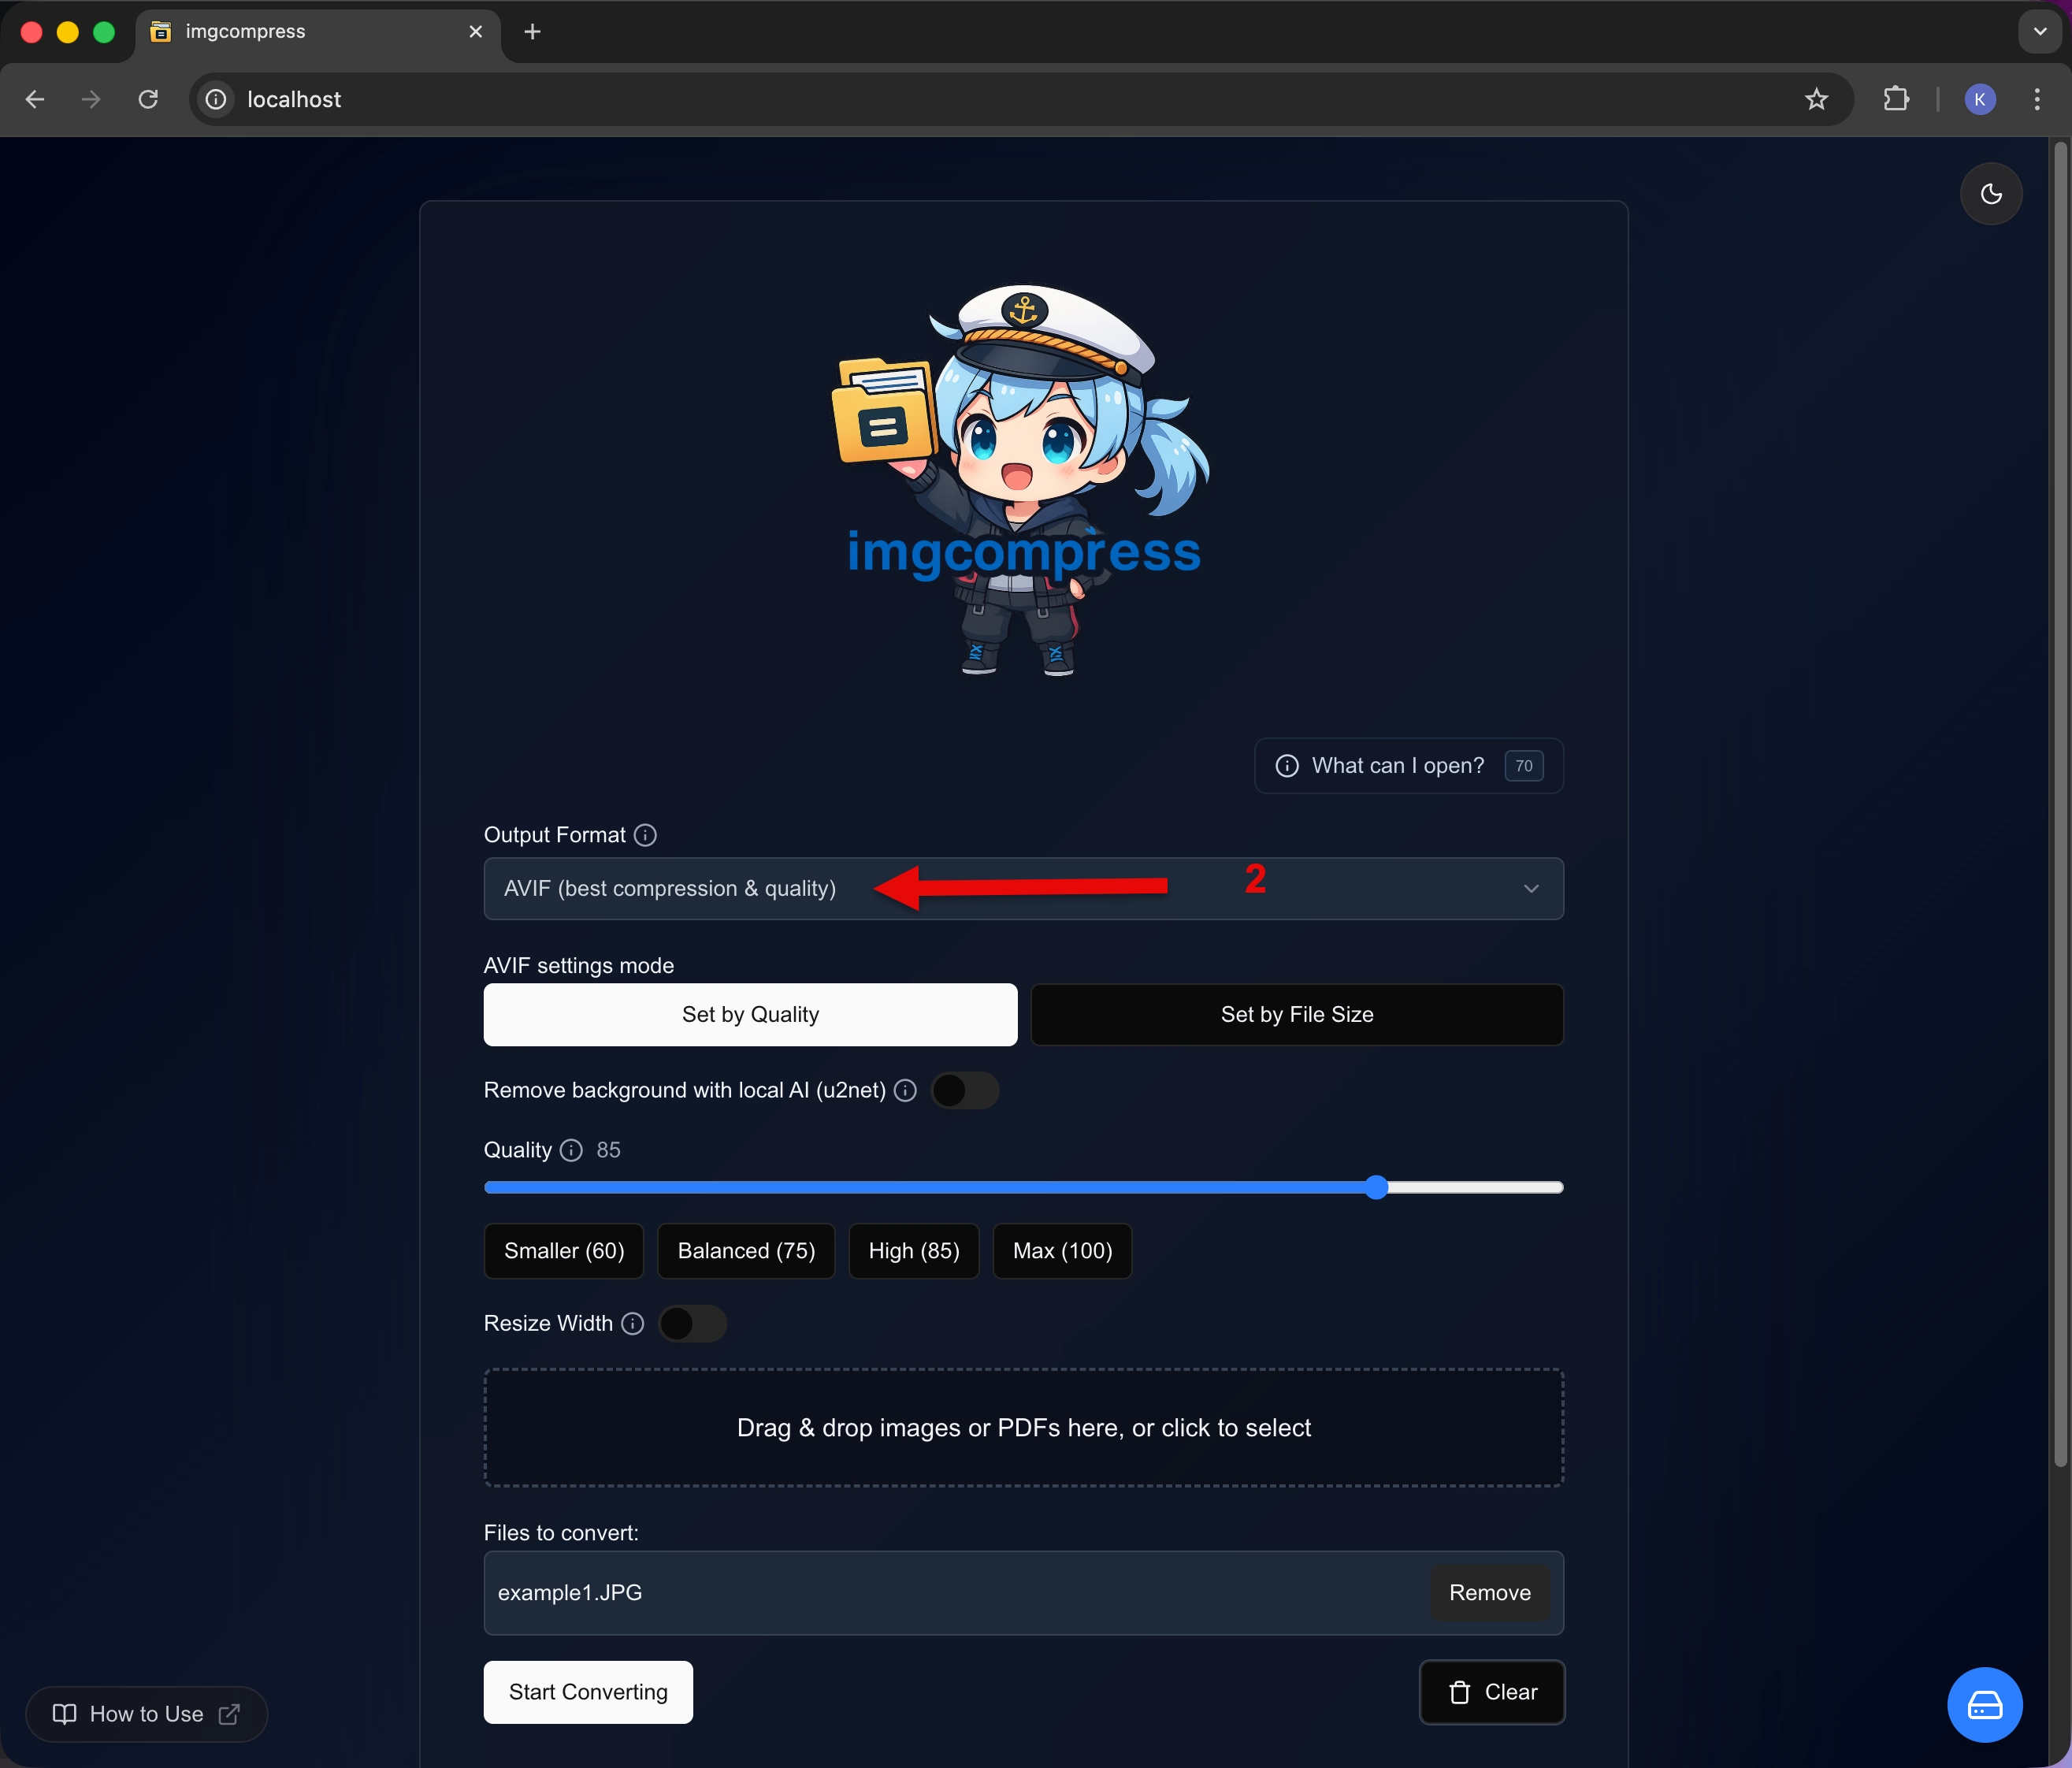
Open "Set by File Size", enter your limit (e.g.
1 MB), and convert.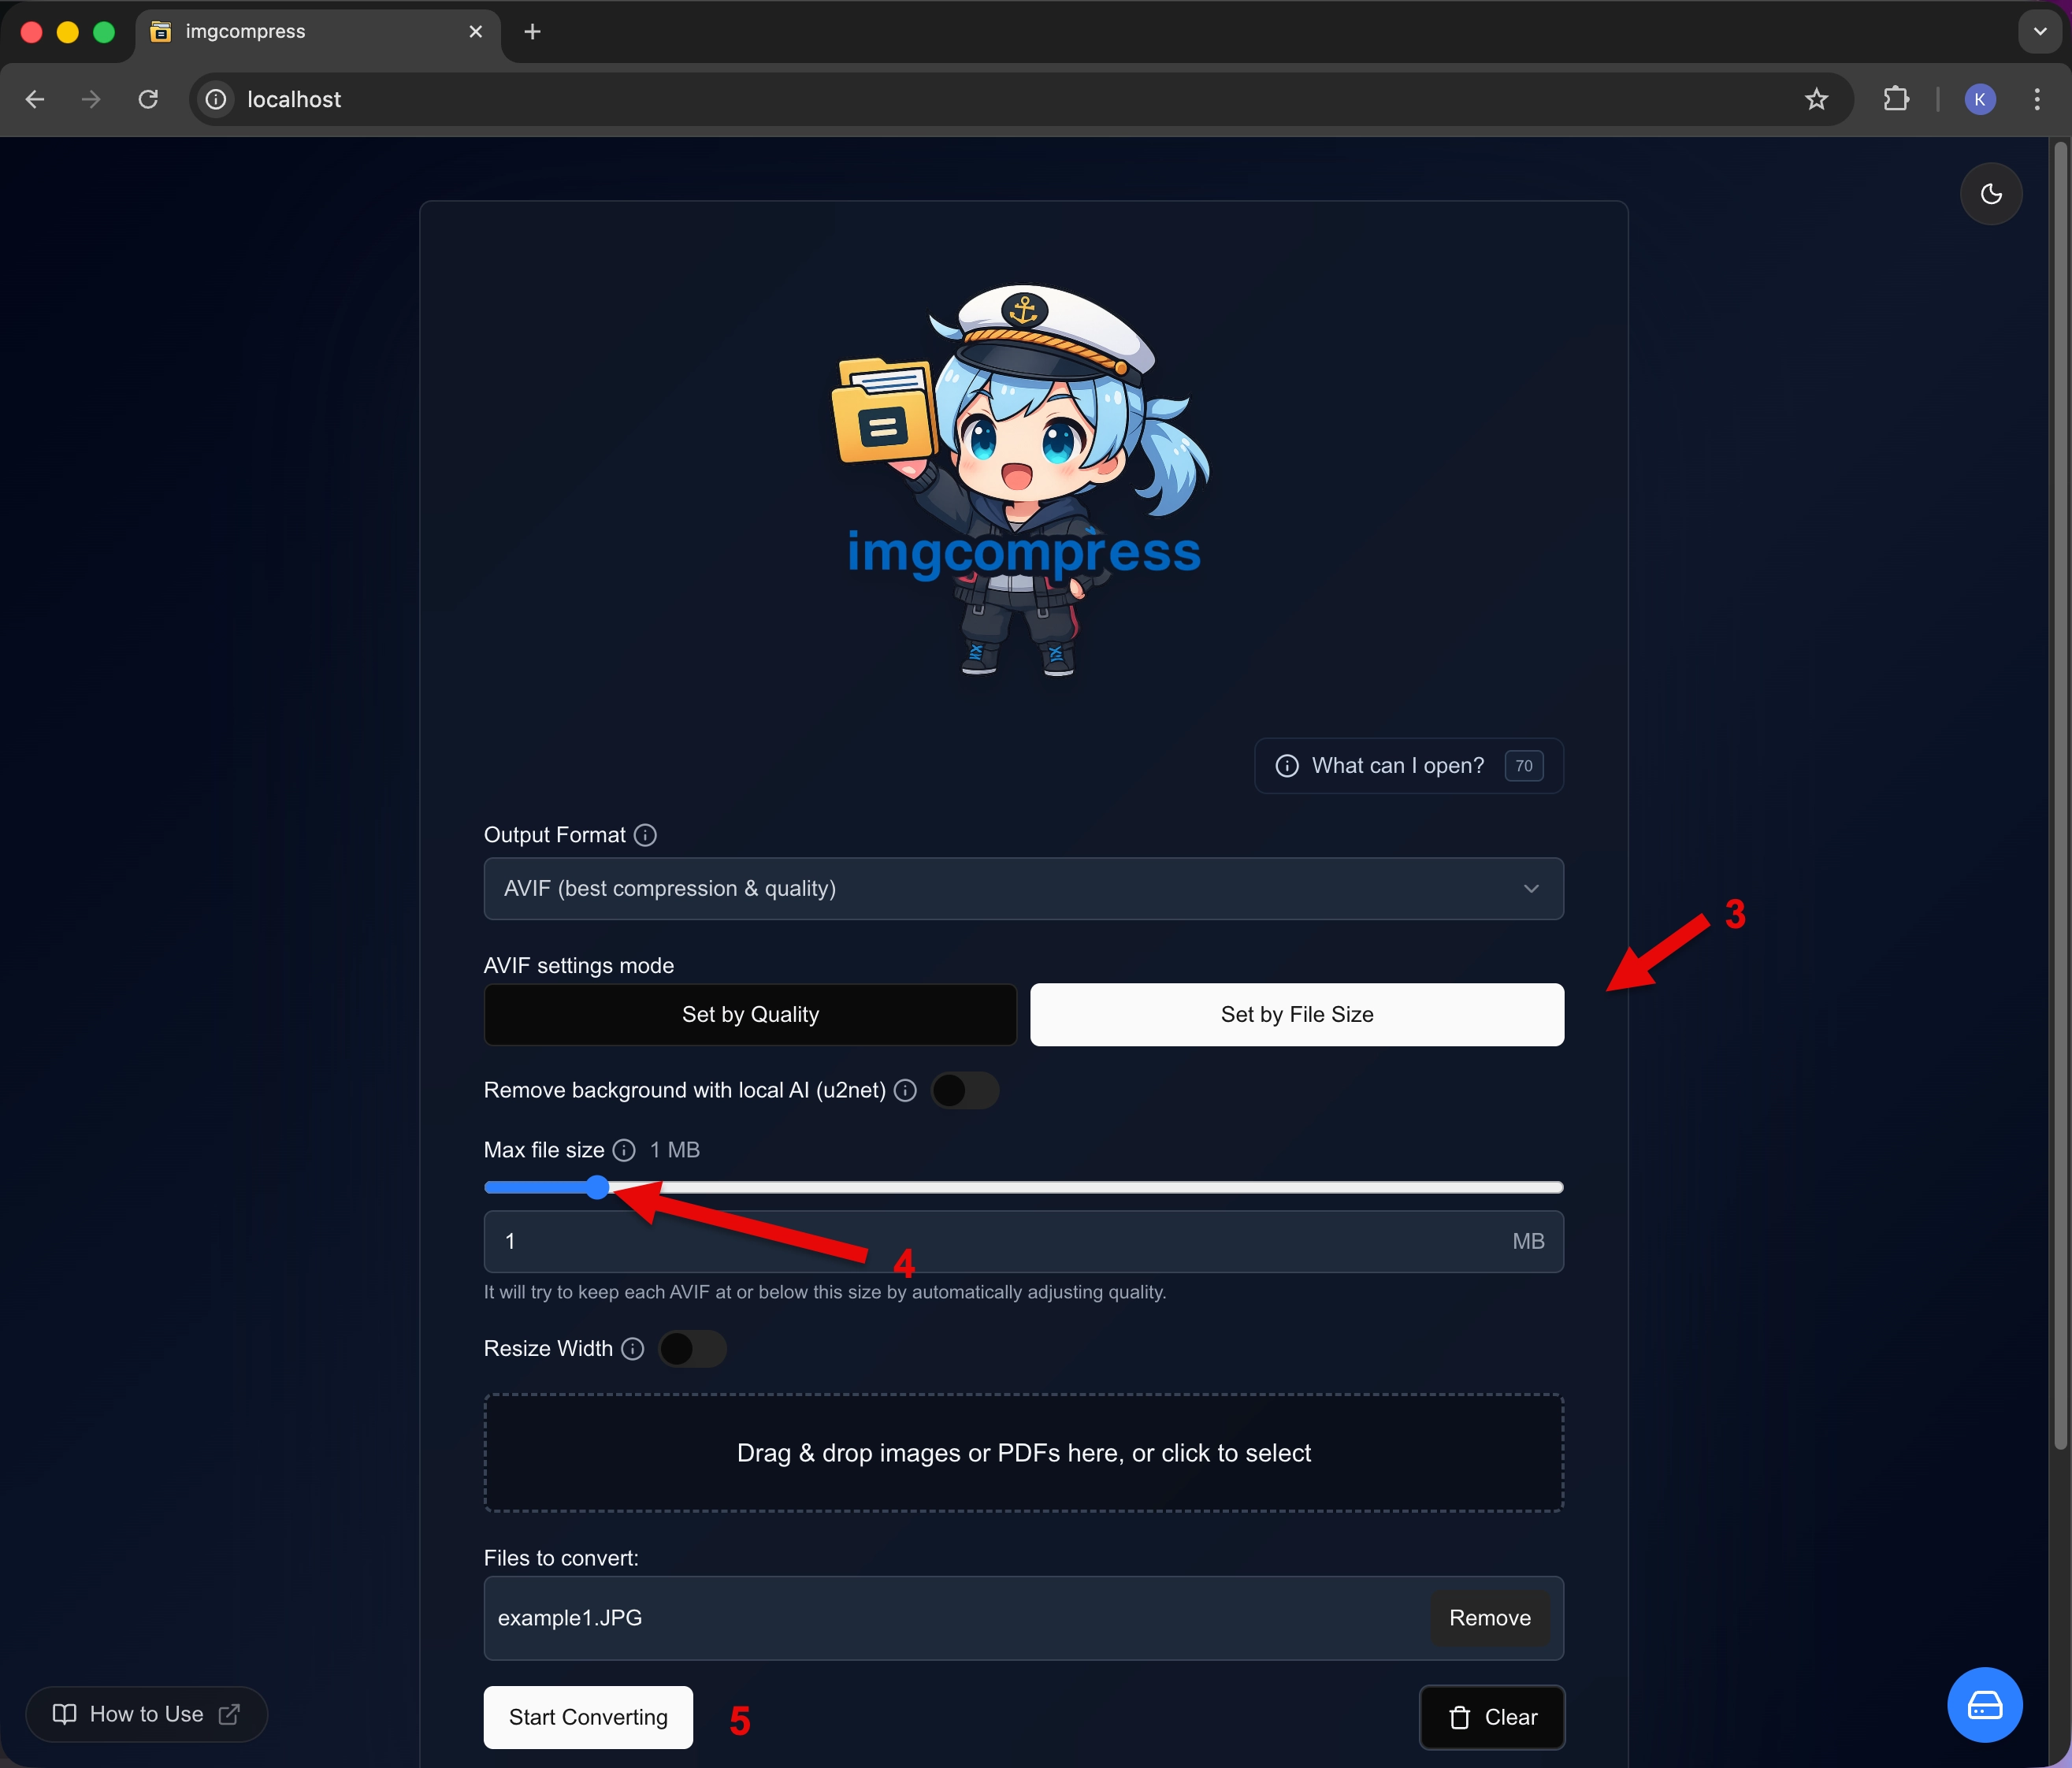 Set max file size
Storage Management#
imgcompress stores processed files on the server for easy re-download. You can manage them from the Storage panel.
 Storage management panel
If you don't want users to see processed files, add DISABLE_STORAGE_MANAGEMENT=true to the environment: section of your docker-compose.yml. → See the docker-compose setup
Privacy#
imgcompress is self-hosted. Your files never leave your own server and nothing is sent to any external service. Only you (and anyone you give access to your server) can see your uploaded files. See Privacy & Safety for details.