Installation & Setup
Install ImgCompress with Docker or Docker Compose in under 60 seconds. Run private image compression and conversion on a server, NAS, homelab, or desktop.
Prerequisites#
You only need Docker installed. No other dependencies required.
If you are comparing deployment options, the self-hosted image compression overview explains when ImgCompress is a better fit than a public online compressor.
Install#
Choose the method that works best for you.
Use Docker Compose if you want imgcompress to stay running on your server or NAS.
-
Create a
docker-compose.ymlfile and paste the following:yamlservices: imgcompress: image: karimz1/imgcompress:latest container_name: imgcompress restart: always ports: - "3001:5000" environment: # Set to true to remove the mascot and enable a minimal, mascot-free UI - DISABLE_LOGO=false # Set to true to disable the storage management features (e.g., for your users to not see all the files) - DISABLE_STORAGE_MANAGEMENT=false -
Pull the latest image, then start the container:
bashdocker compose pull docker compose up -d
If you've installed imgcompress before, Docker may still have an older image cached locally. docker compose pull makes sure you're running the latest version.
- Open your browser at http://localhost:3001.
Default UI (with mascot)
The standard interface includes Captain Compress, the product mascot.
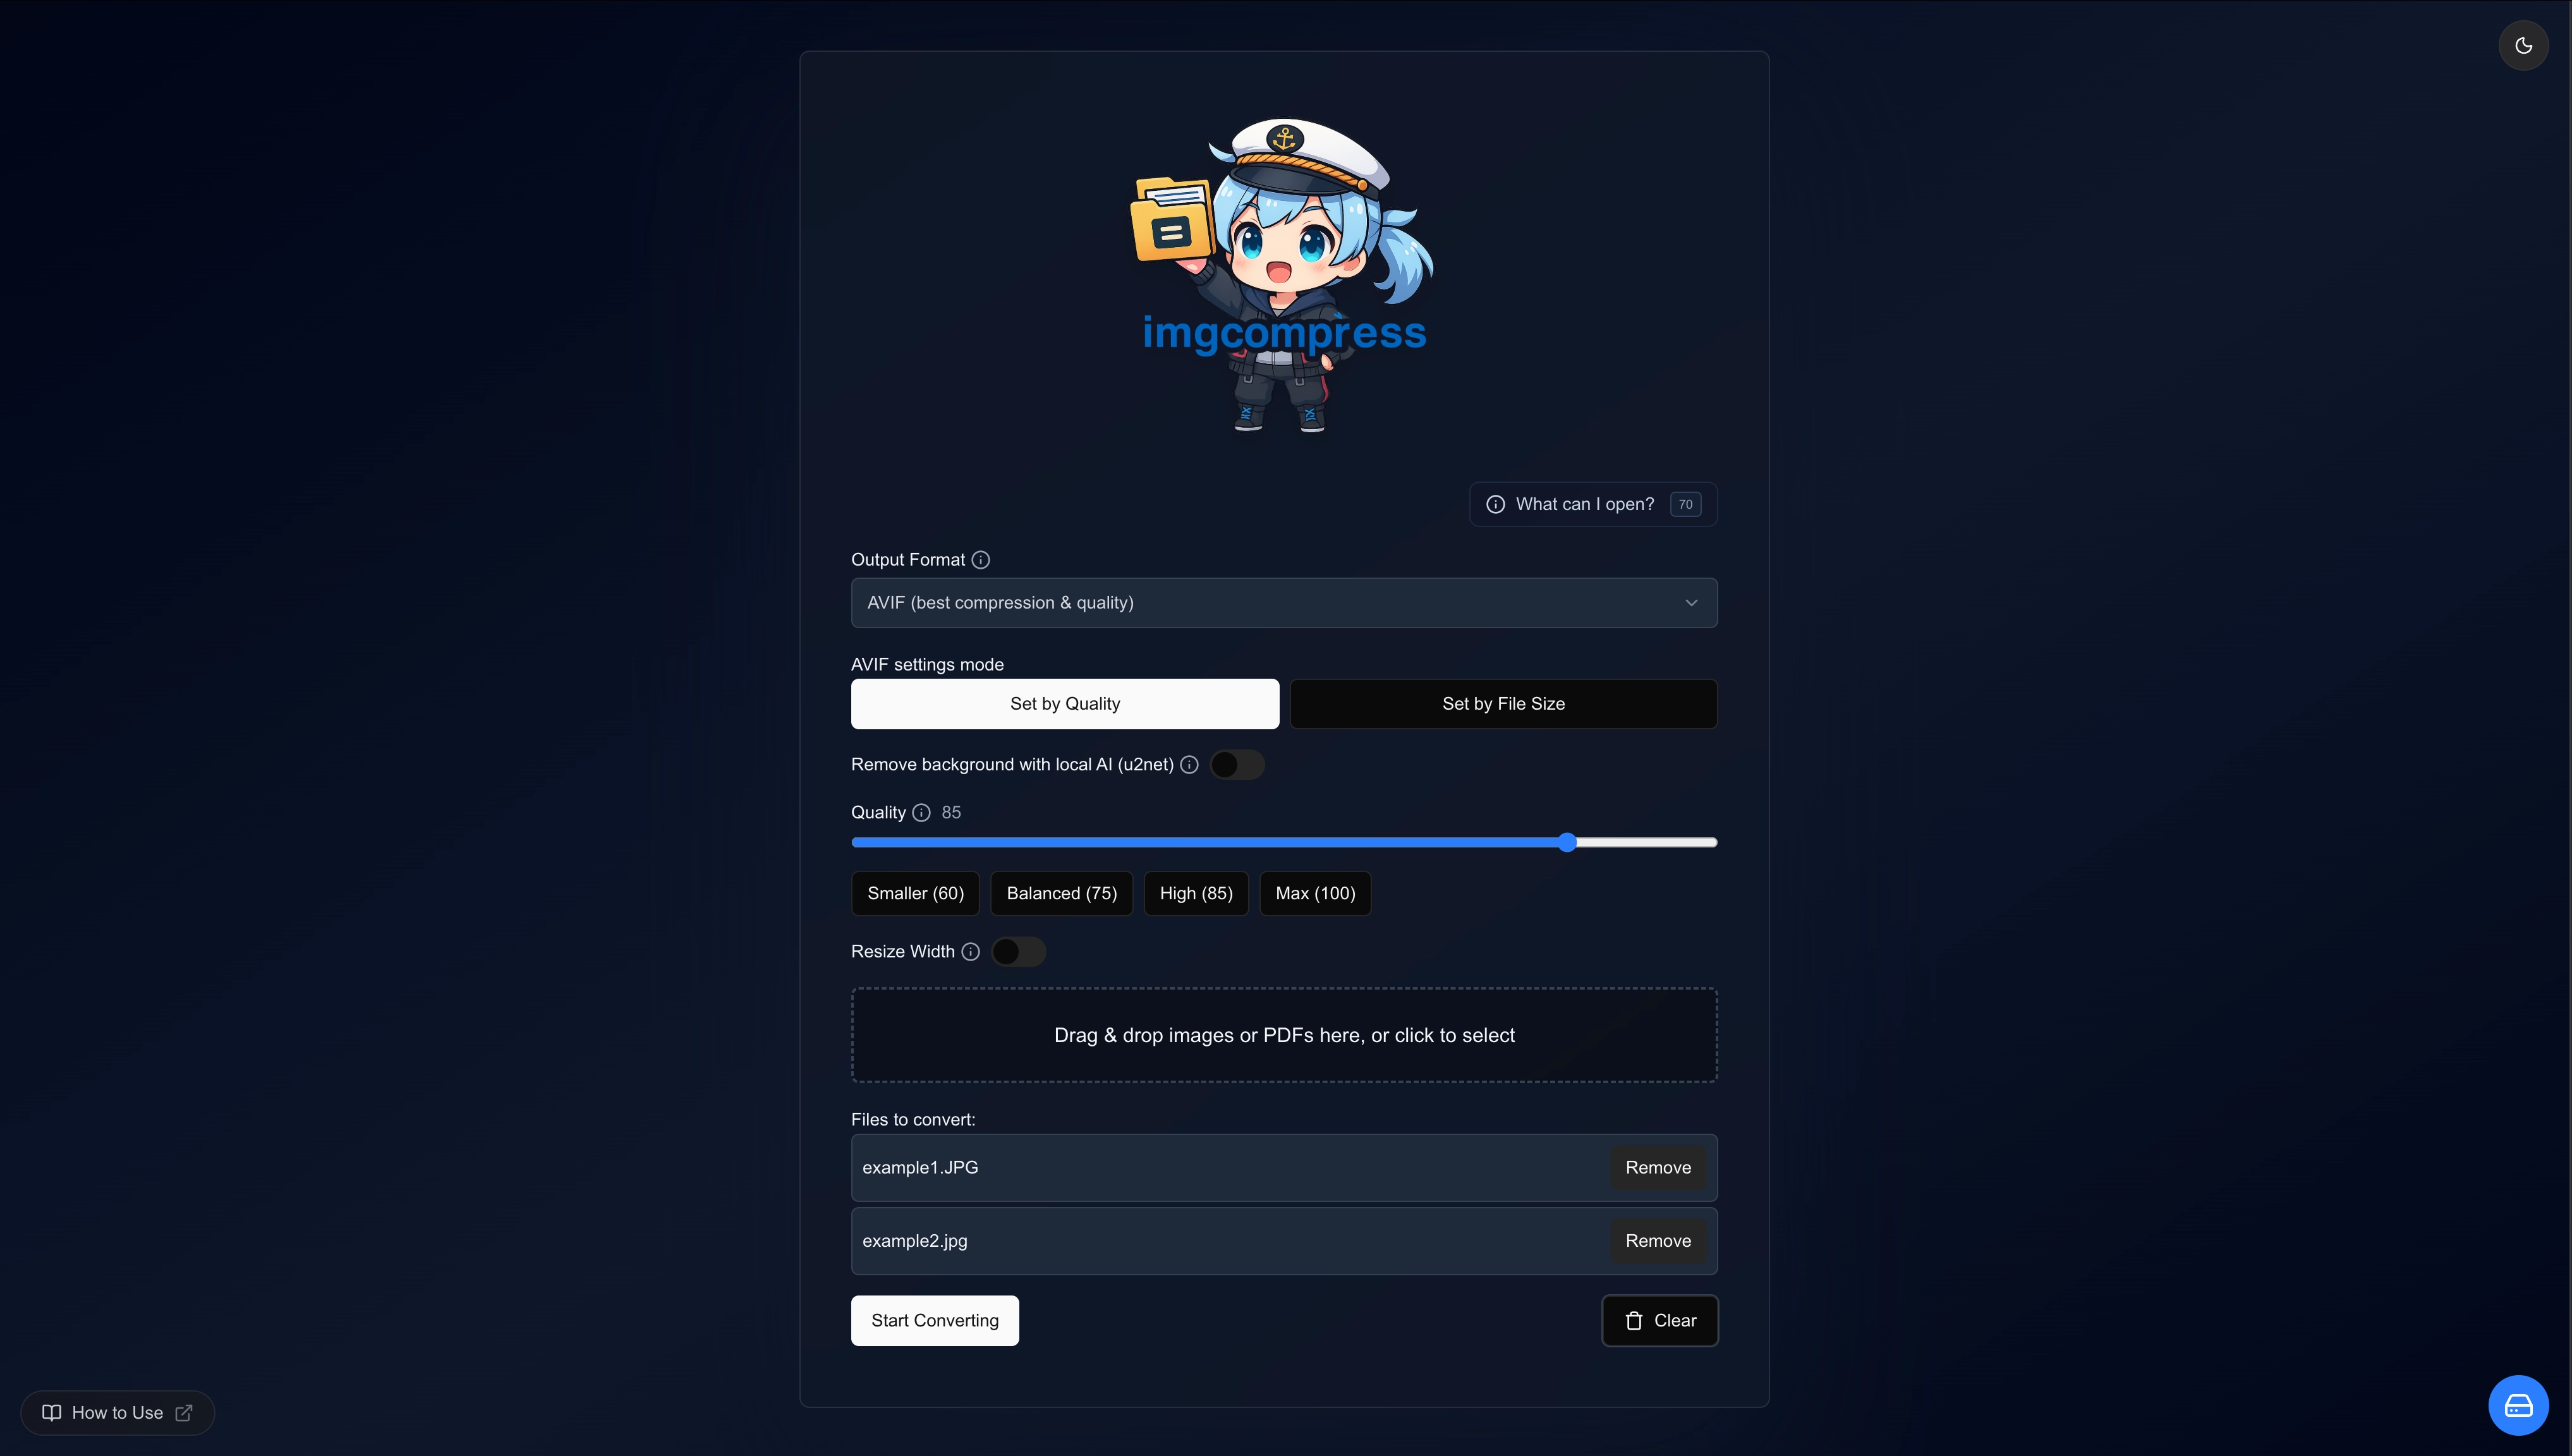 ImgCompress default web UI with Captain Compress mascot
Minimal UI (set DISABLE_LOGO=true)
A clean, mascot-free interface ideal for professional, shared, or corporate environments.
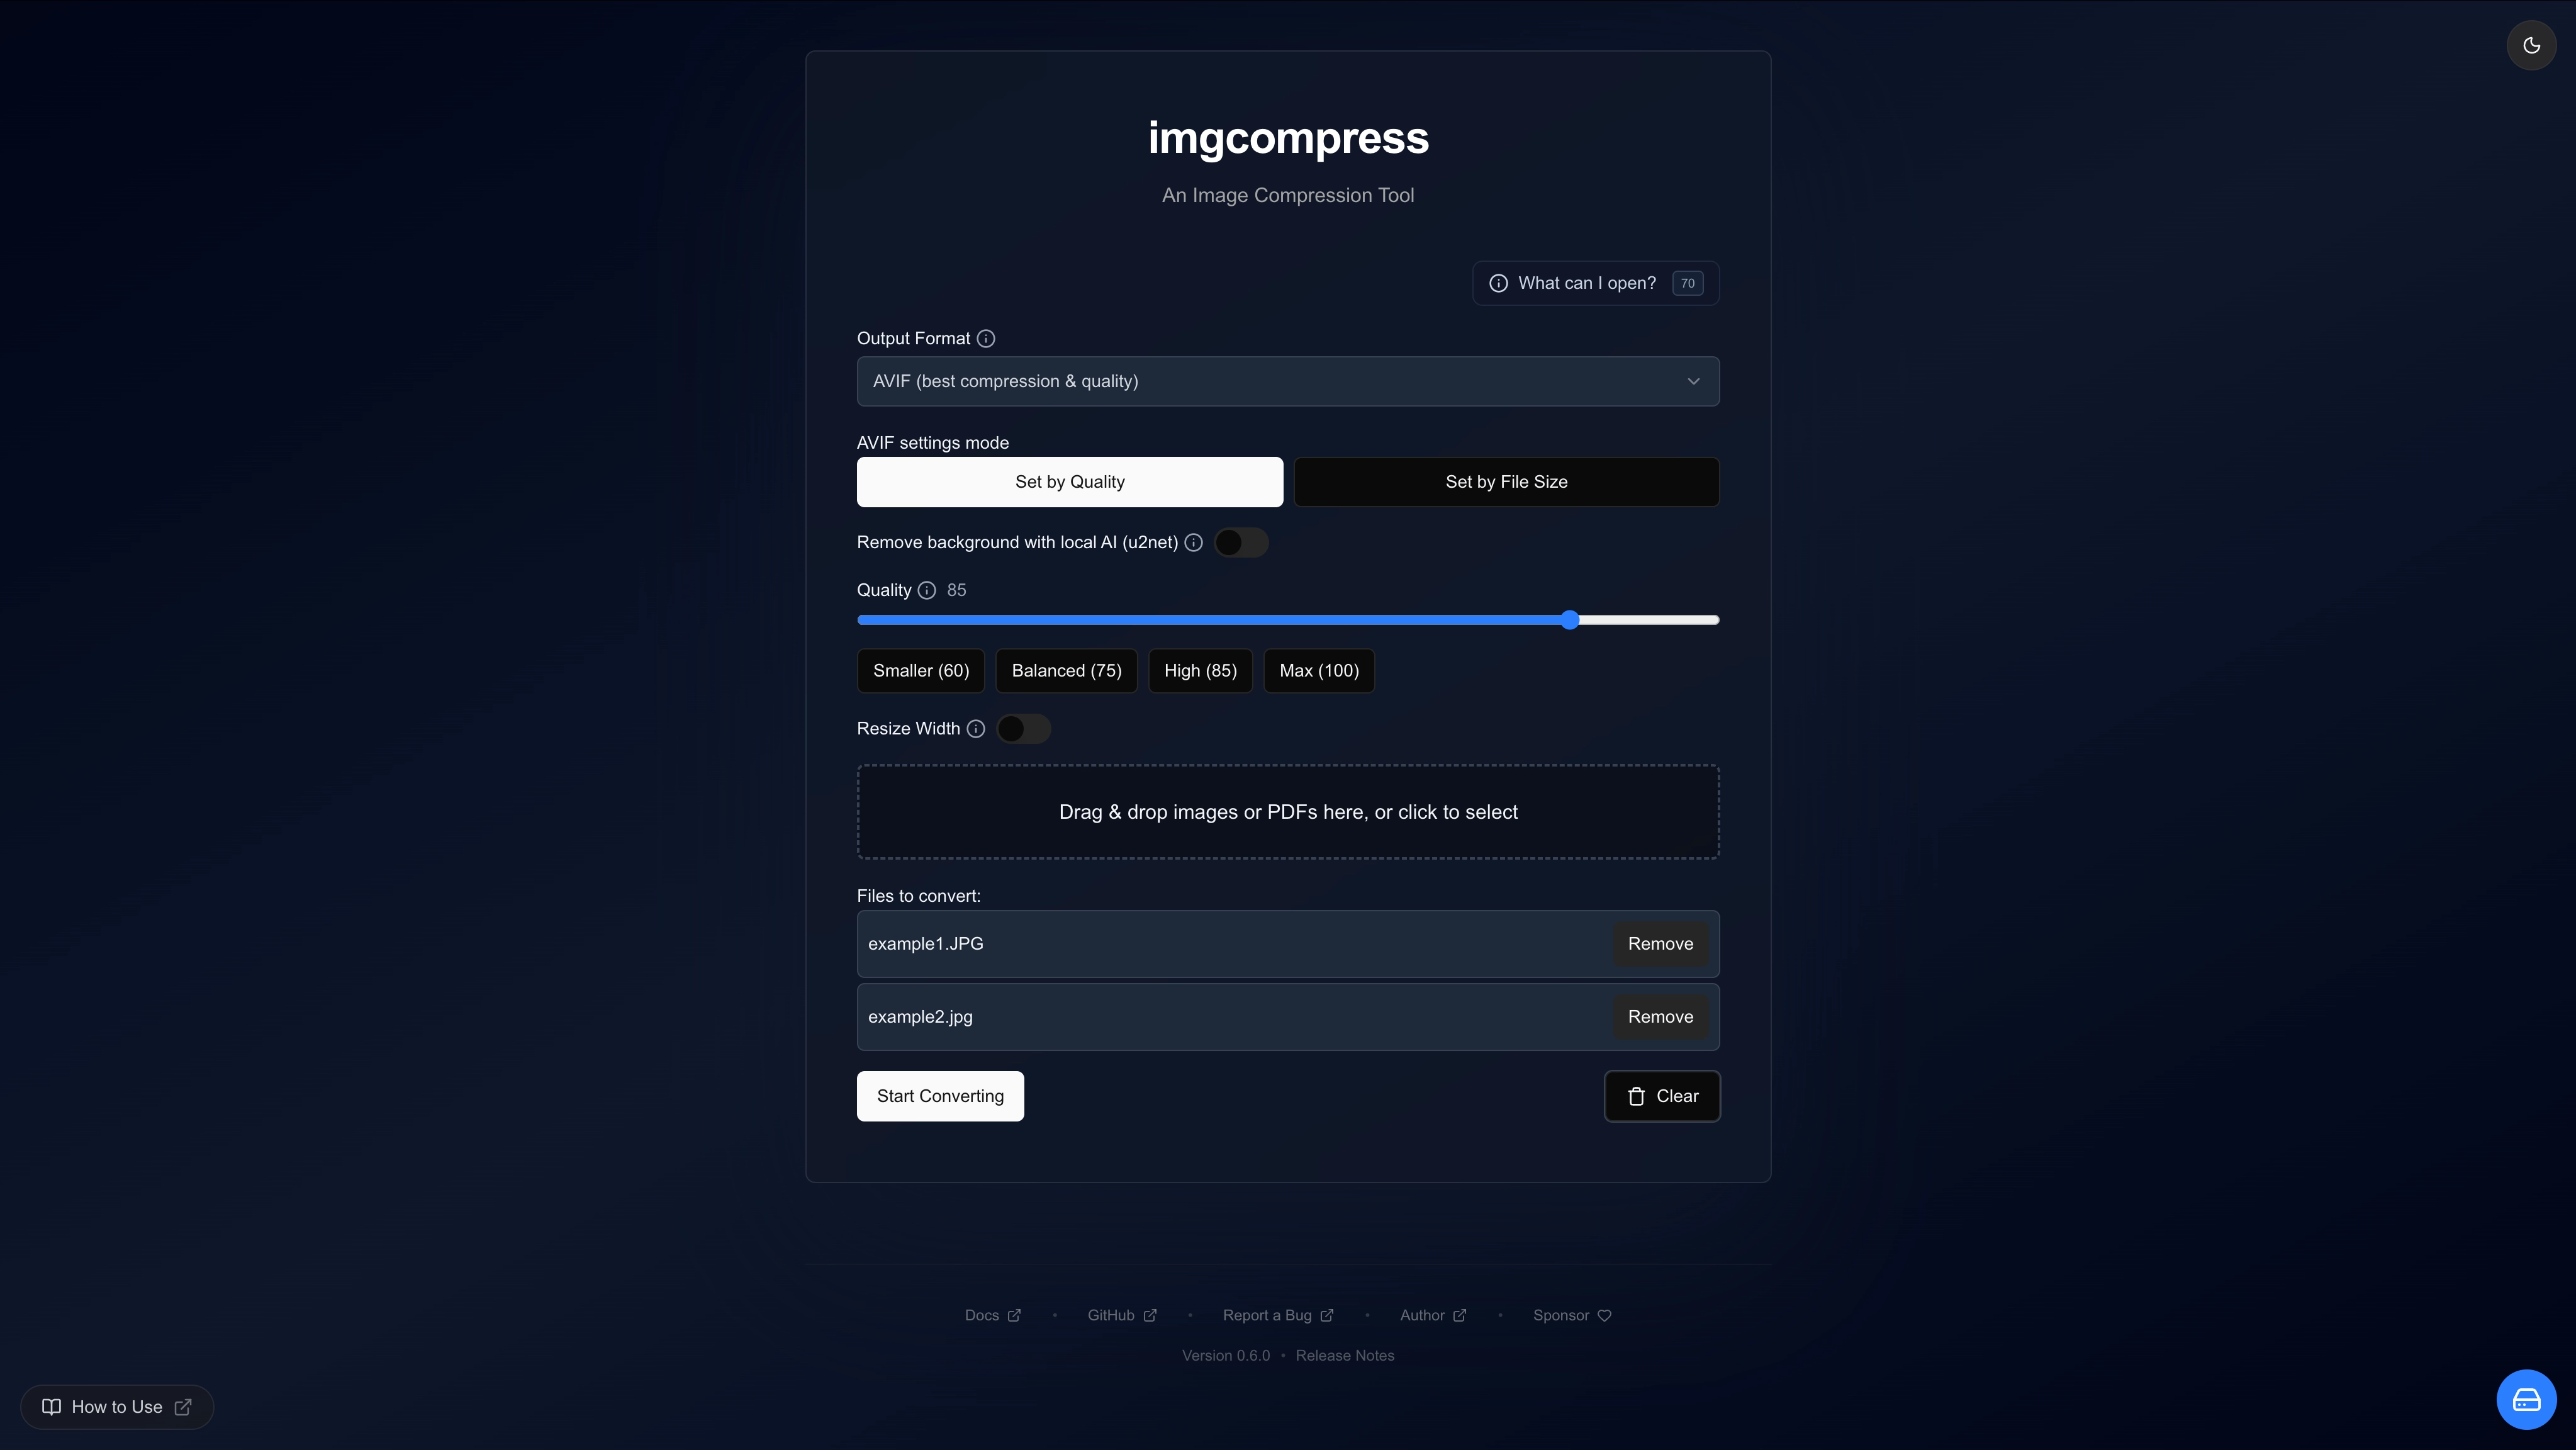 ImgCompress minimal web UI without mascot, DISABLE_LOGO=true
bashdocker compose pull docker compose up -d
Versions#
Most users should stick with latest.
| Tag | Type | Who is it for? |
|---|---|---|
latest | Stable release | Recommended for everyone. |
nightly | Daily build | For testing new features before they ship. |
The nightly tag rebuilds every few days, for hot patches from the main branch. It may contain experimental features or bugs. Not recommended for production.
Platform Support#
imgcompress runs on any platform that supports Docker:
| Platform | Status |
|---|---|
| Standard PCs & Macs | ✅ Supported |
| Windows (Docker Desktop) | ✅ Supported |
| Linux (any distro) | ✅ Supported |
| Apple Silicon (M1/M2/M3/M4) | ✅ Supported |
| Raspberry Pi 4+ | ✅ Supported |