Playing with the Web UI
Using imgcompress is easy. There are no complicated buttons to break.
Make sure you have set it up first.
Quick 3-Step Guide
| Step | How it looks | What to do |
|---|---|---|
| 1 | 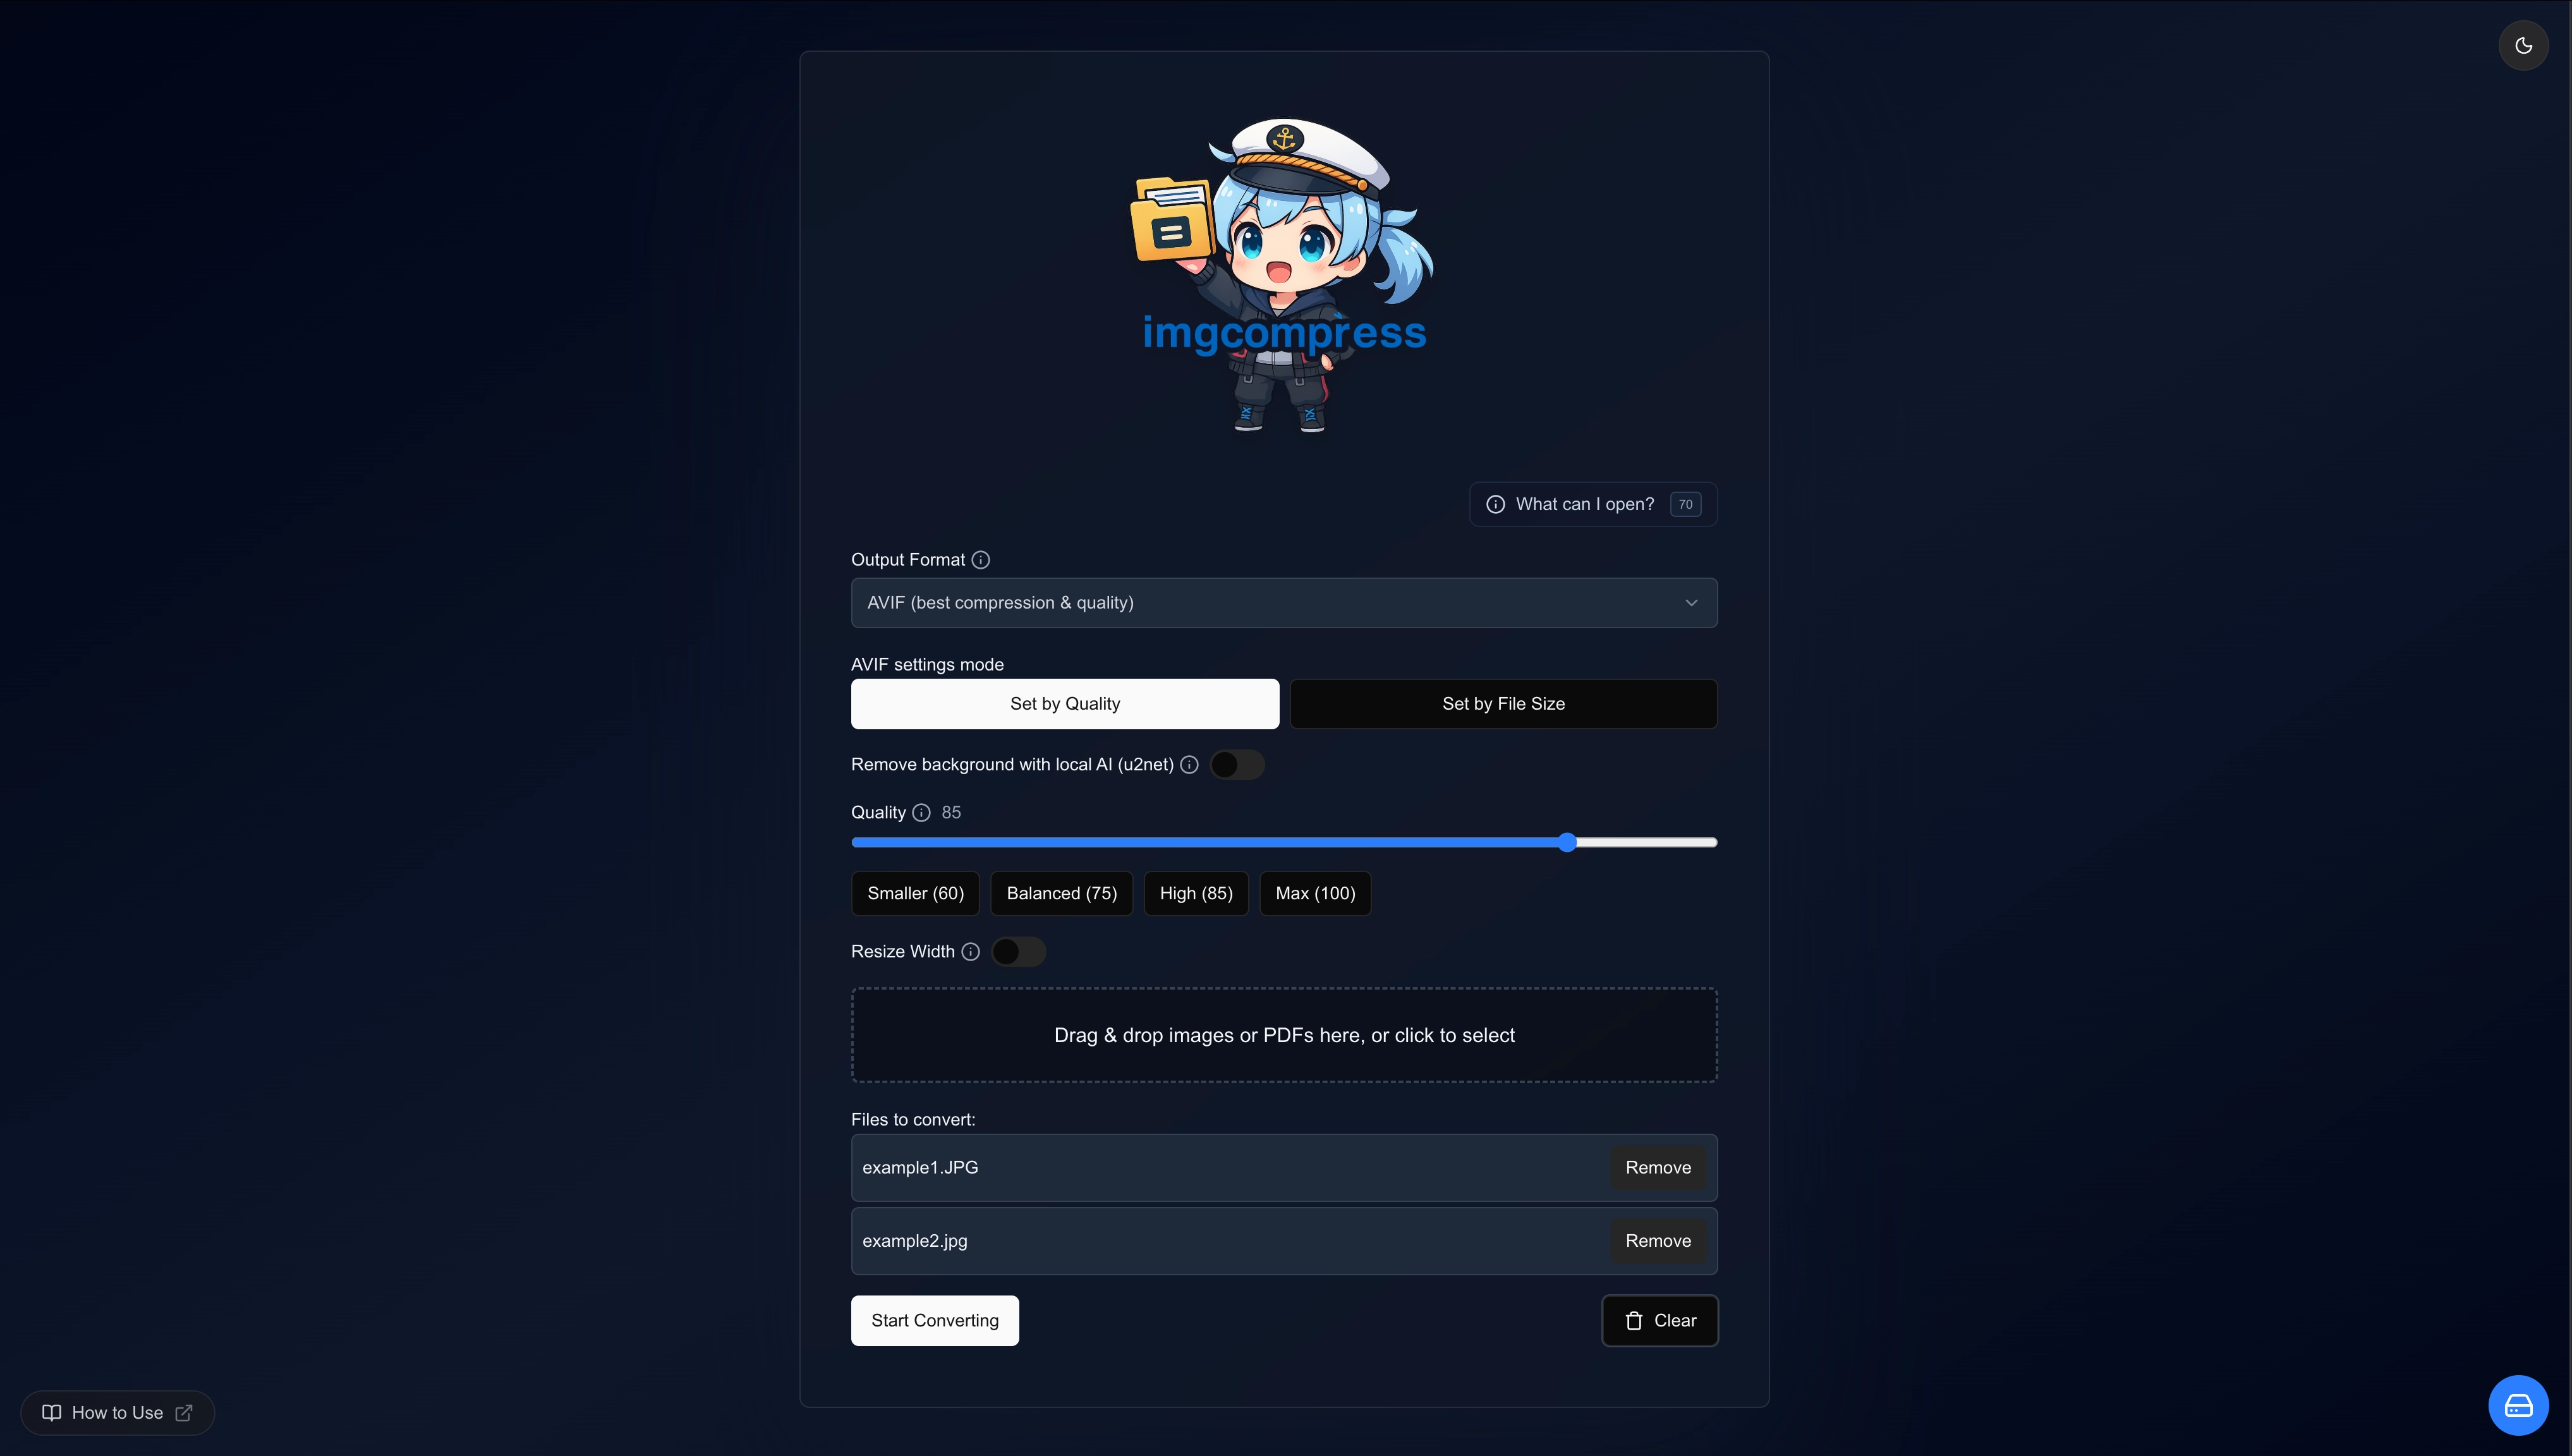 |
Drop your photos Drag images into the box. Tell it if you want them smaller or in a new format. |
| 2 | 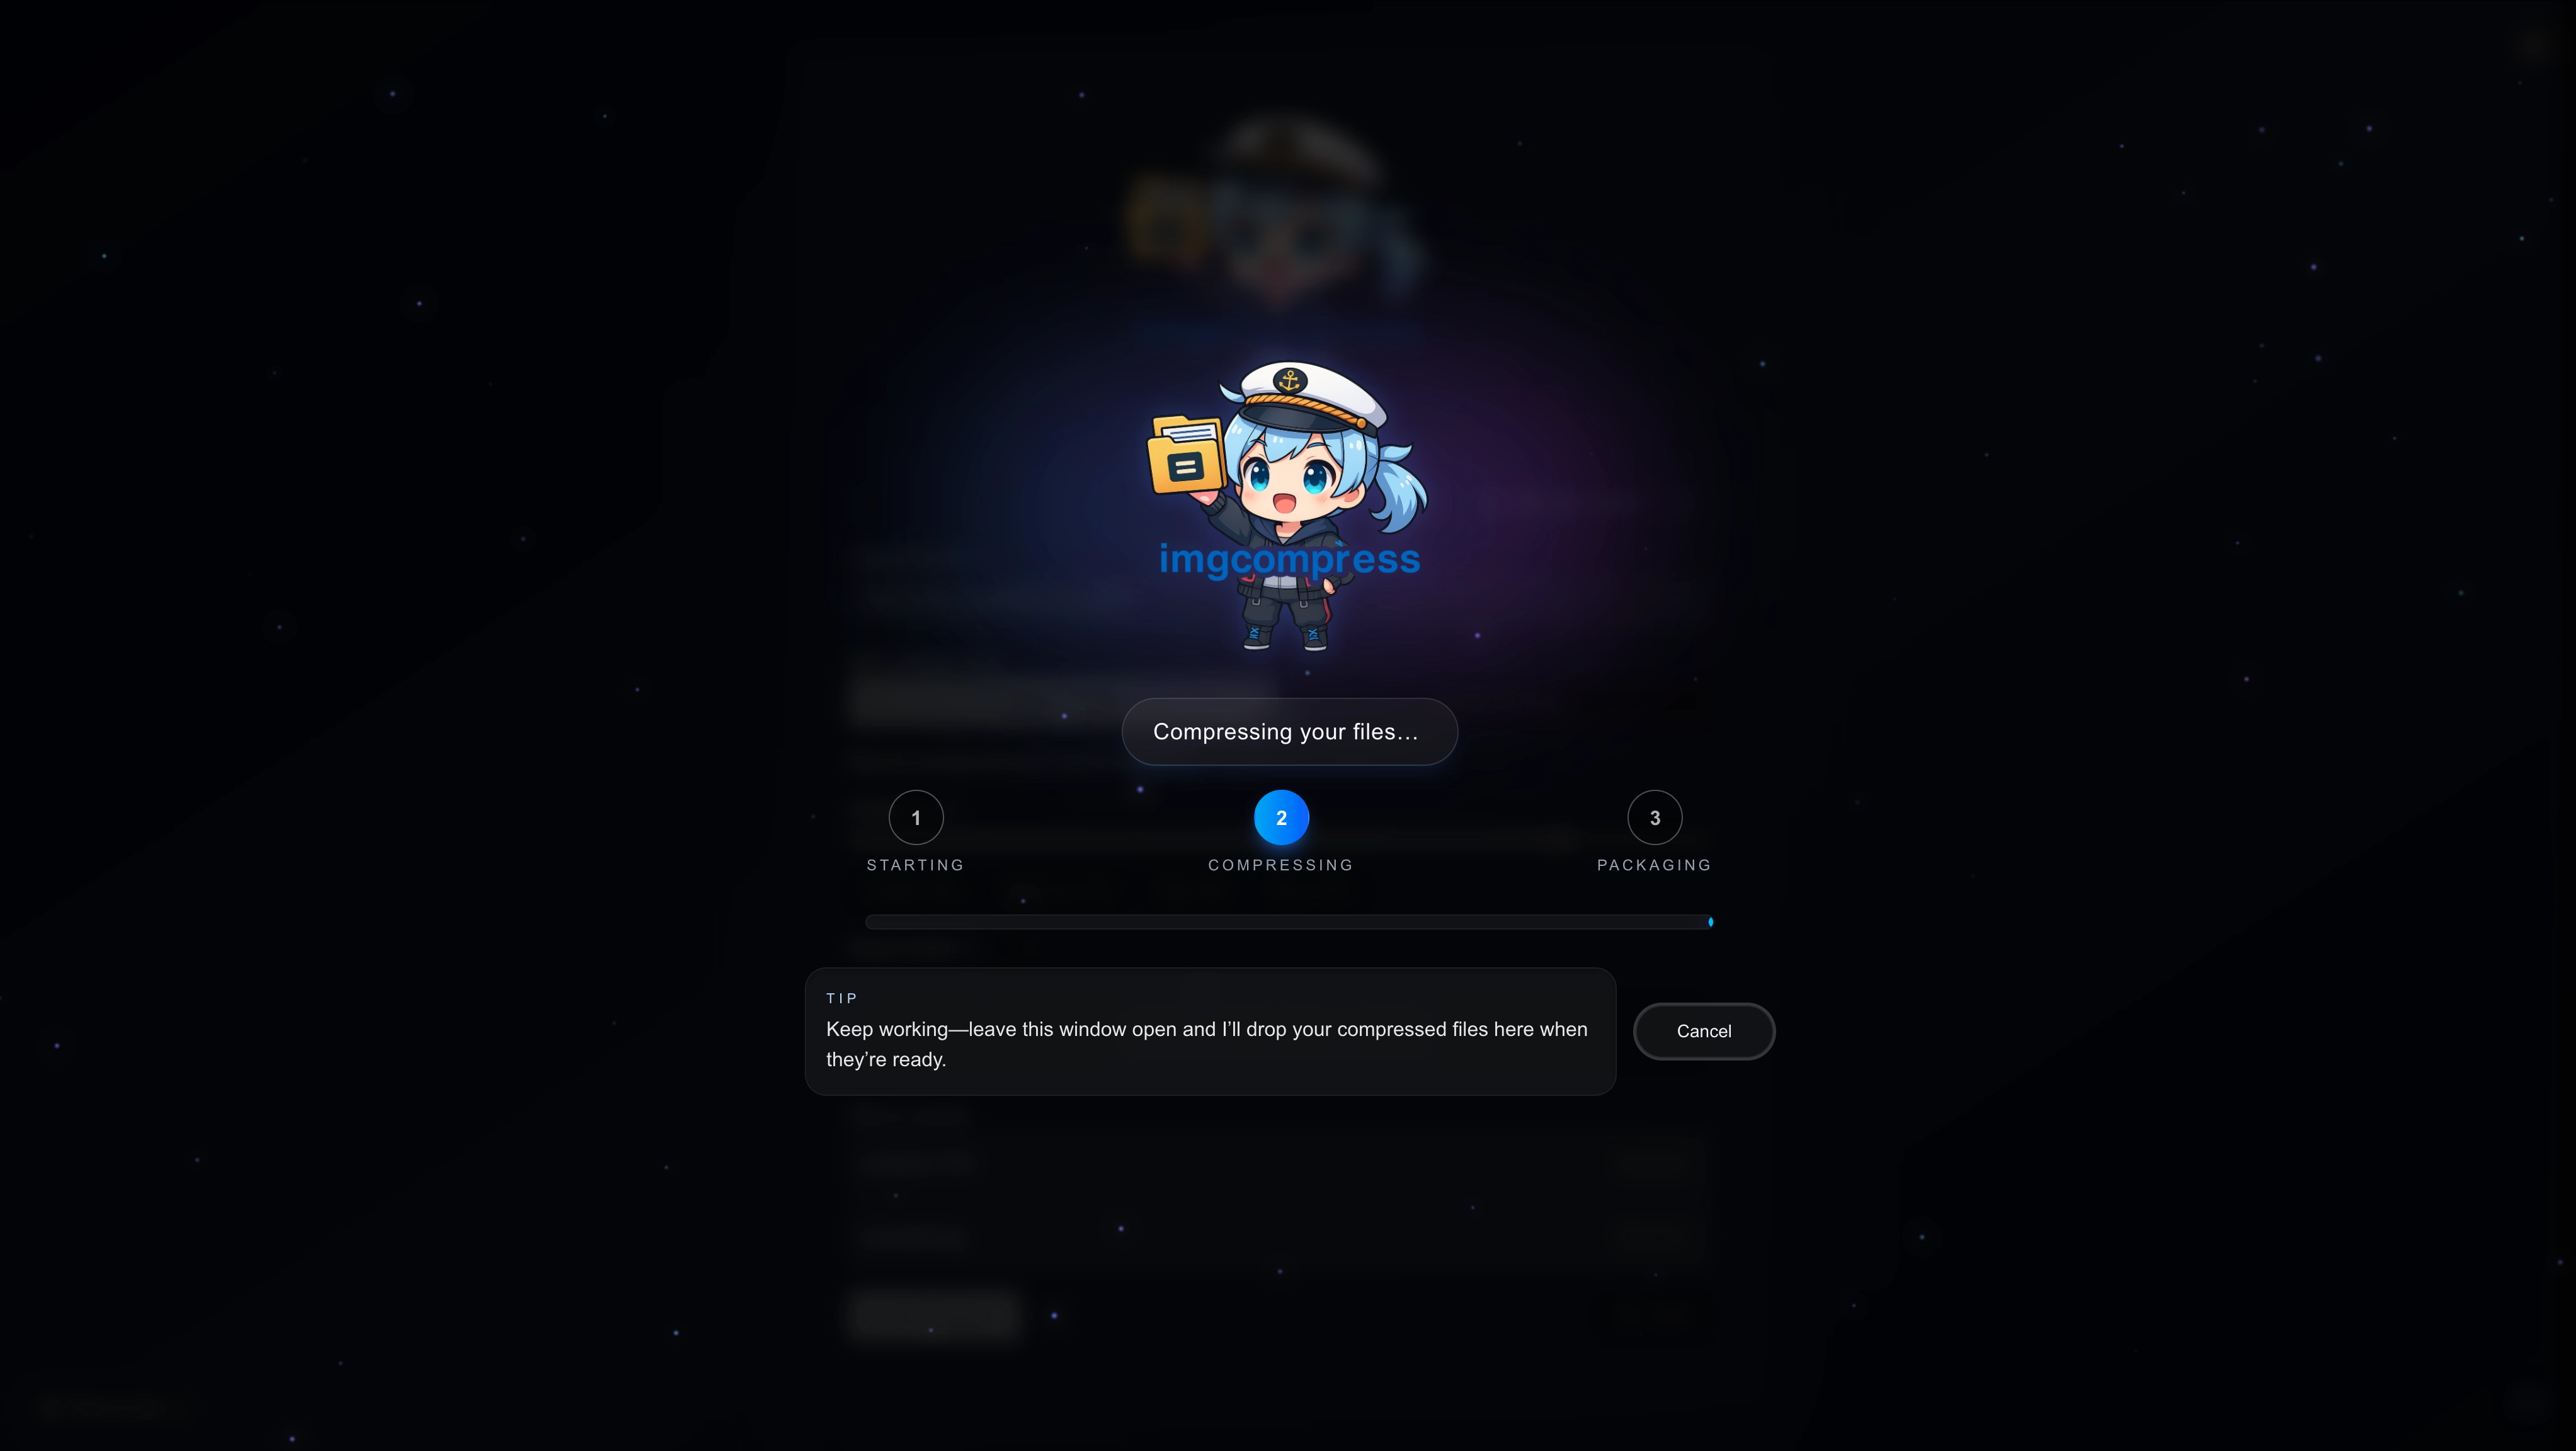 |
Wait for the magic Watch the progress bars fill up. All the work happens on your computer. |
| 3 | 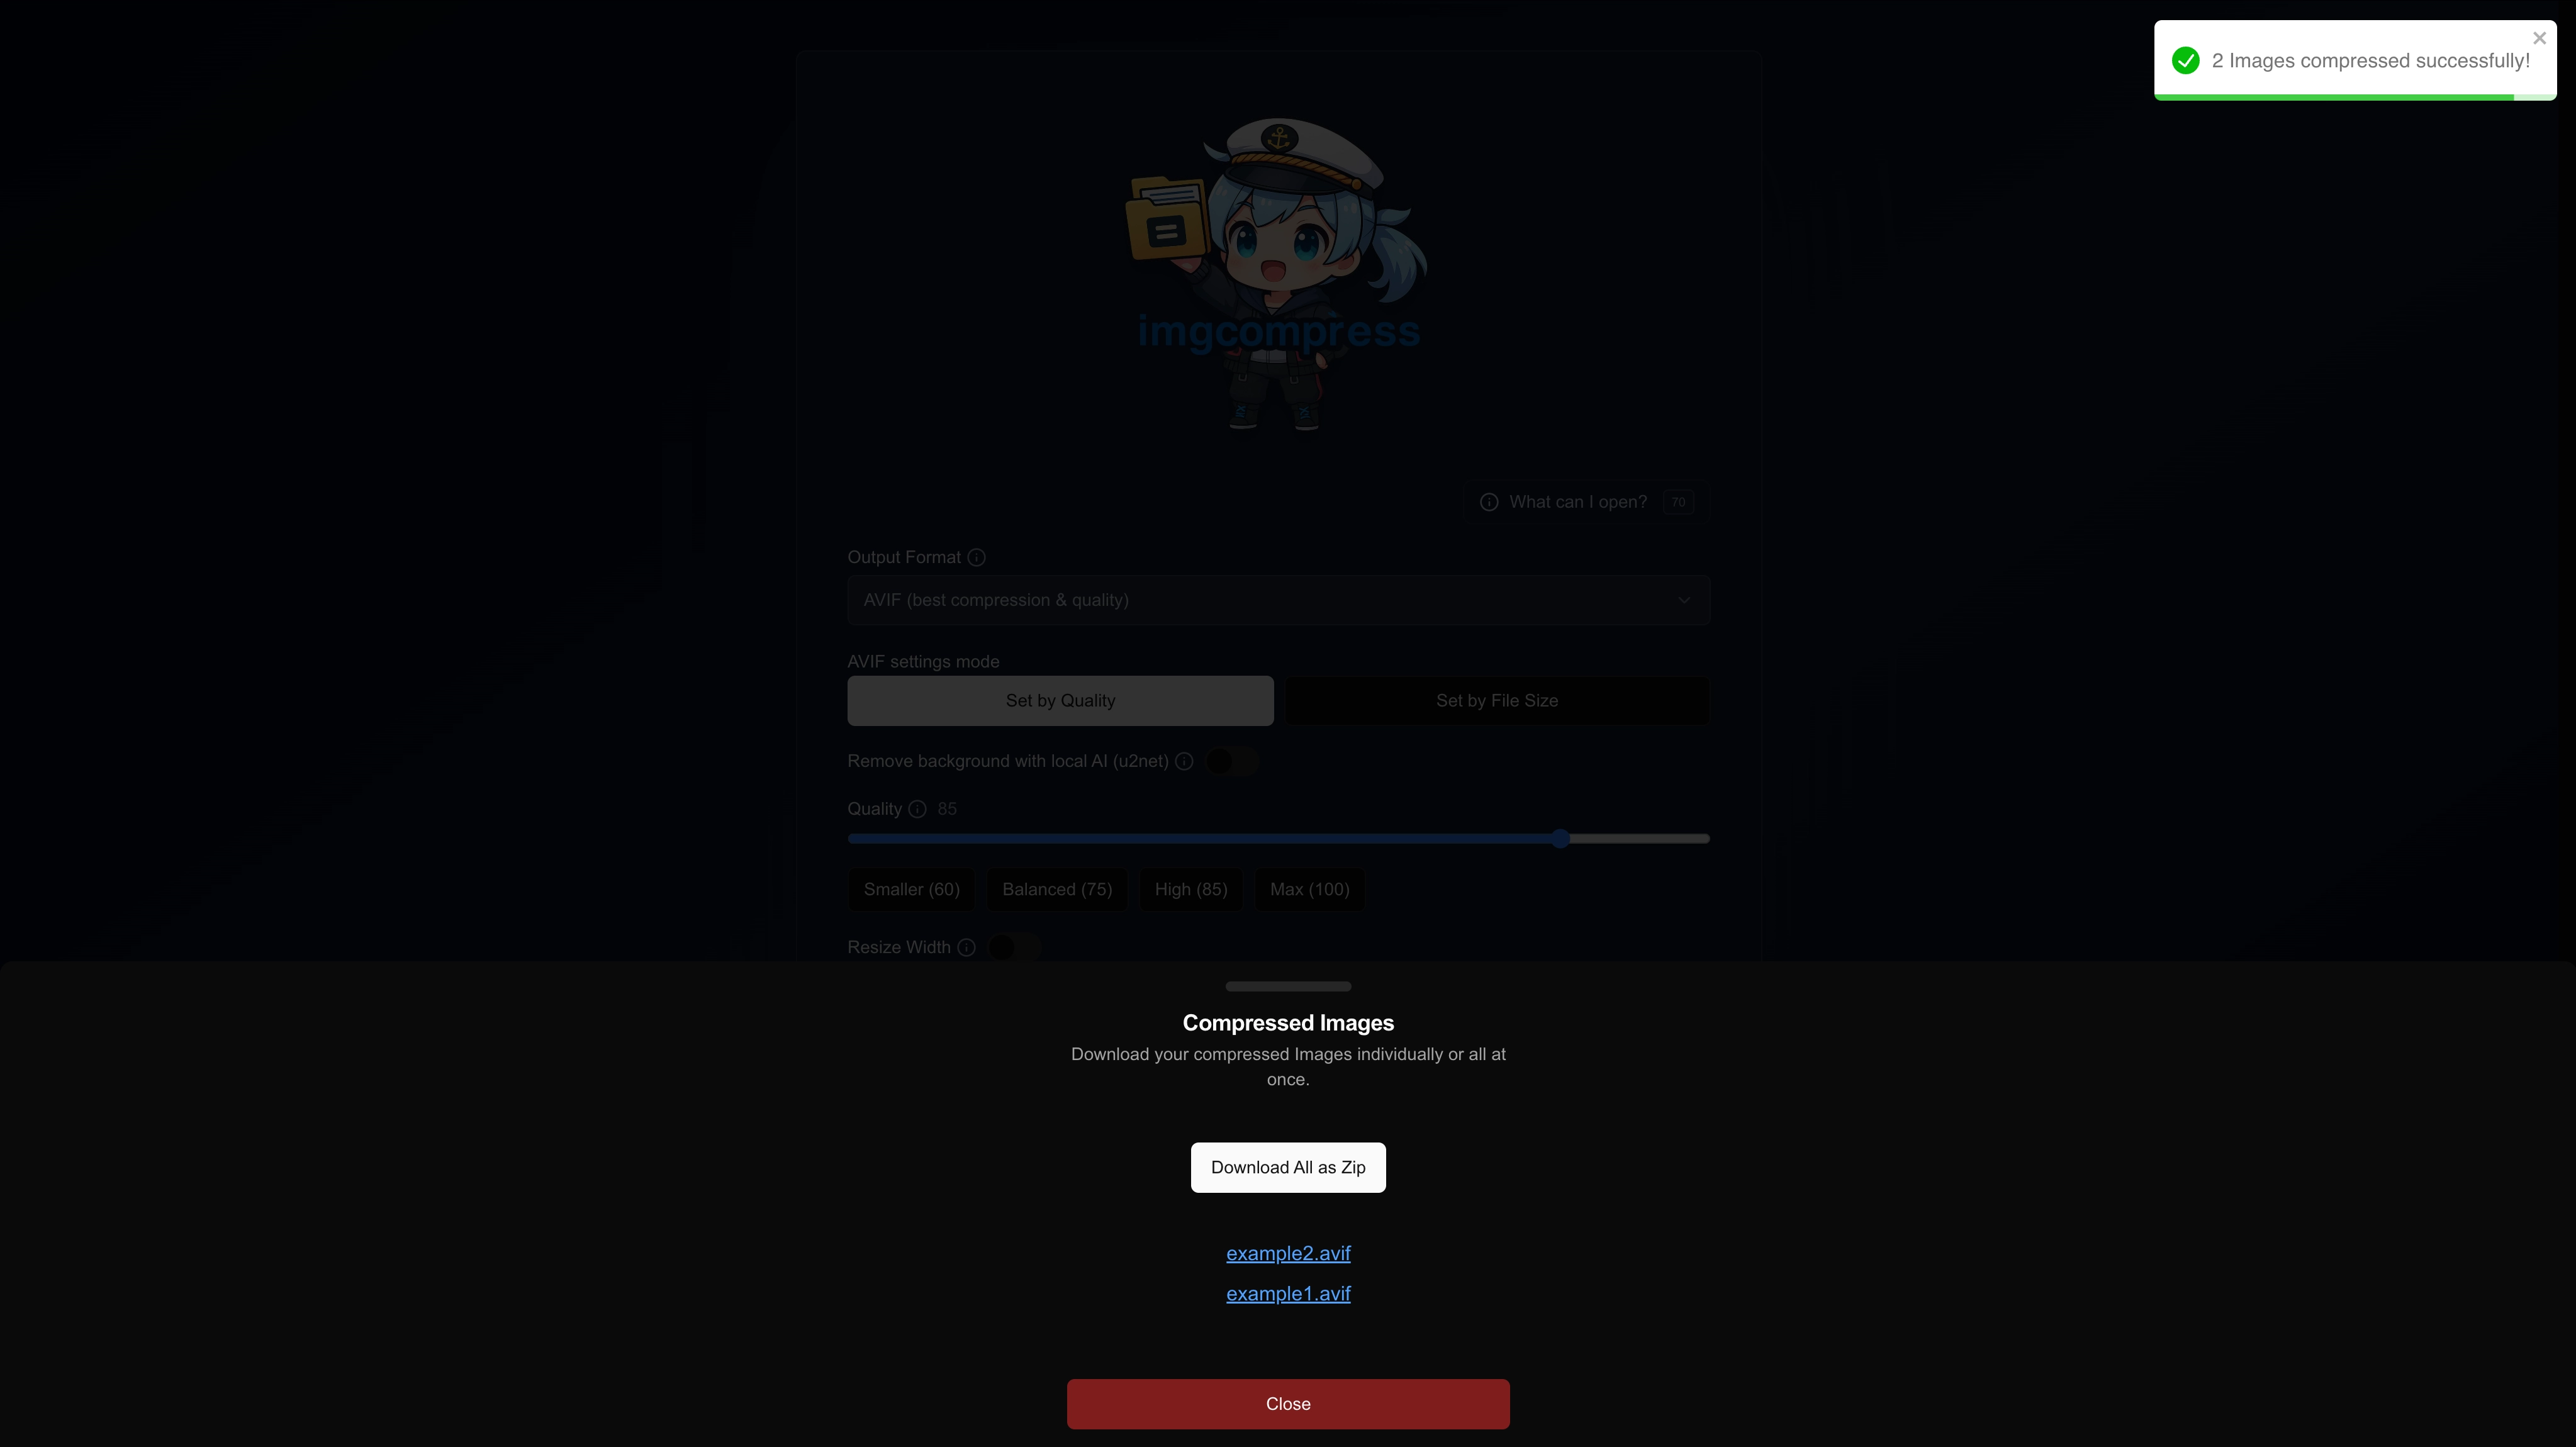 |
Get your new images Save your fresh, tiny images one by one or get them all together in a ZIP file. |
Fun with Backgrounds (Making Stickers)
Want to take the background out of a photo? It is like magic.
Important Tip
To remove backgrounds, make sure you choose AVIF or PNG as your output format. These formats are great at keeping backgrounds invisible.
| Step | How it looks | What to do |
|---|---|---|
| 1 | 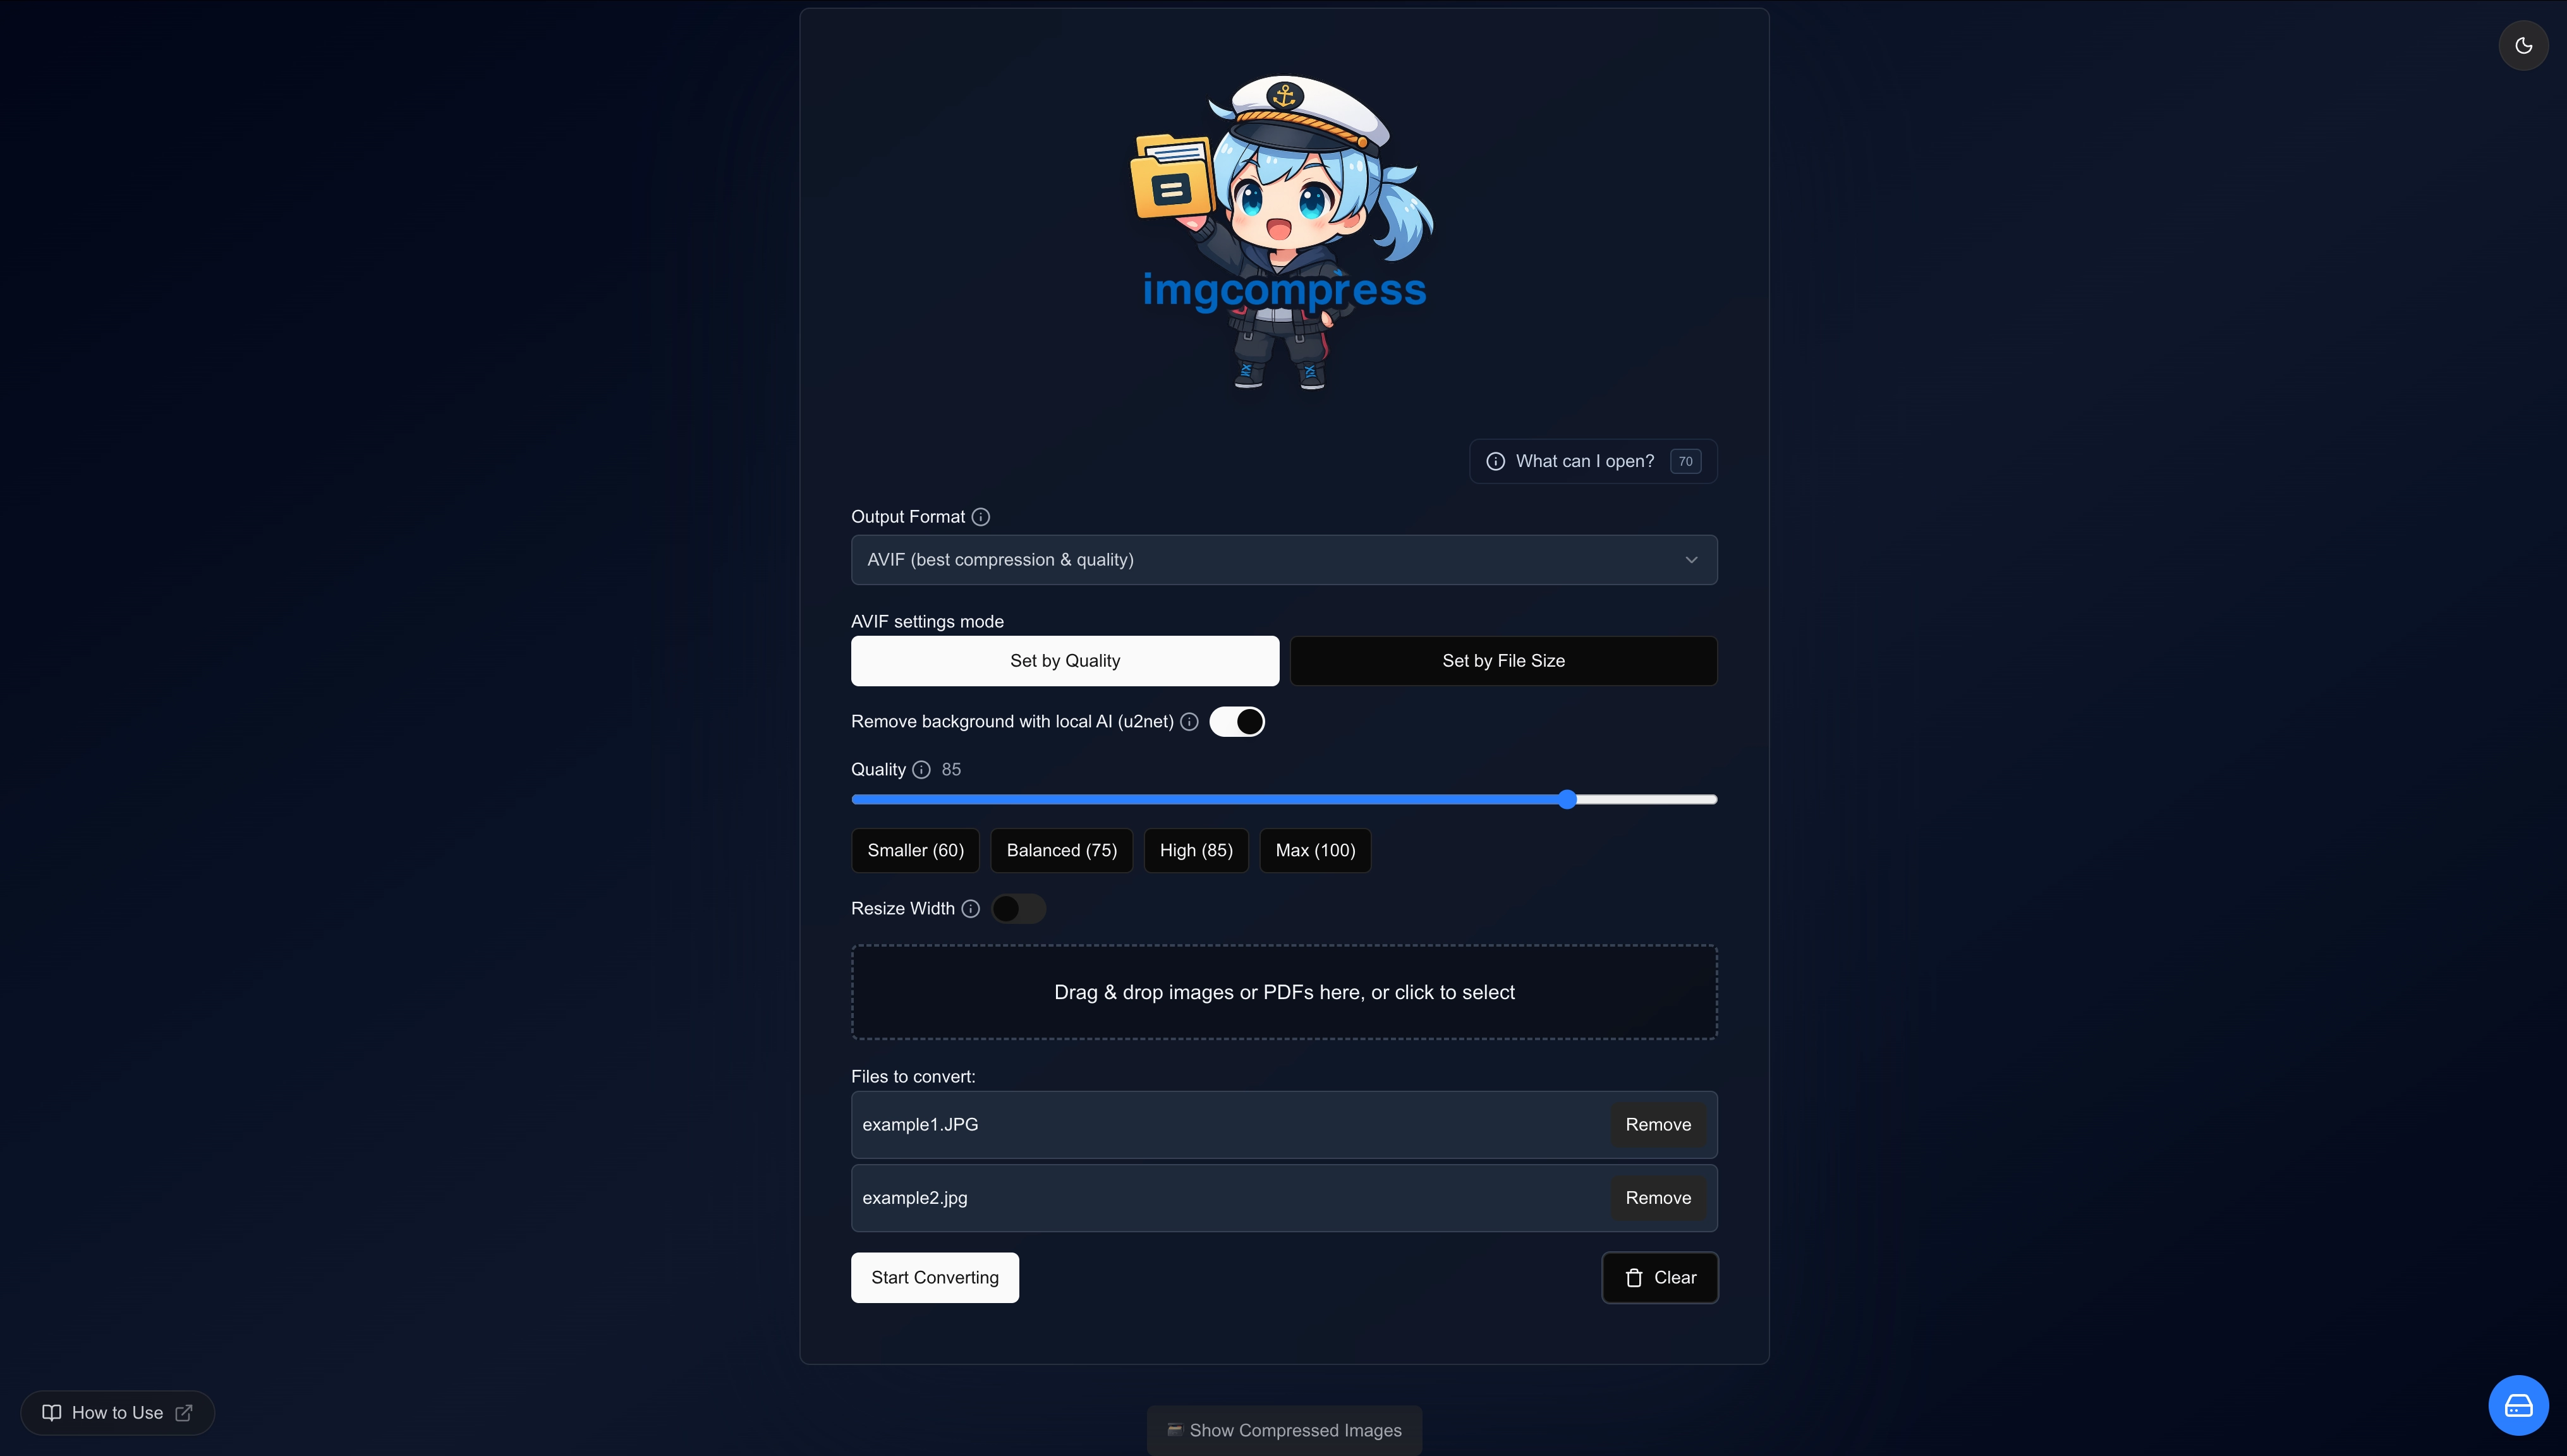 |
Flip the switch Pick AVIF or PNG, then flip the "Remove Background" switch. |
See the Magic AI Background Removal
Look how it takes the sky and hills away from this sunset:
| Original Photo | Just the Sunset |
|---|---|
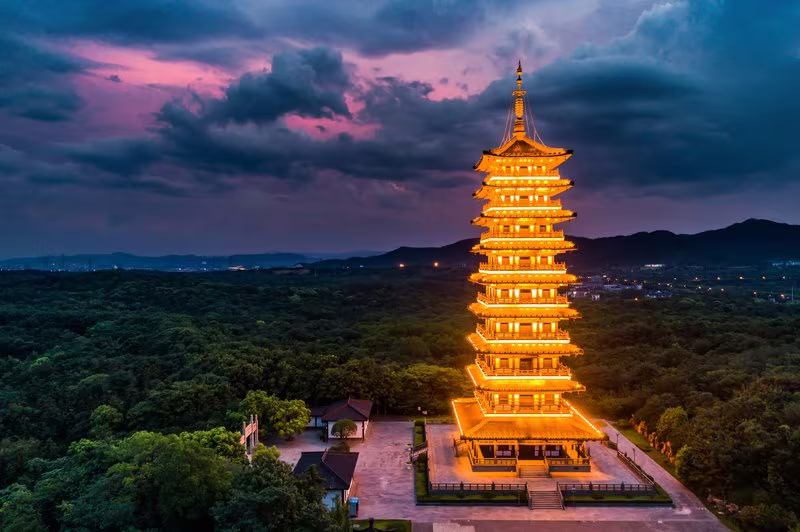 |
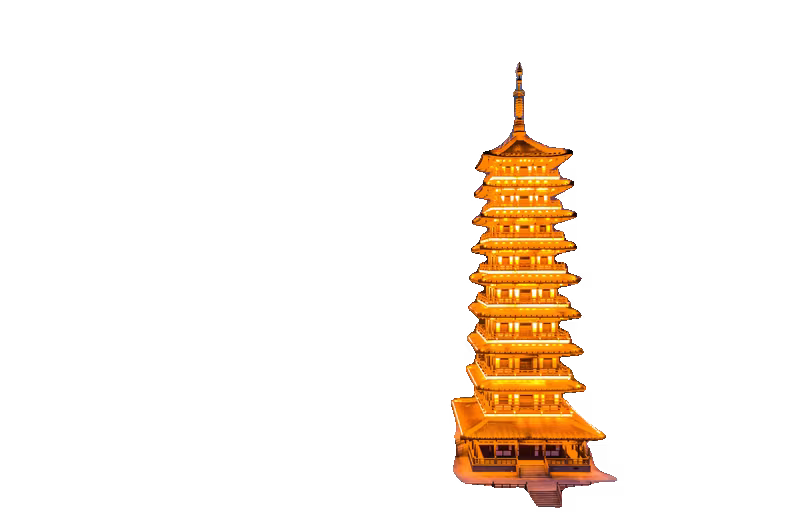 |
Meeting a specific size
Need your image to be exactly 1MB for a website? imgcompress can help.
| Step | How it looks | What to do |
|---|---|---|
| 1 | 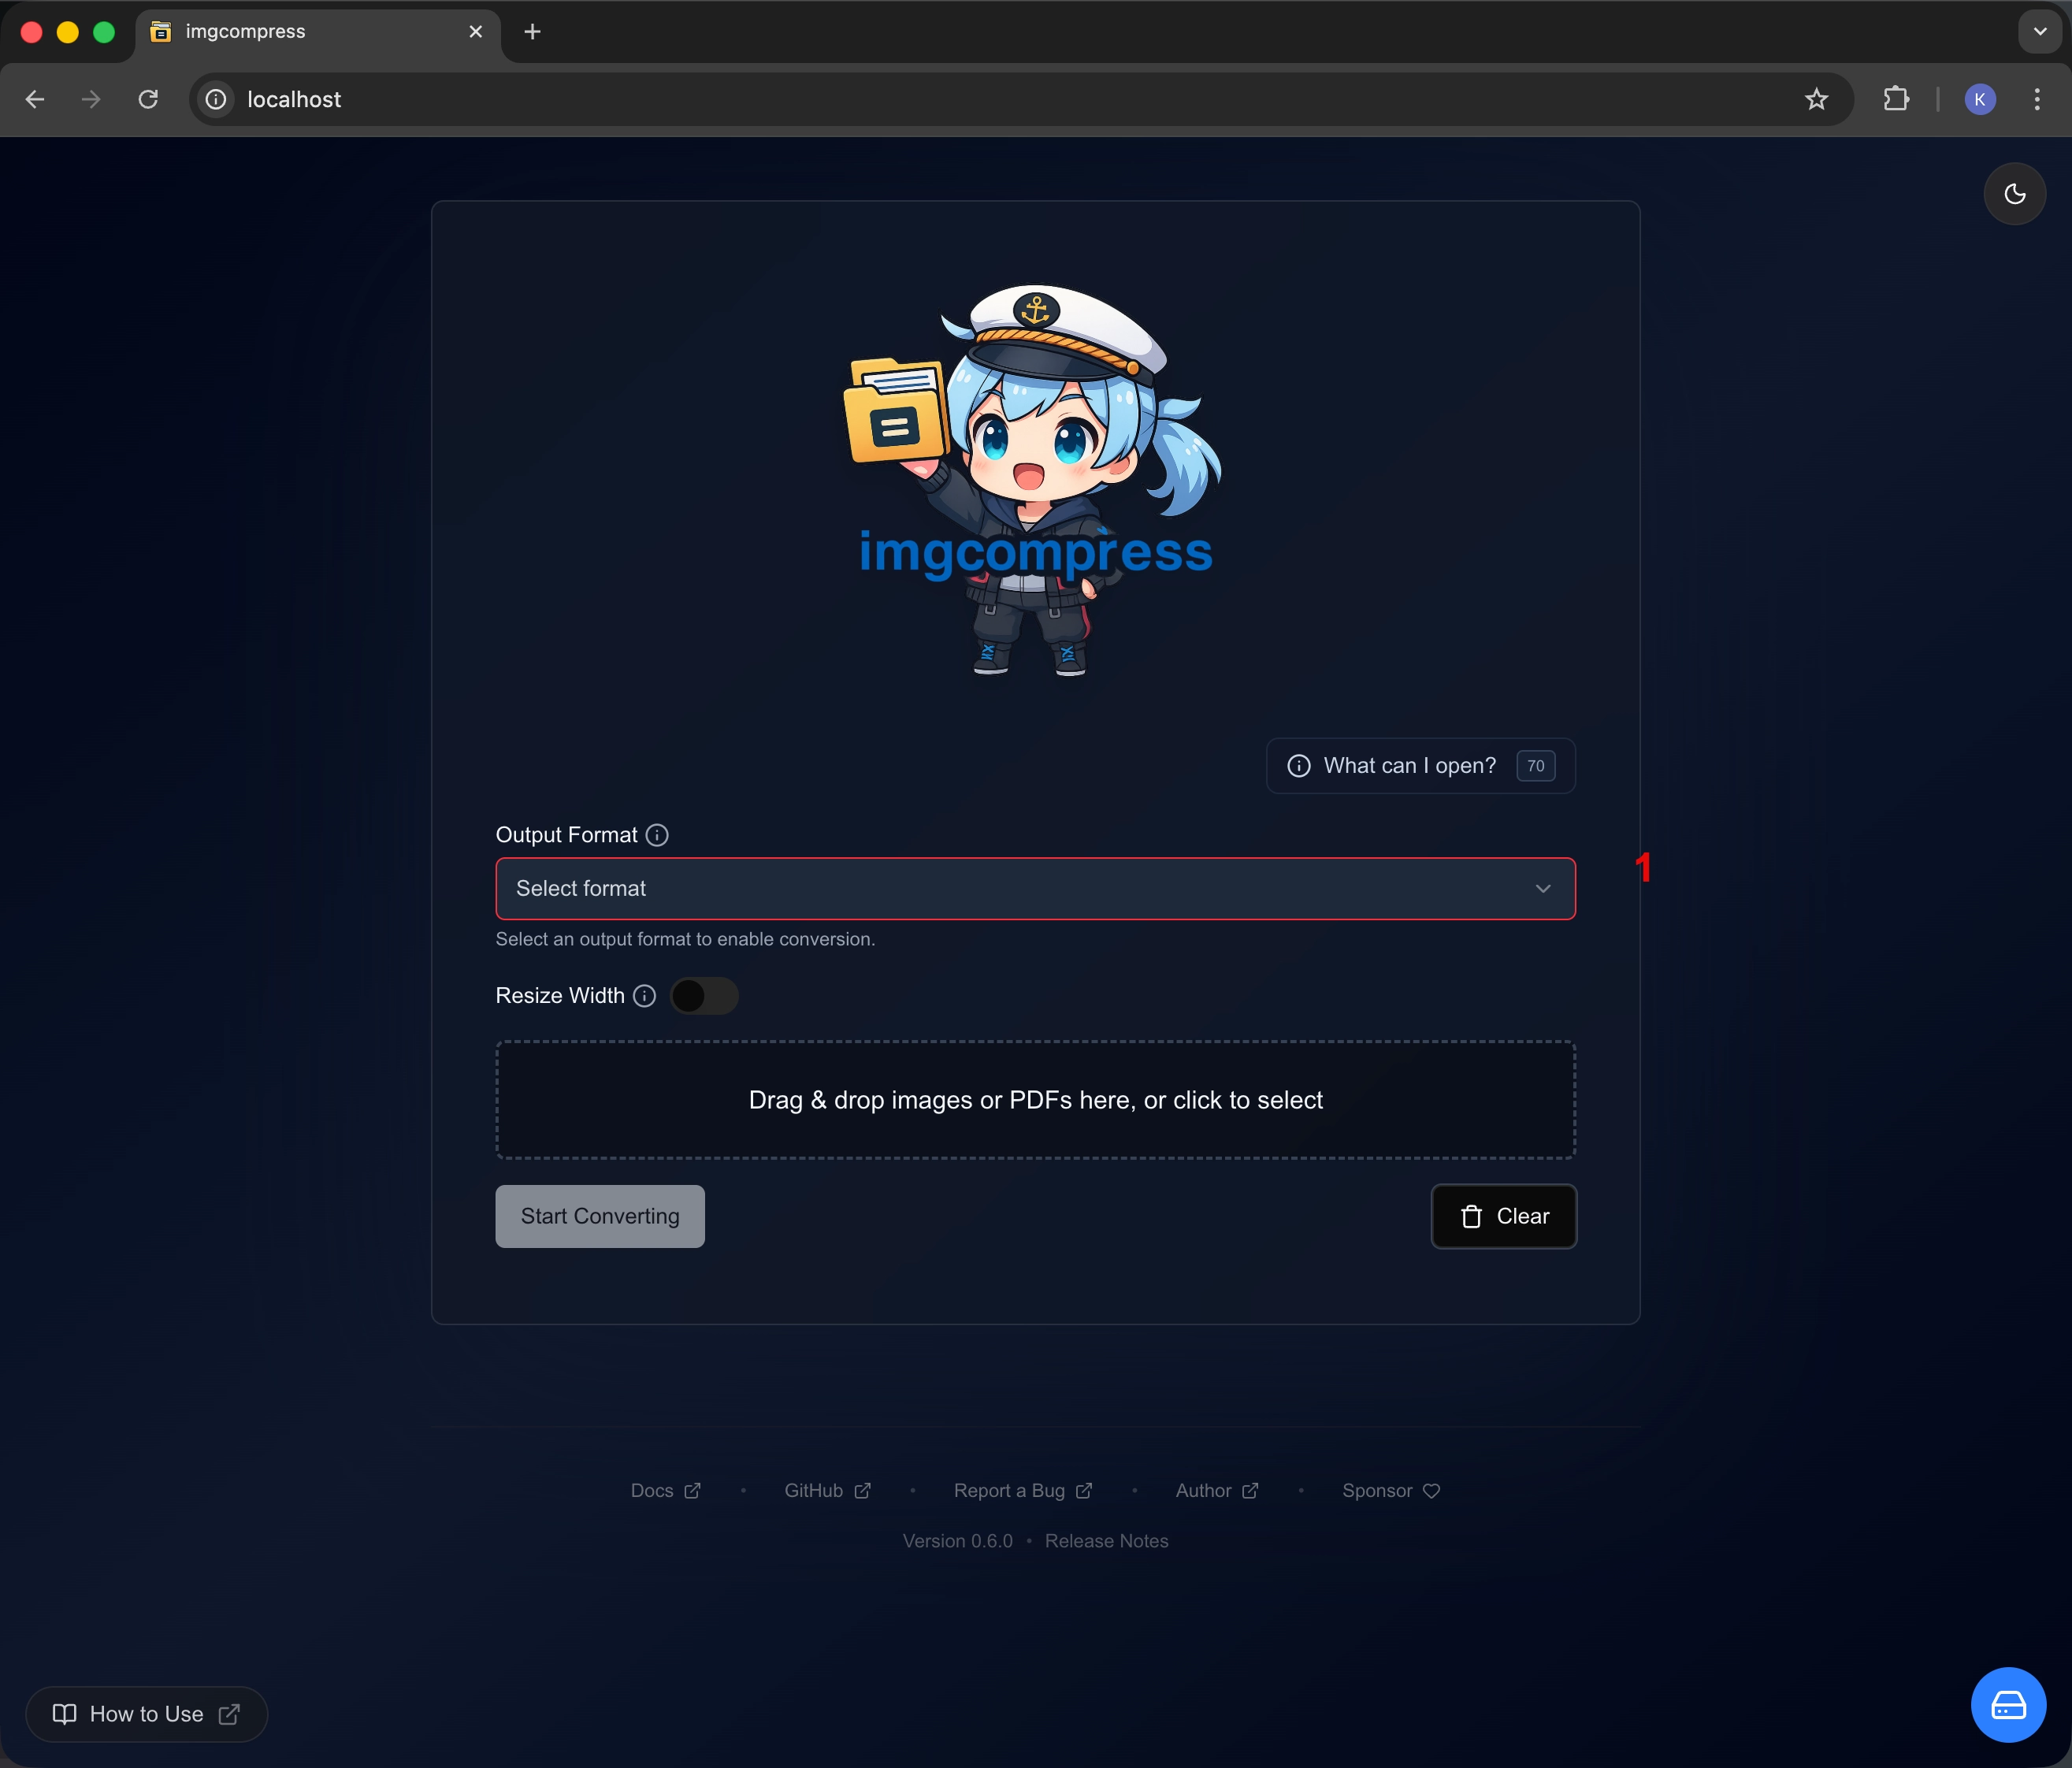 |
Pick a format Choose JPG or AVIF so the tool knows how to calculate the size. |
| 2 | 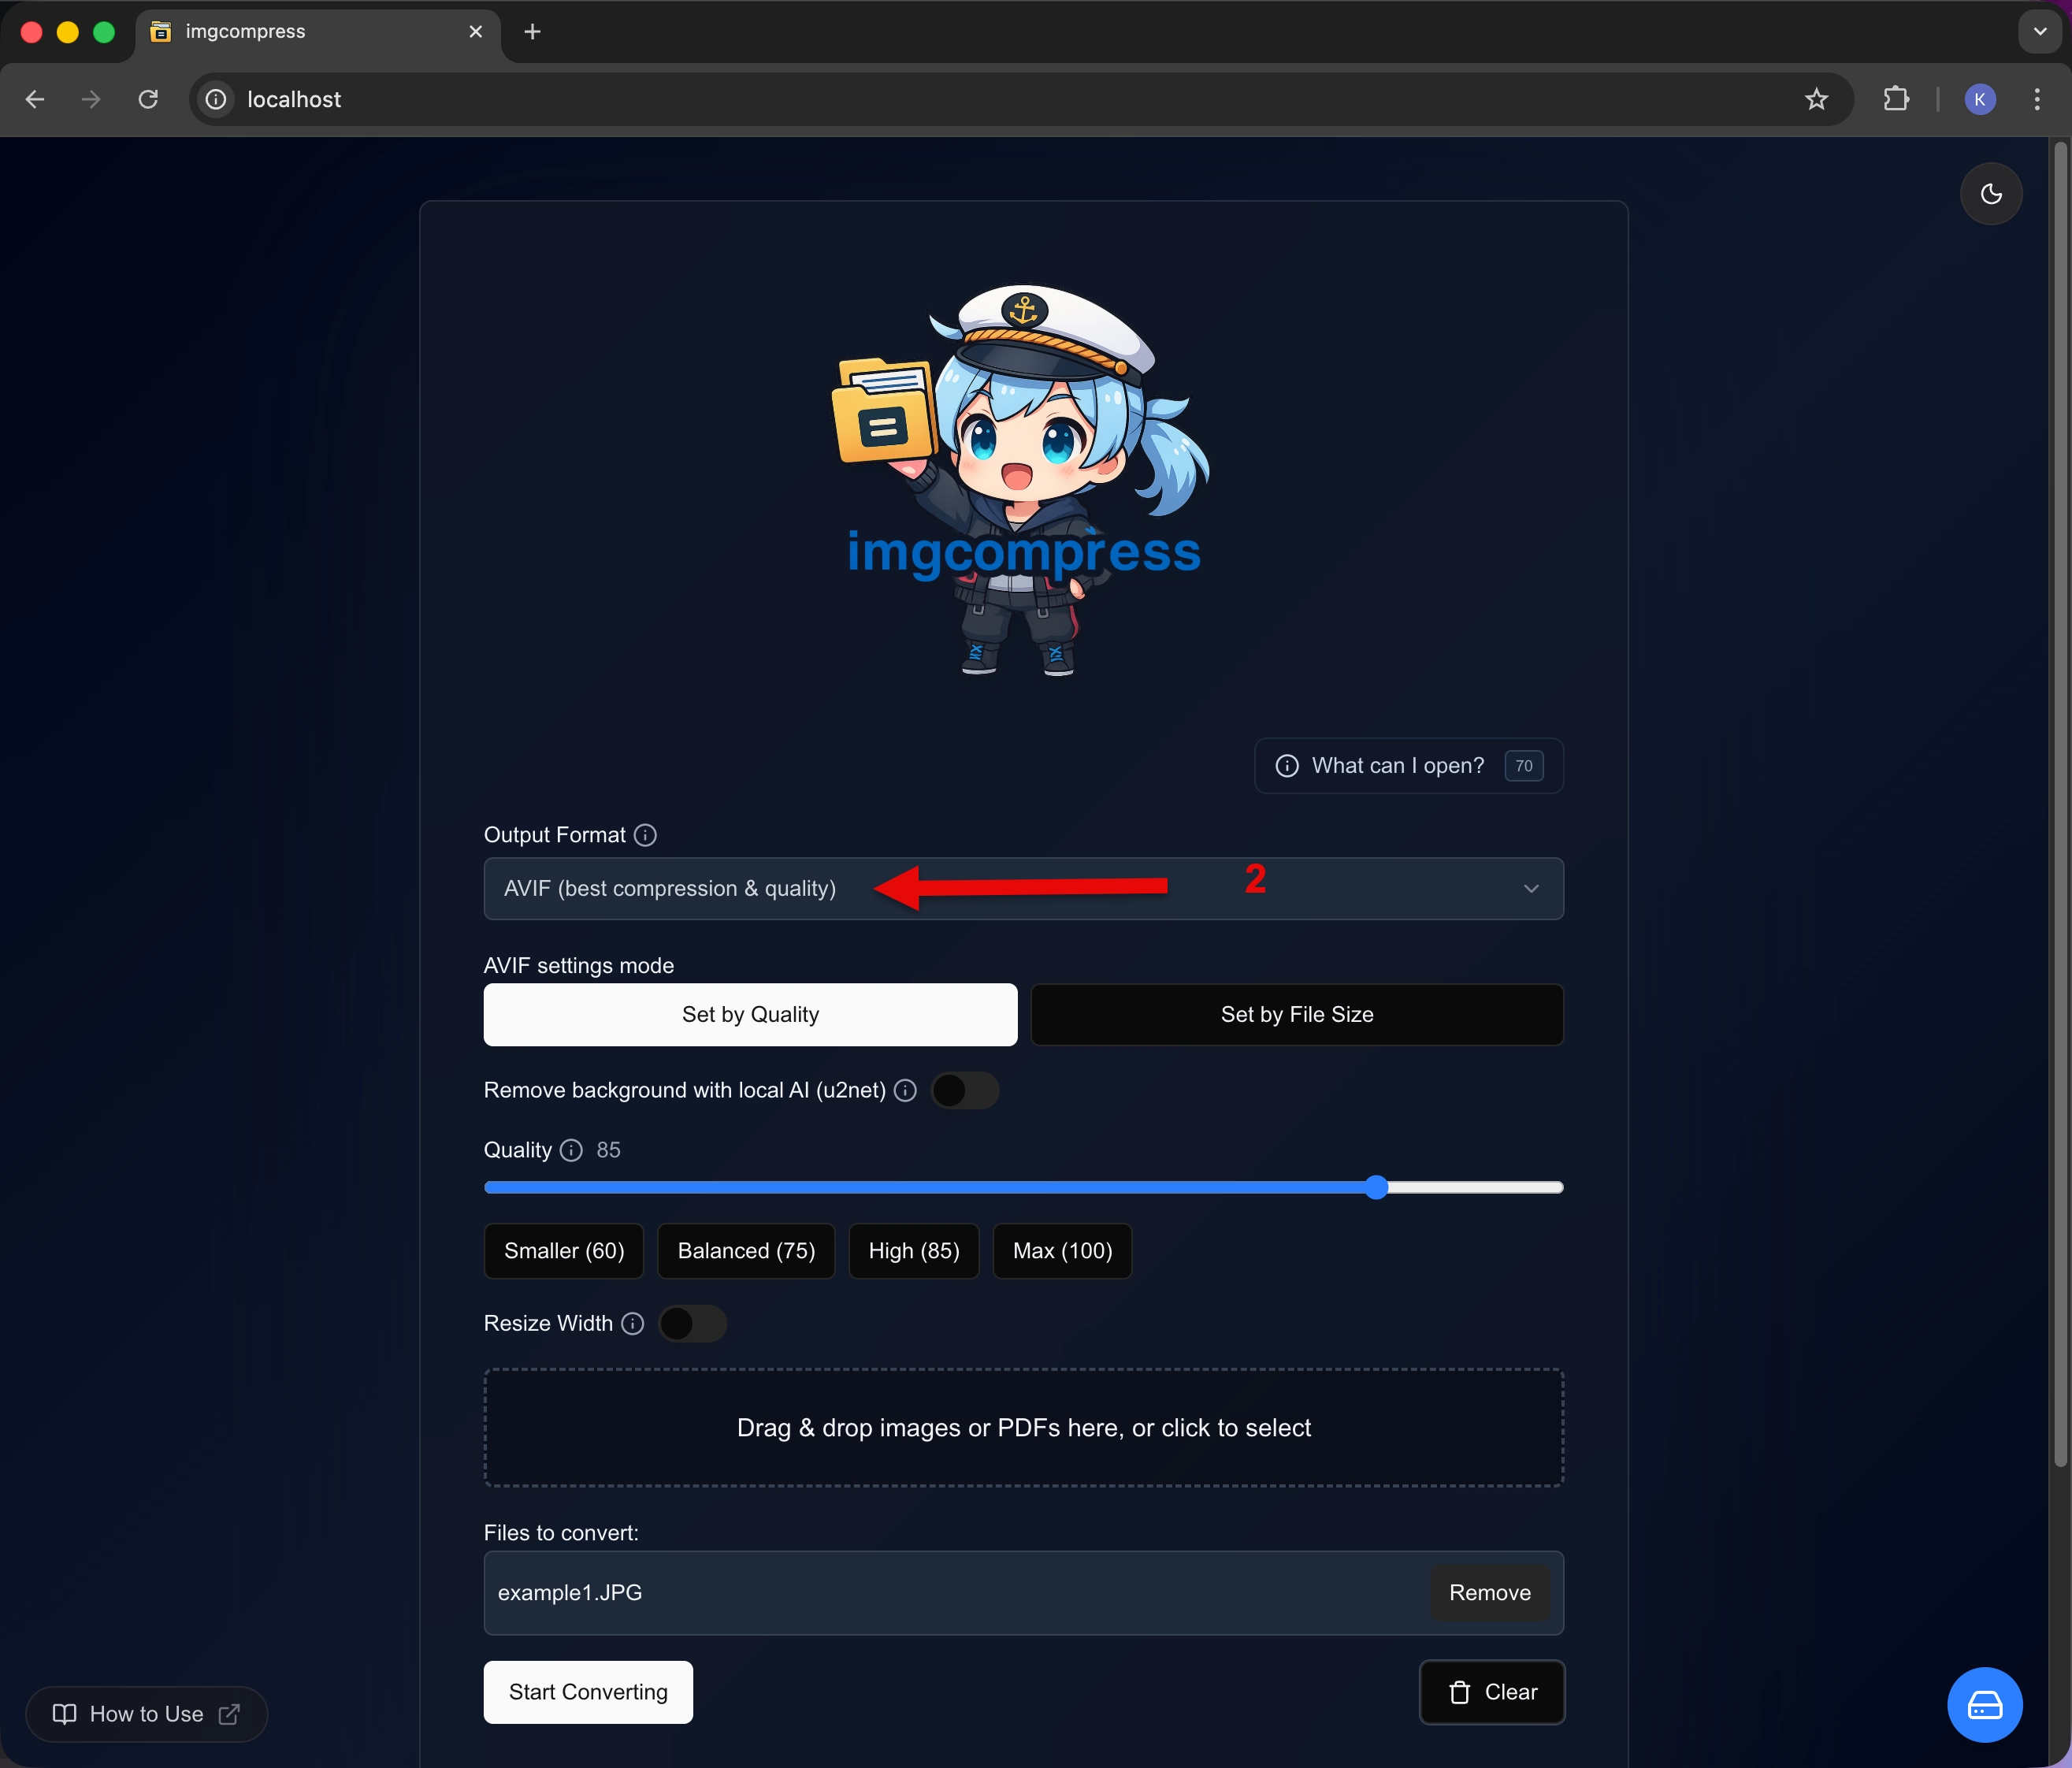 |
Add your photos Drag your images into the queue. |
| 3 | 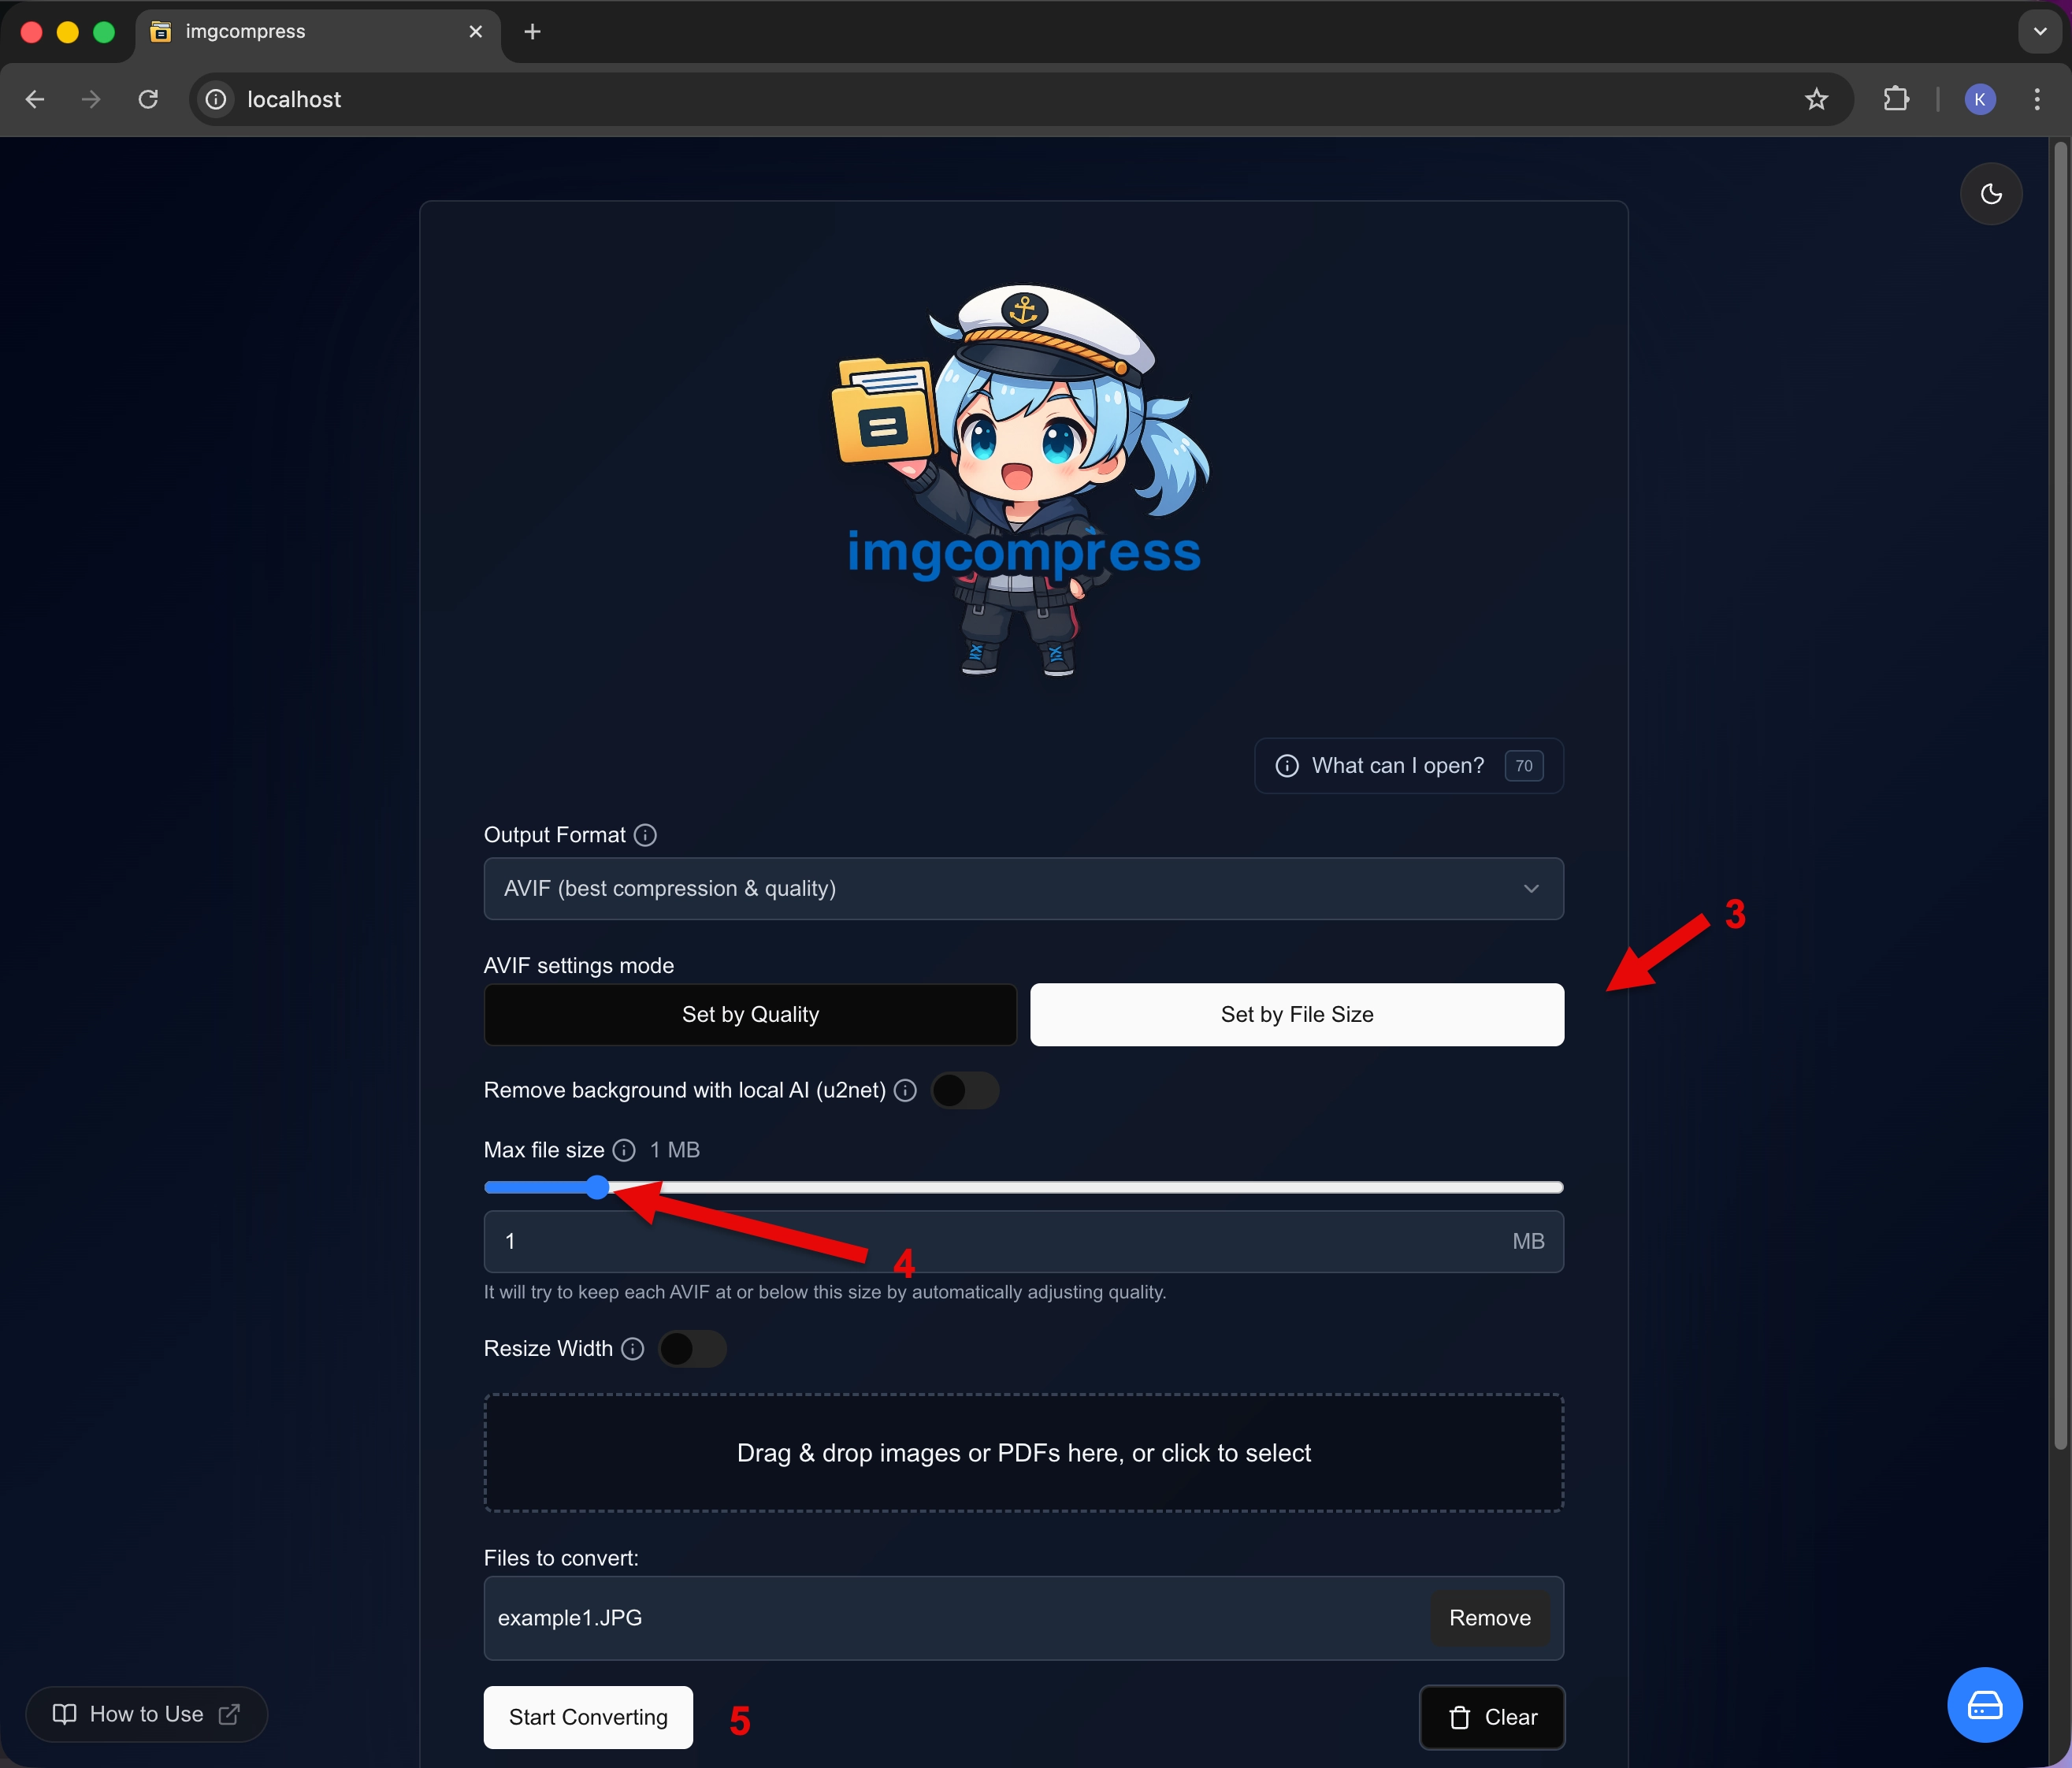 |
Set your limit Open the "Set by File Size" section, pick your target (like 1 MB), and click convert. |
Privacy & Safety
imgcompress is designed to be 100% private. All your images stay on your computer. To learn more about how I keep your data safe, check out the Privacy & Network Safety page.