Getting Started: Let's set it up!
Installation
To use imgcompress, you just need to have Docker installed.
Pick the method that works best for you. I recommend using Docker Compose if you want to keep the app running on your server.
If you want imgcompress to stay on your server or NAS, use a Docker Compose file.
-
Create a file named
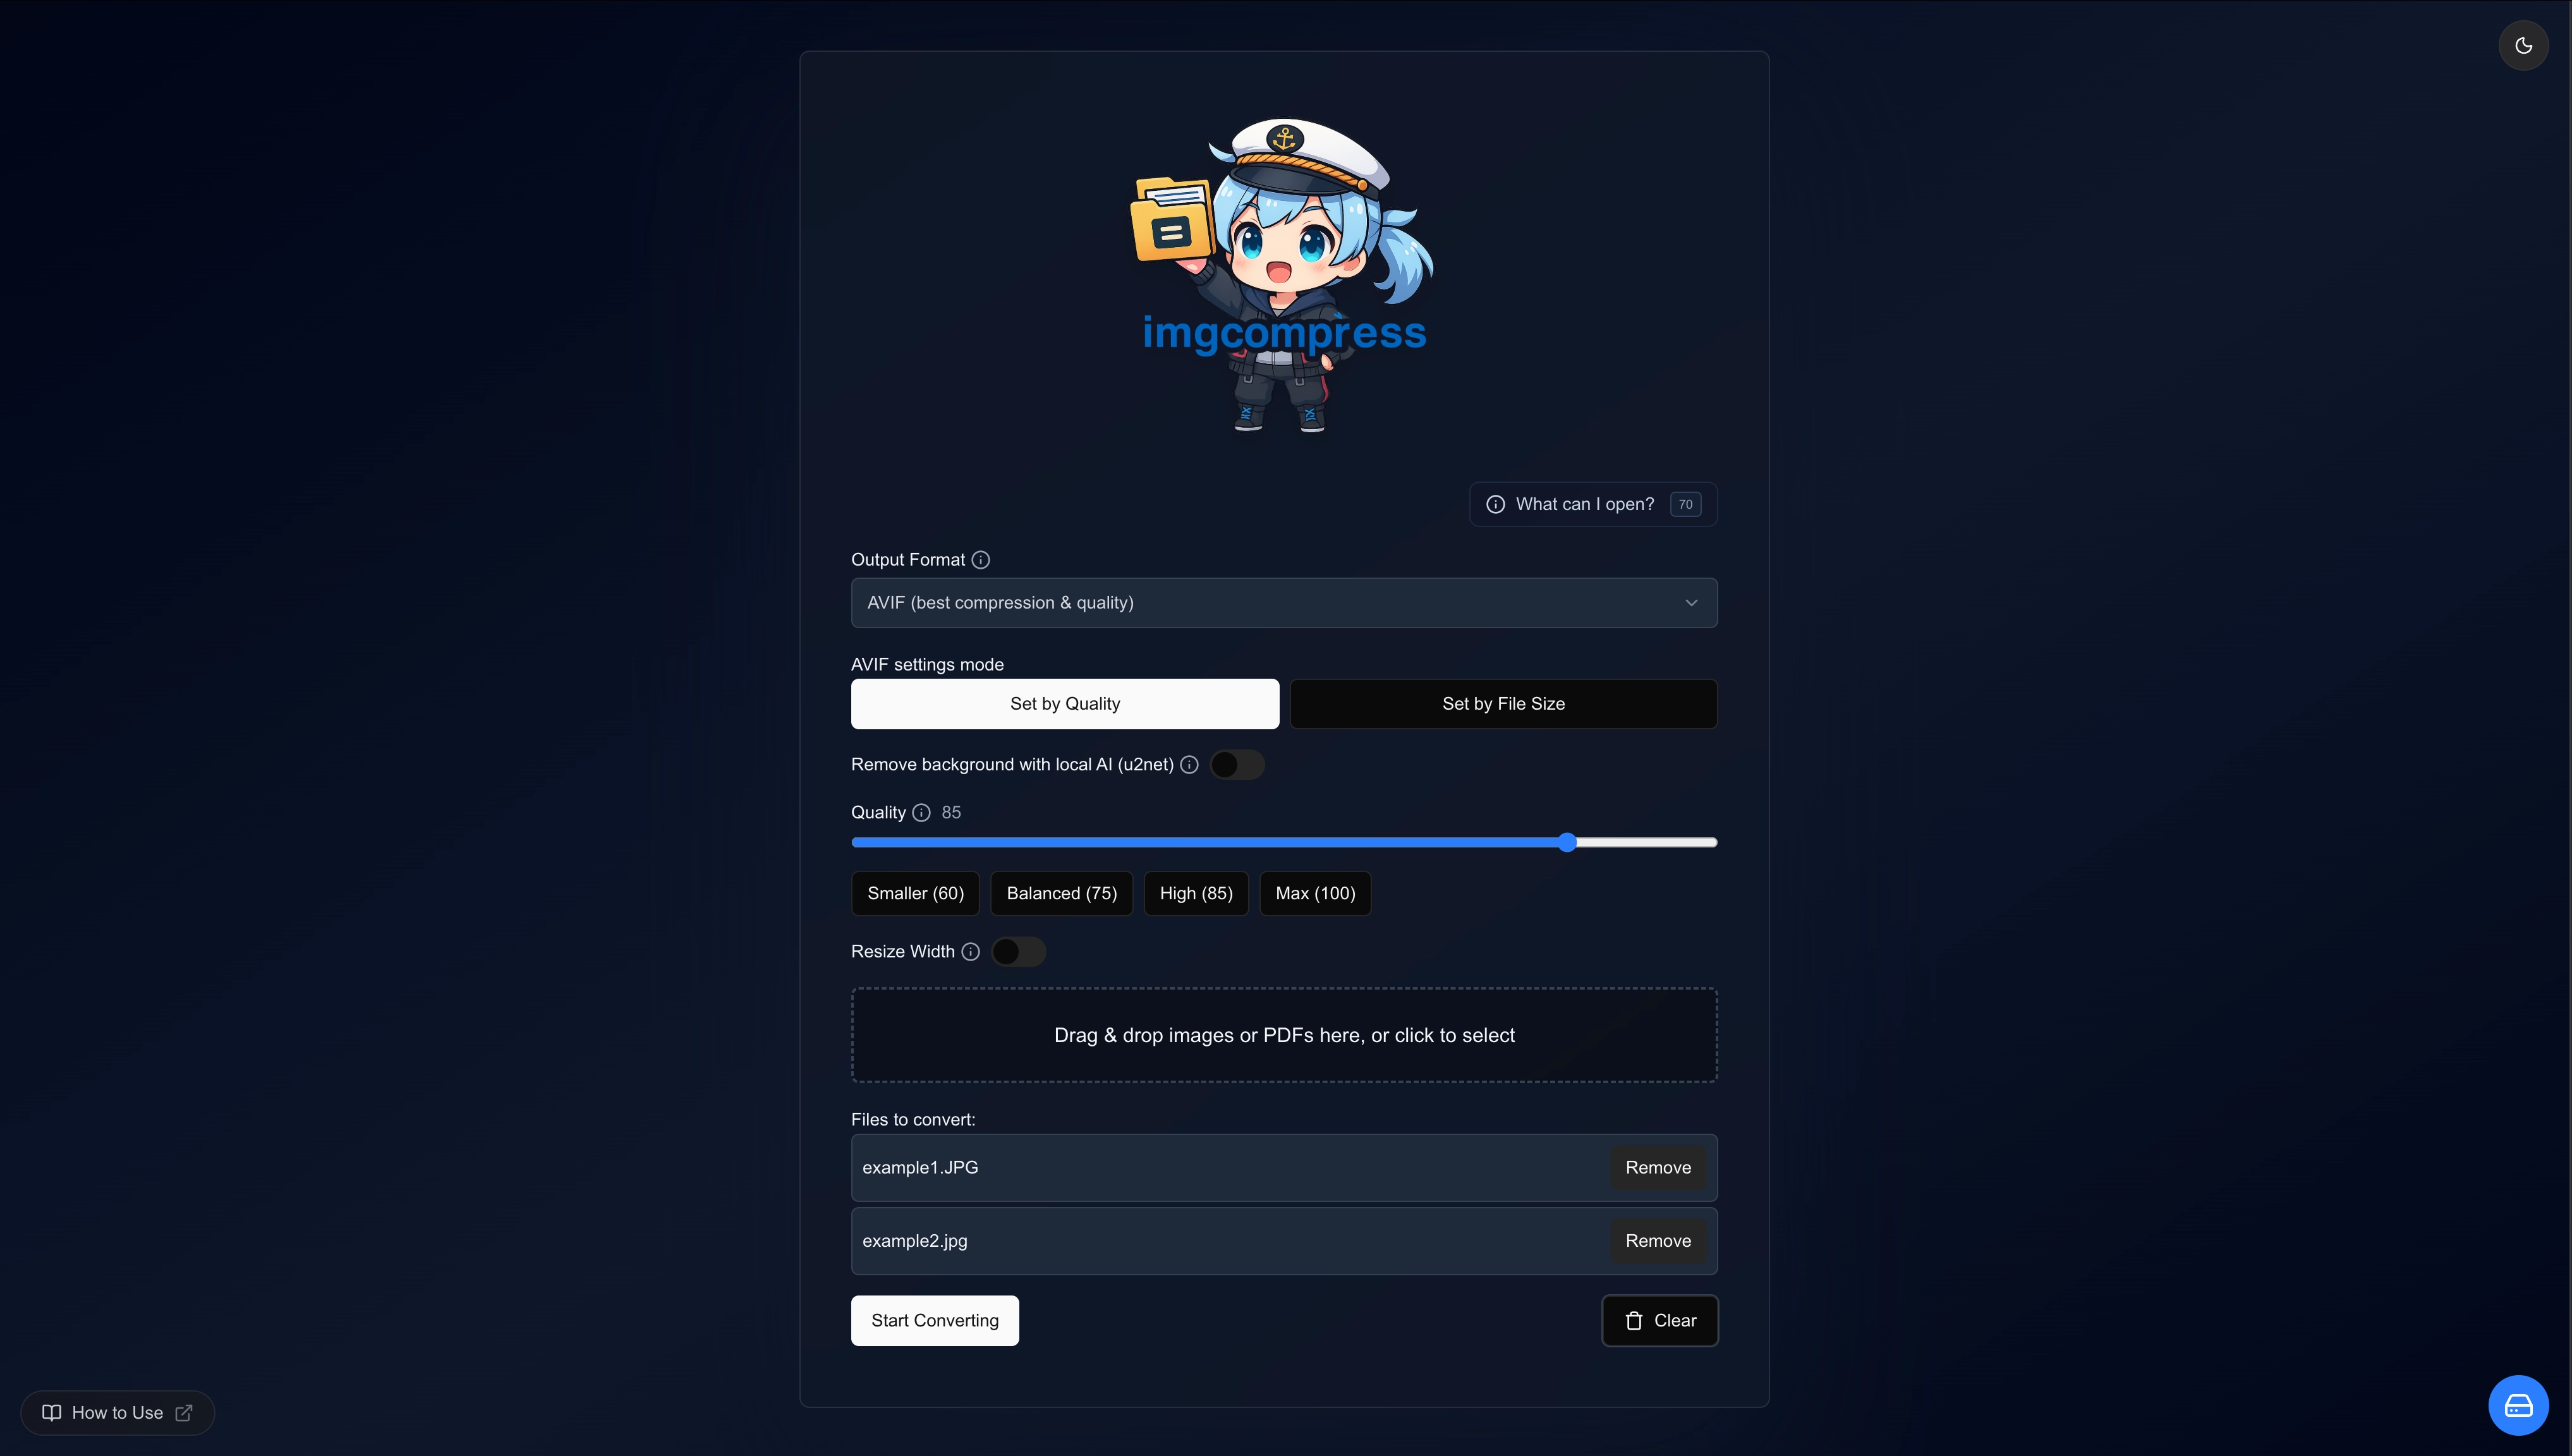
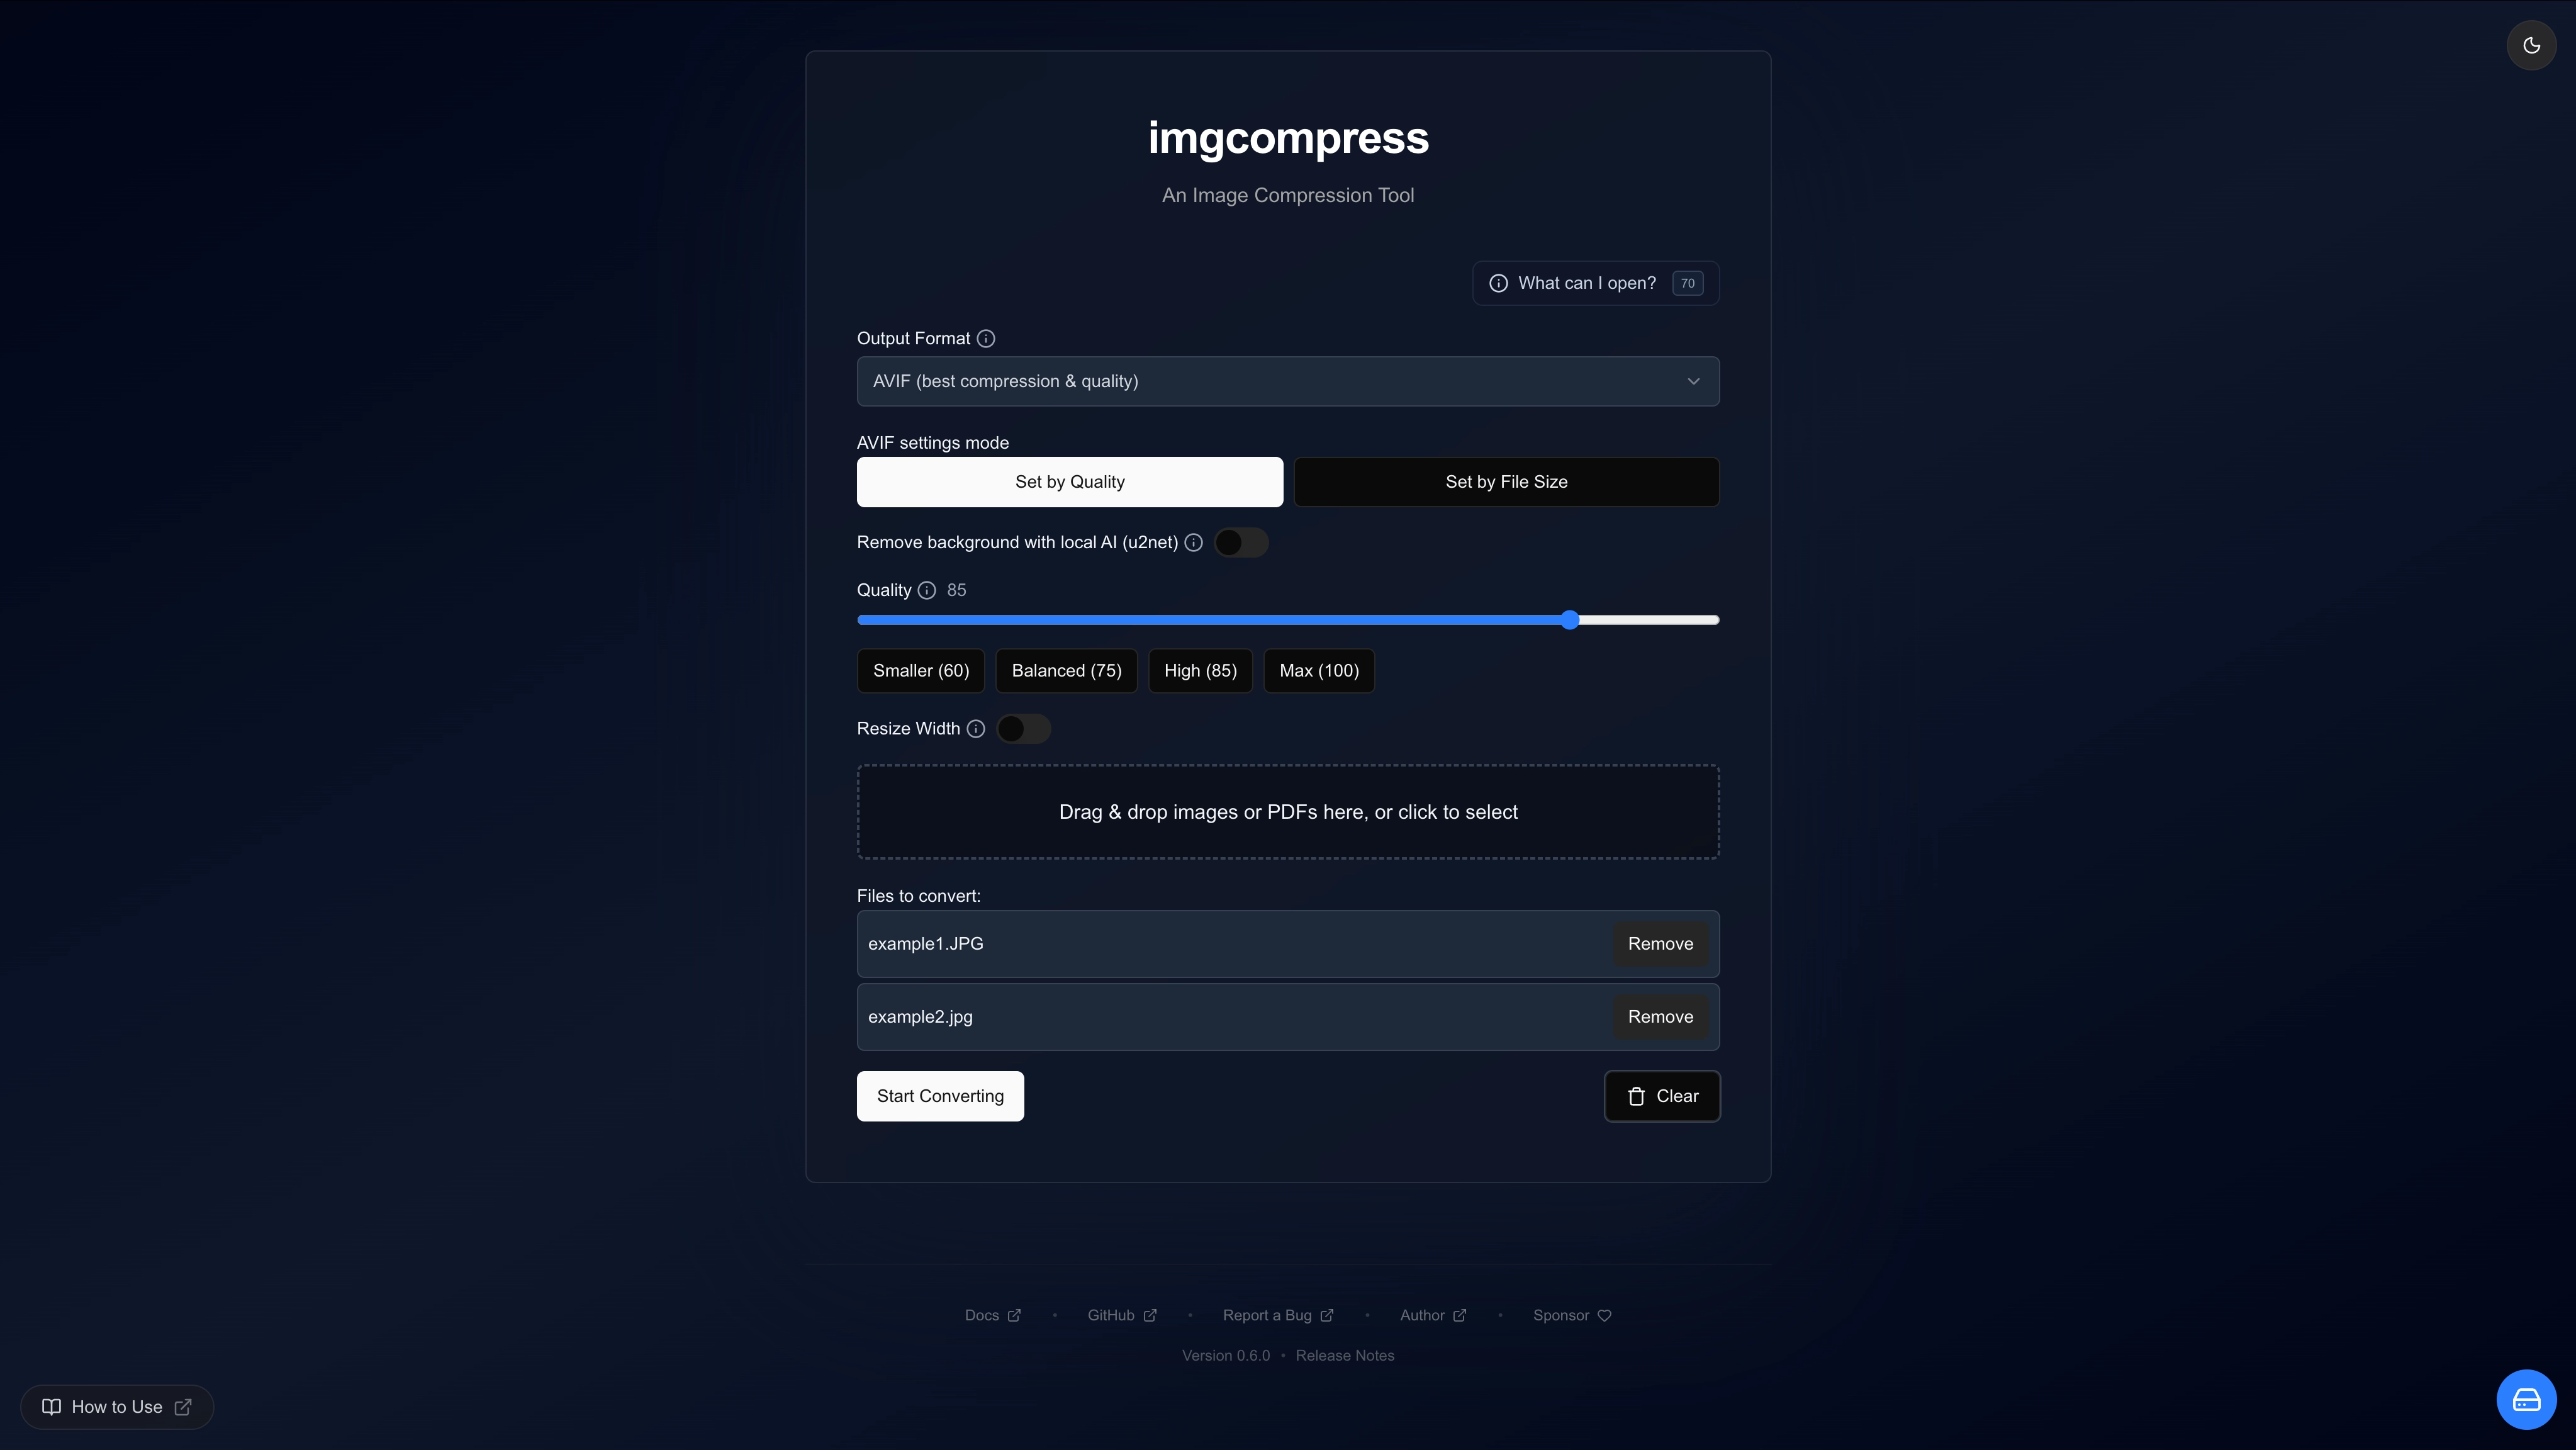
docker-compose.ymland paste this inside:services: imgcompress: image: karimz1/imgcompress:latest container_name: imgcompress restart: always ports: - "3001:5000" environment: # Set to true to remove the mascot and enable a minimal, mascot-free UI - DISABLE_LOGO=false # Set to true to disable the storage management features (e.g., for your users to not see all the files) - DISABLE_STORAGE_MANAGEMENT=falseCustomizing your UI
You can customize your experience by editing the
environmentsection:DISABLE_LOGO=true: Switches to the clean, mascot-free UI seen on the homepage.DISABLE_STORAGE_MANAGEMENT=true: Hides management features if you don't want users to see all processed files.
Visual Preview:
Slide to compare the two UI styles. Toggle
DISABLE_LOGO=truein your docker-compose.yml to switch. -
Run this command in the same folder:
- Open your browser and go to http://localhost:3001.
If you just want to try it out quickly, run this command in your terminal:
Now open your browser and go to http://localhost:3001.
Updates
Updating is quick and easy.
Versions
Most people should use Stable (latest).
| Name | Type | Who is it for? |
|---|---|---|
Stable (latest) |
Final versions | Recommended for everyone. |
Nightly (nightly) |
Daily updates | For people who want to test new features. |
Compatibility
Powered using Docker, imgcompress works on almost any computer:
- Standard PCs & Macs
- Windows
- Linux
- Apple Silicon (M1/M2/M3)
- Raspberry Pi 4 and newer